Frequently asked questions (FAQ)
In Svamphuset's FAQ, you will find answers to everything in mushroom cultivation that we, the owners of Svamphuset, Emil and Fabian, have answered. We know everything about log growing, horticulture and indoor growing and have written on this list questions and answers that we often get from our customers as well as added tips that we learned about mushroom growing ourselves.
Here you will also find information about shipping, returns and cultivation courses.
If you do not find an answer to the question you are looking for, you are always welcome to contact us, we look forward to helping you.
Shipping and returns
Orders placed before 11.00 a.m. are usually shipped the same day on weekdays, Monday to Wednesday. We do not send orders Thursday - Friday as we do not want to risk the mycelium being too hot or too cold during the weekend. Orders received from Thursday and during the weekend will be shipped on Monday the following week. We deliver with DHL and deliveries usually take 2-3 working days.
Fungal mycelium is resistant but cannot withstand high temperatures. If the climate exceeds 25 degrees, we wait for cooler temperatures before sending the packages so that your products arrive to you in the best possible condition.
We currently ship with DHL via agent. We will be able to offer other shipping options in the future, so stay tuned!
Usually deliveries take 2-4 working days depending on where you are in the country.
Your order is most likely on its way! Sometimes it takes longer than 4 working days to receive your order. If your order has not arrived within 5 working days, please contact us and we will check where it is. Then it unfortunately happens, albeit very rarely, that we miss sending your order. Then we solve it in no time and send it immediately!
Of course you can. For goods that do not have mycelium in them and therefore are not as sensitive, a 14-day right of withdrawal applies according to law. For goods containing mycelium, which is a living fresh product, we cannot accept returns as we have no control over how customers have handled it. You can read more about this under conditions and info which you will find at the bottom of the page.
Shipping cost from SEK 39 but increases depending on the weight of the package. All orders over SEK 1500 have free shipping (applies within Sweden only).
The package is with your agent for 7 days before it is returned to us. This is an update from DHL's side that we cannot control. This will also be updated by all companies such as Postnord, Schenker etc. as the burden on agents is too high due to the increasing trend of online orders.
Be sure to pick up your package within 7 days of its arrival at your agent. If you do not collect it, we will charge for return shipping.
If you want us to send the package again, we will do so for a new shipping cost. If you want a refund, we will deduct the return shipping, and refund the rest. We do not refund for goods that include mycelium according to distance and the Home Sales Act § 4, which does not apply if an item which due to its nature cannot be returned or which can quickly deteriorate or become too old. On other goods that do not deteriorate or are destroyed if they become too old, a 14-day right of withdrawal applies according to law
We currently offer pick-up from March to June and November to December.
It is very important that you notify us by email or call us when you plan to come by, as we sometimes need to be out in our production premises and do not always have people on site.
All orders placed via e-commerce are sent from Kvarnholmen, which is located in Nacka, just outside Stockholm.
Take a picture of the package and write an email with what you are missing and we will solve it immediately.
According to rules and security, we cannot change an order that has been placed and paid for afterwards. You can then simply place a new order for what you forgot to buy, alternatively write to us and if we haven't had time to send your package, we can cancel the order and you can place a new order with the correct products.
Mushroom house
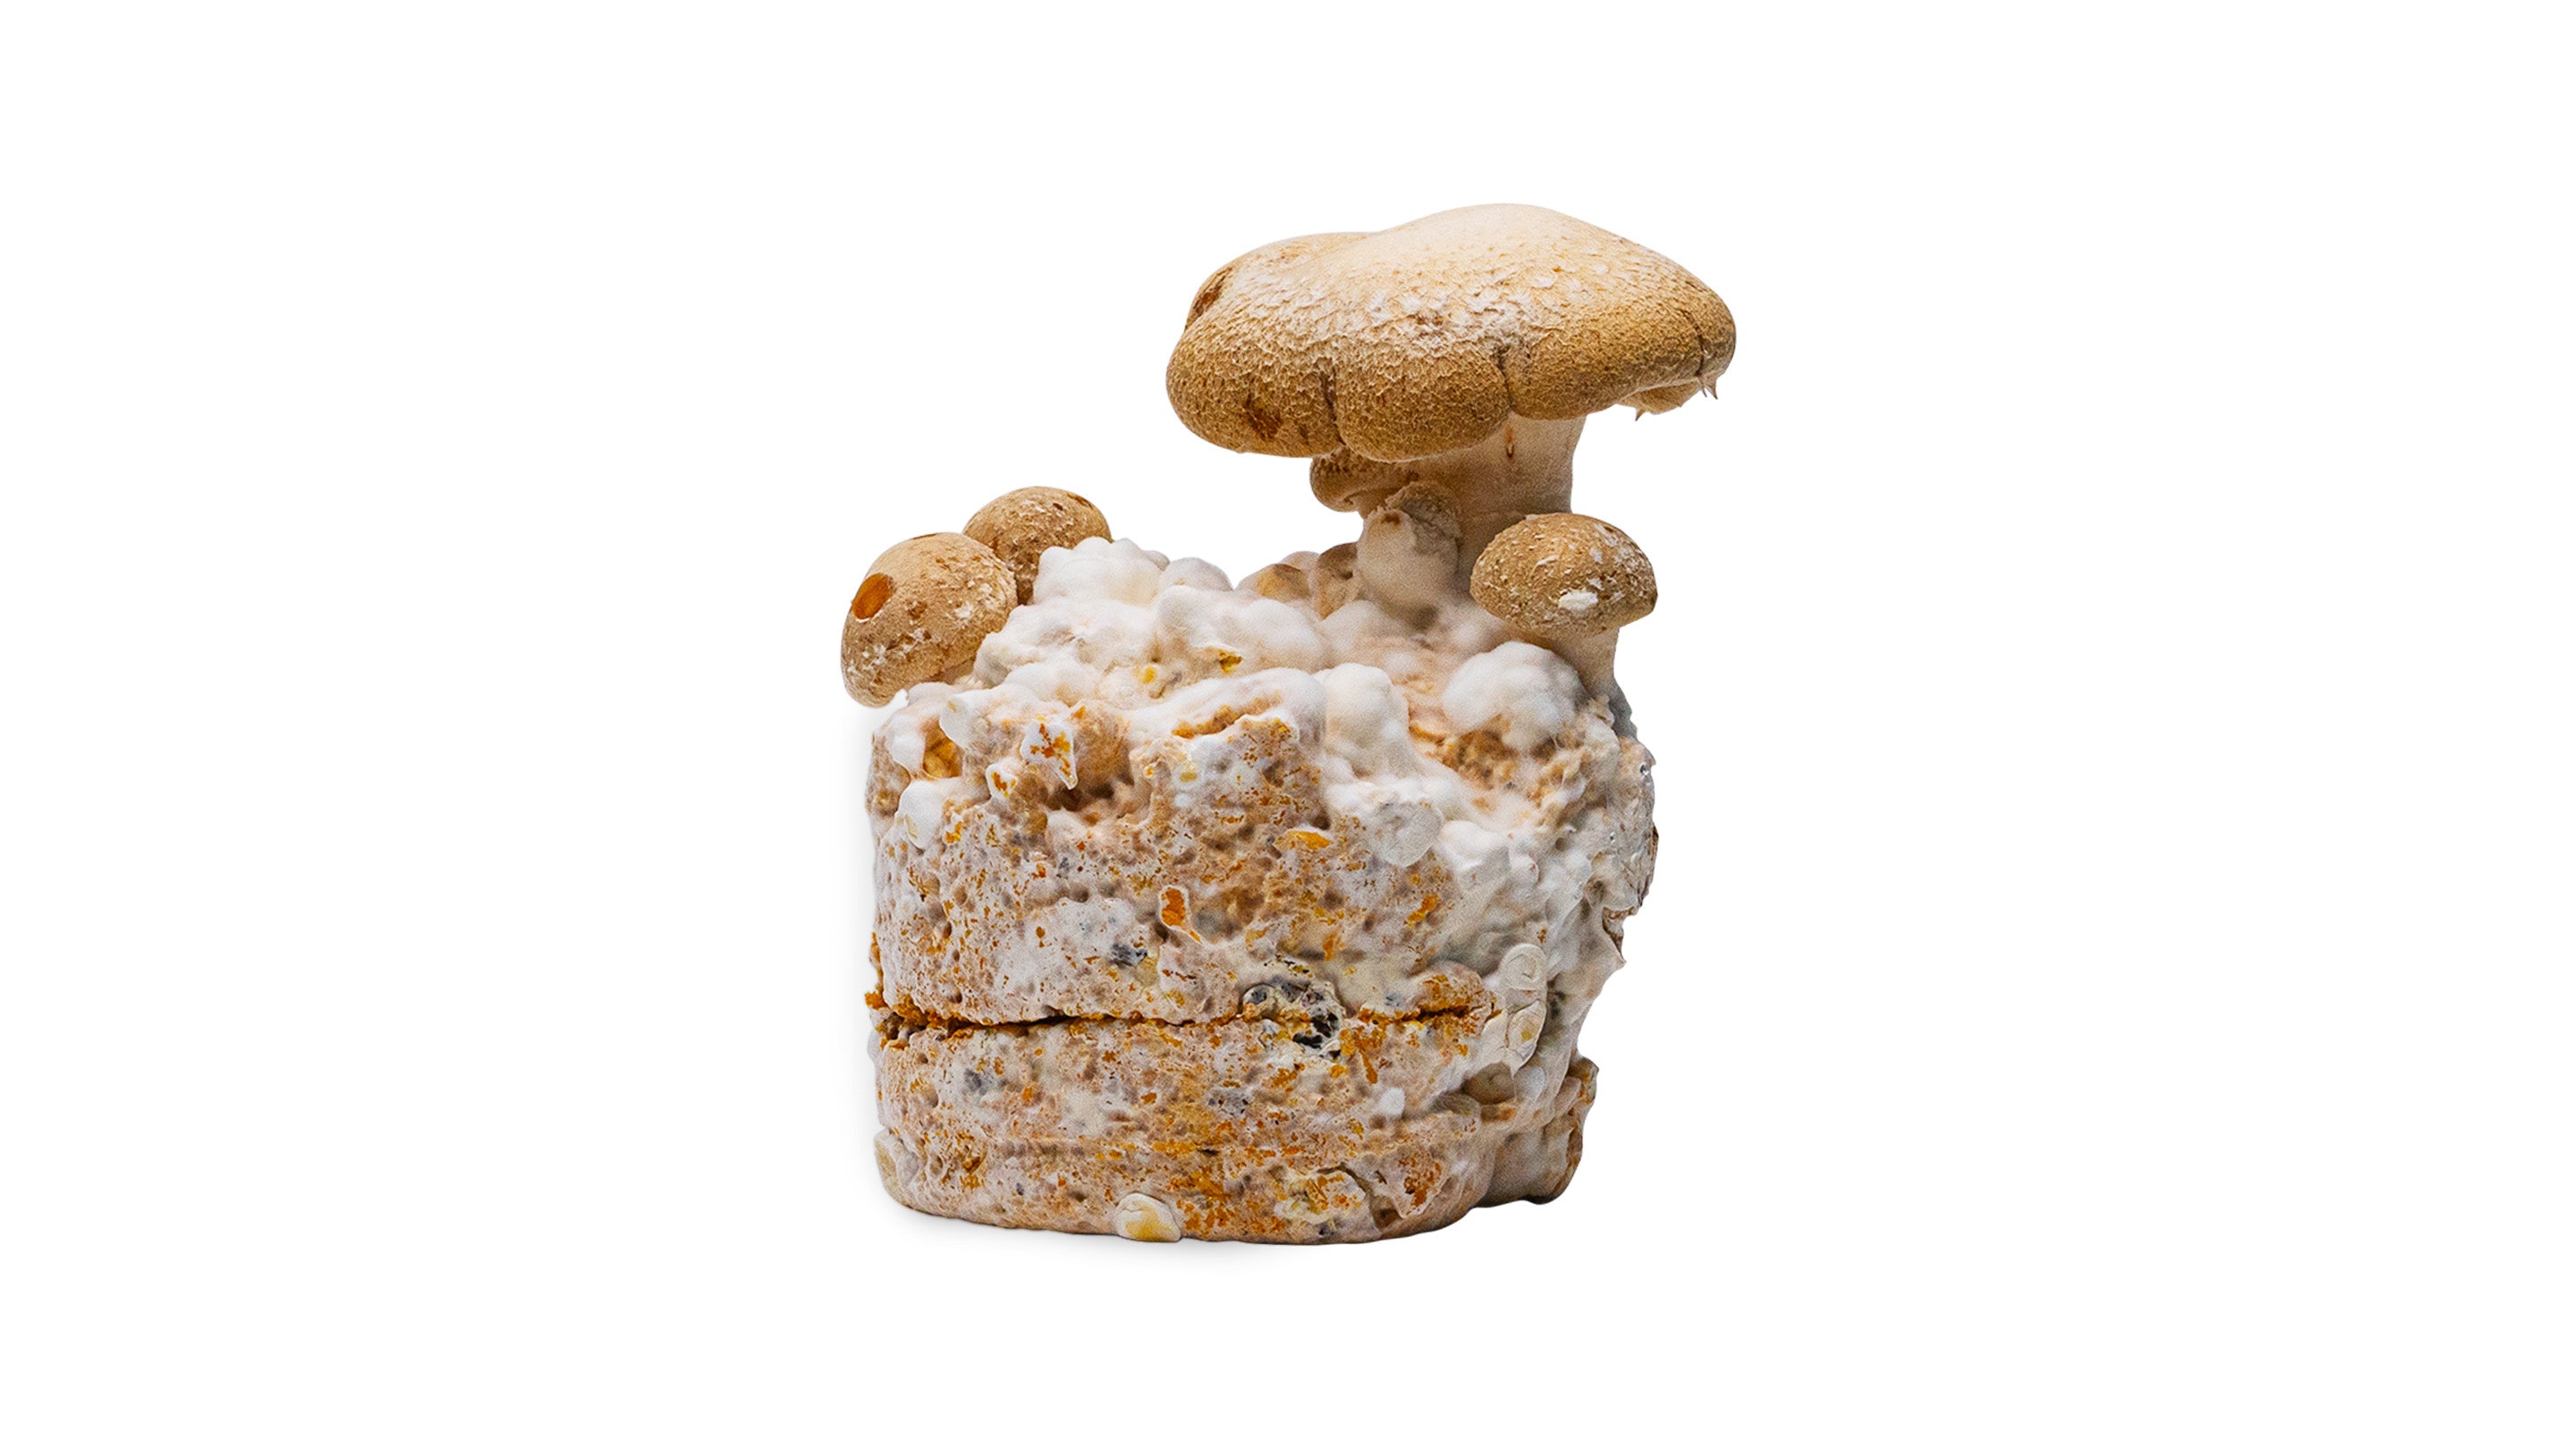
Mycelet (burken med mycel som medföljer när du köper svamphus) håller i 6 månader i rumstemperatur. Detta betyder att du inte behöver aktivera ditt svamphus förens inom 6 månader. Med andra ingen stress och därför en perfekt julklapp eller present.
1-2 svamphus levereras nedvikta i en kartong som är 37cm bred x 28cm djup x 7cm hög.
2-4 svamphus levereras nedvikta i en kartong som är 37cm bred x 28cm djup x 13cm hög.
5-10 svamphus levereras nedvikta i en kartong som är 43cm bred x 31cm djup x 20cm hög
10 svamphus eller mer levereras i situationsanpassad kartong.
Ja! Mycelet som medföljer svamphusen är vilande tills du startar odlingen, och håller i 6 månader i rumstemperatur. Det betyder att du, eller den du ger svamphuset till har hela 6 månader på sig att starta odlingen. Så det är ingen som helst stress.
När du får hem din order: Ta ut innehållet och flurpa upp ett svamphus. Lägg halmpelletspåsen i botten och lägg sedan ner mycelburk + instruktionen, stäng sedan huset och slå in - klart!
Vi skickar allt nedvikt för att hålla en så volymeffektiv frakt som möjligt. Det tillåter oss att ha lägre fraktpriser och dessutom är det miljömässigt viktigt att inte transportera produkter som inte är effektivt packade. Logistiksektorns största miljöbov är företag som fraktar luft vilket tar upp onödig yta på lastbilar. Därför kommer Svamphusets ordrar alltid att vara så effektivt packade som möjligt.
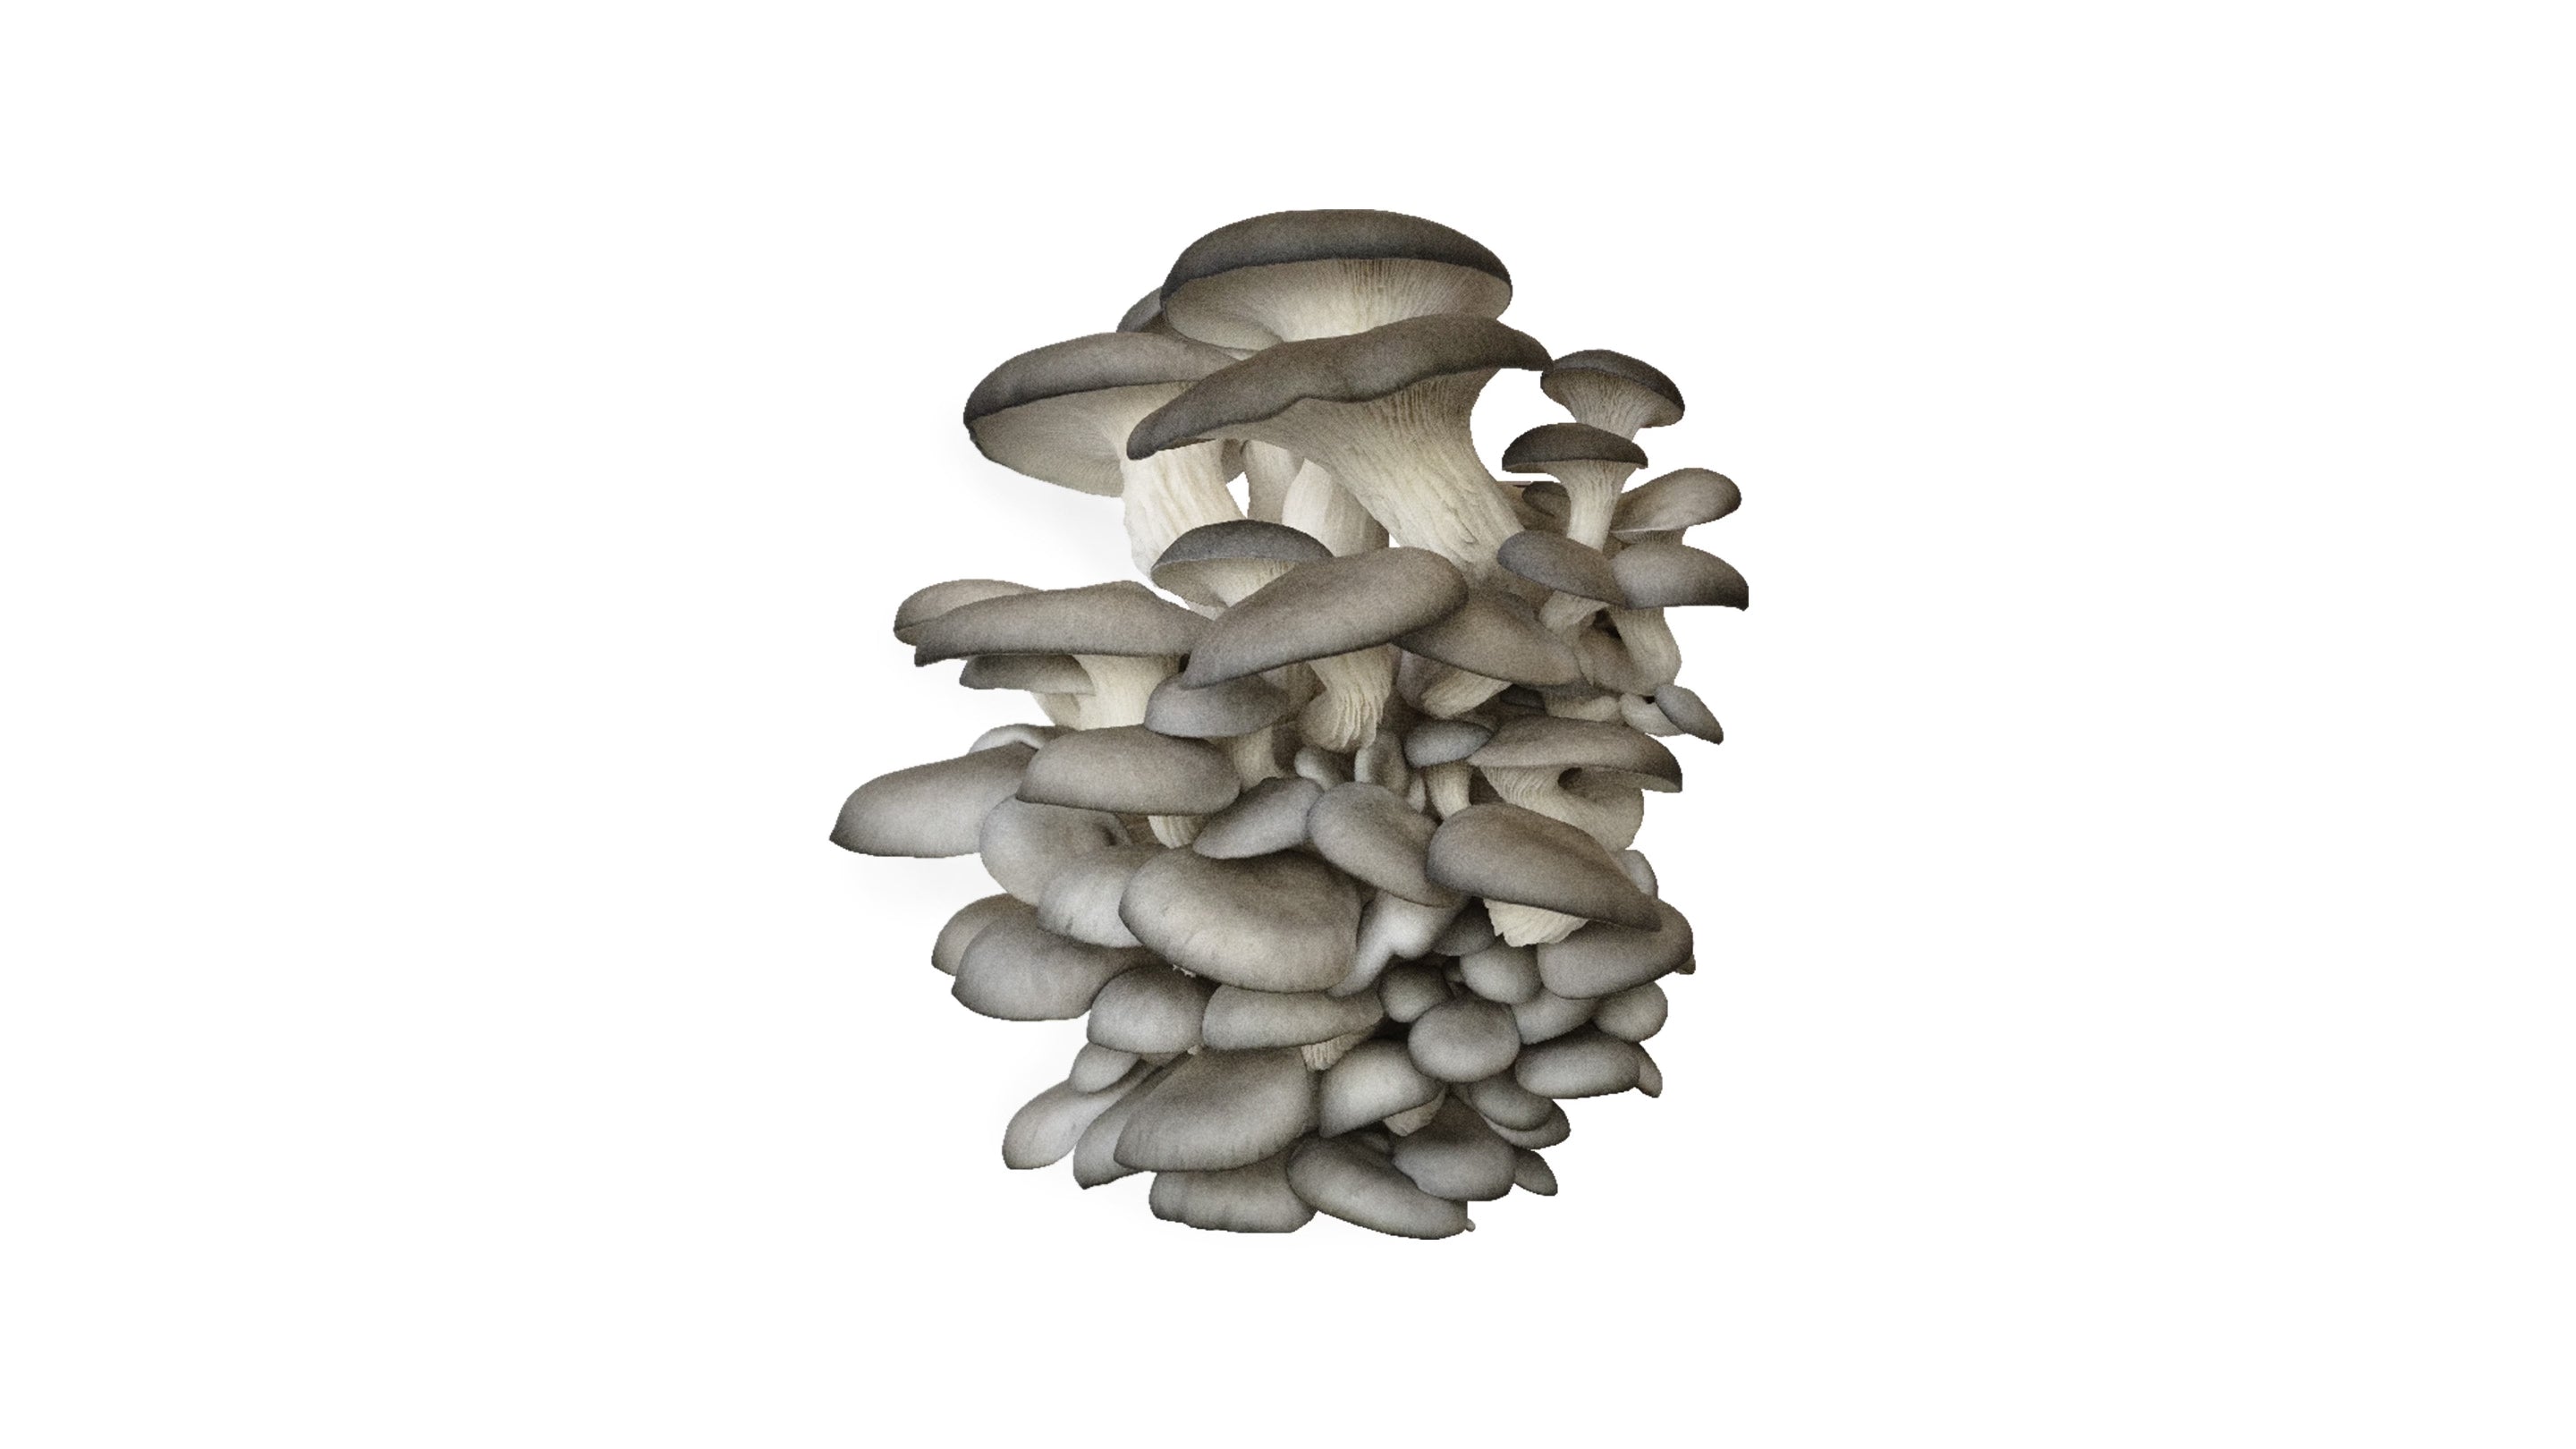
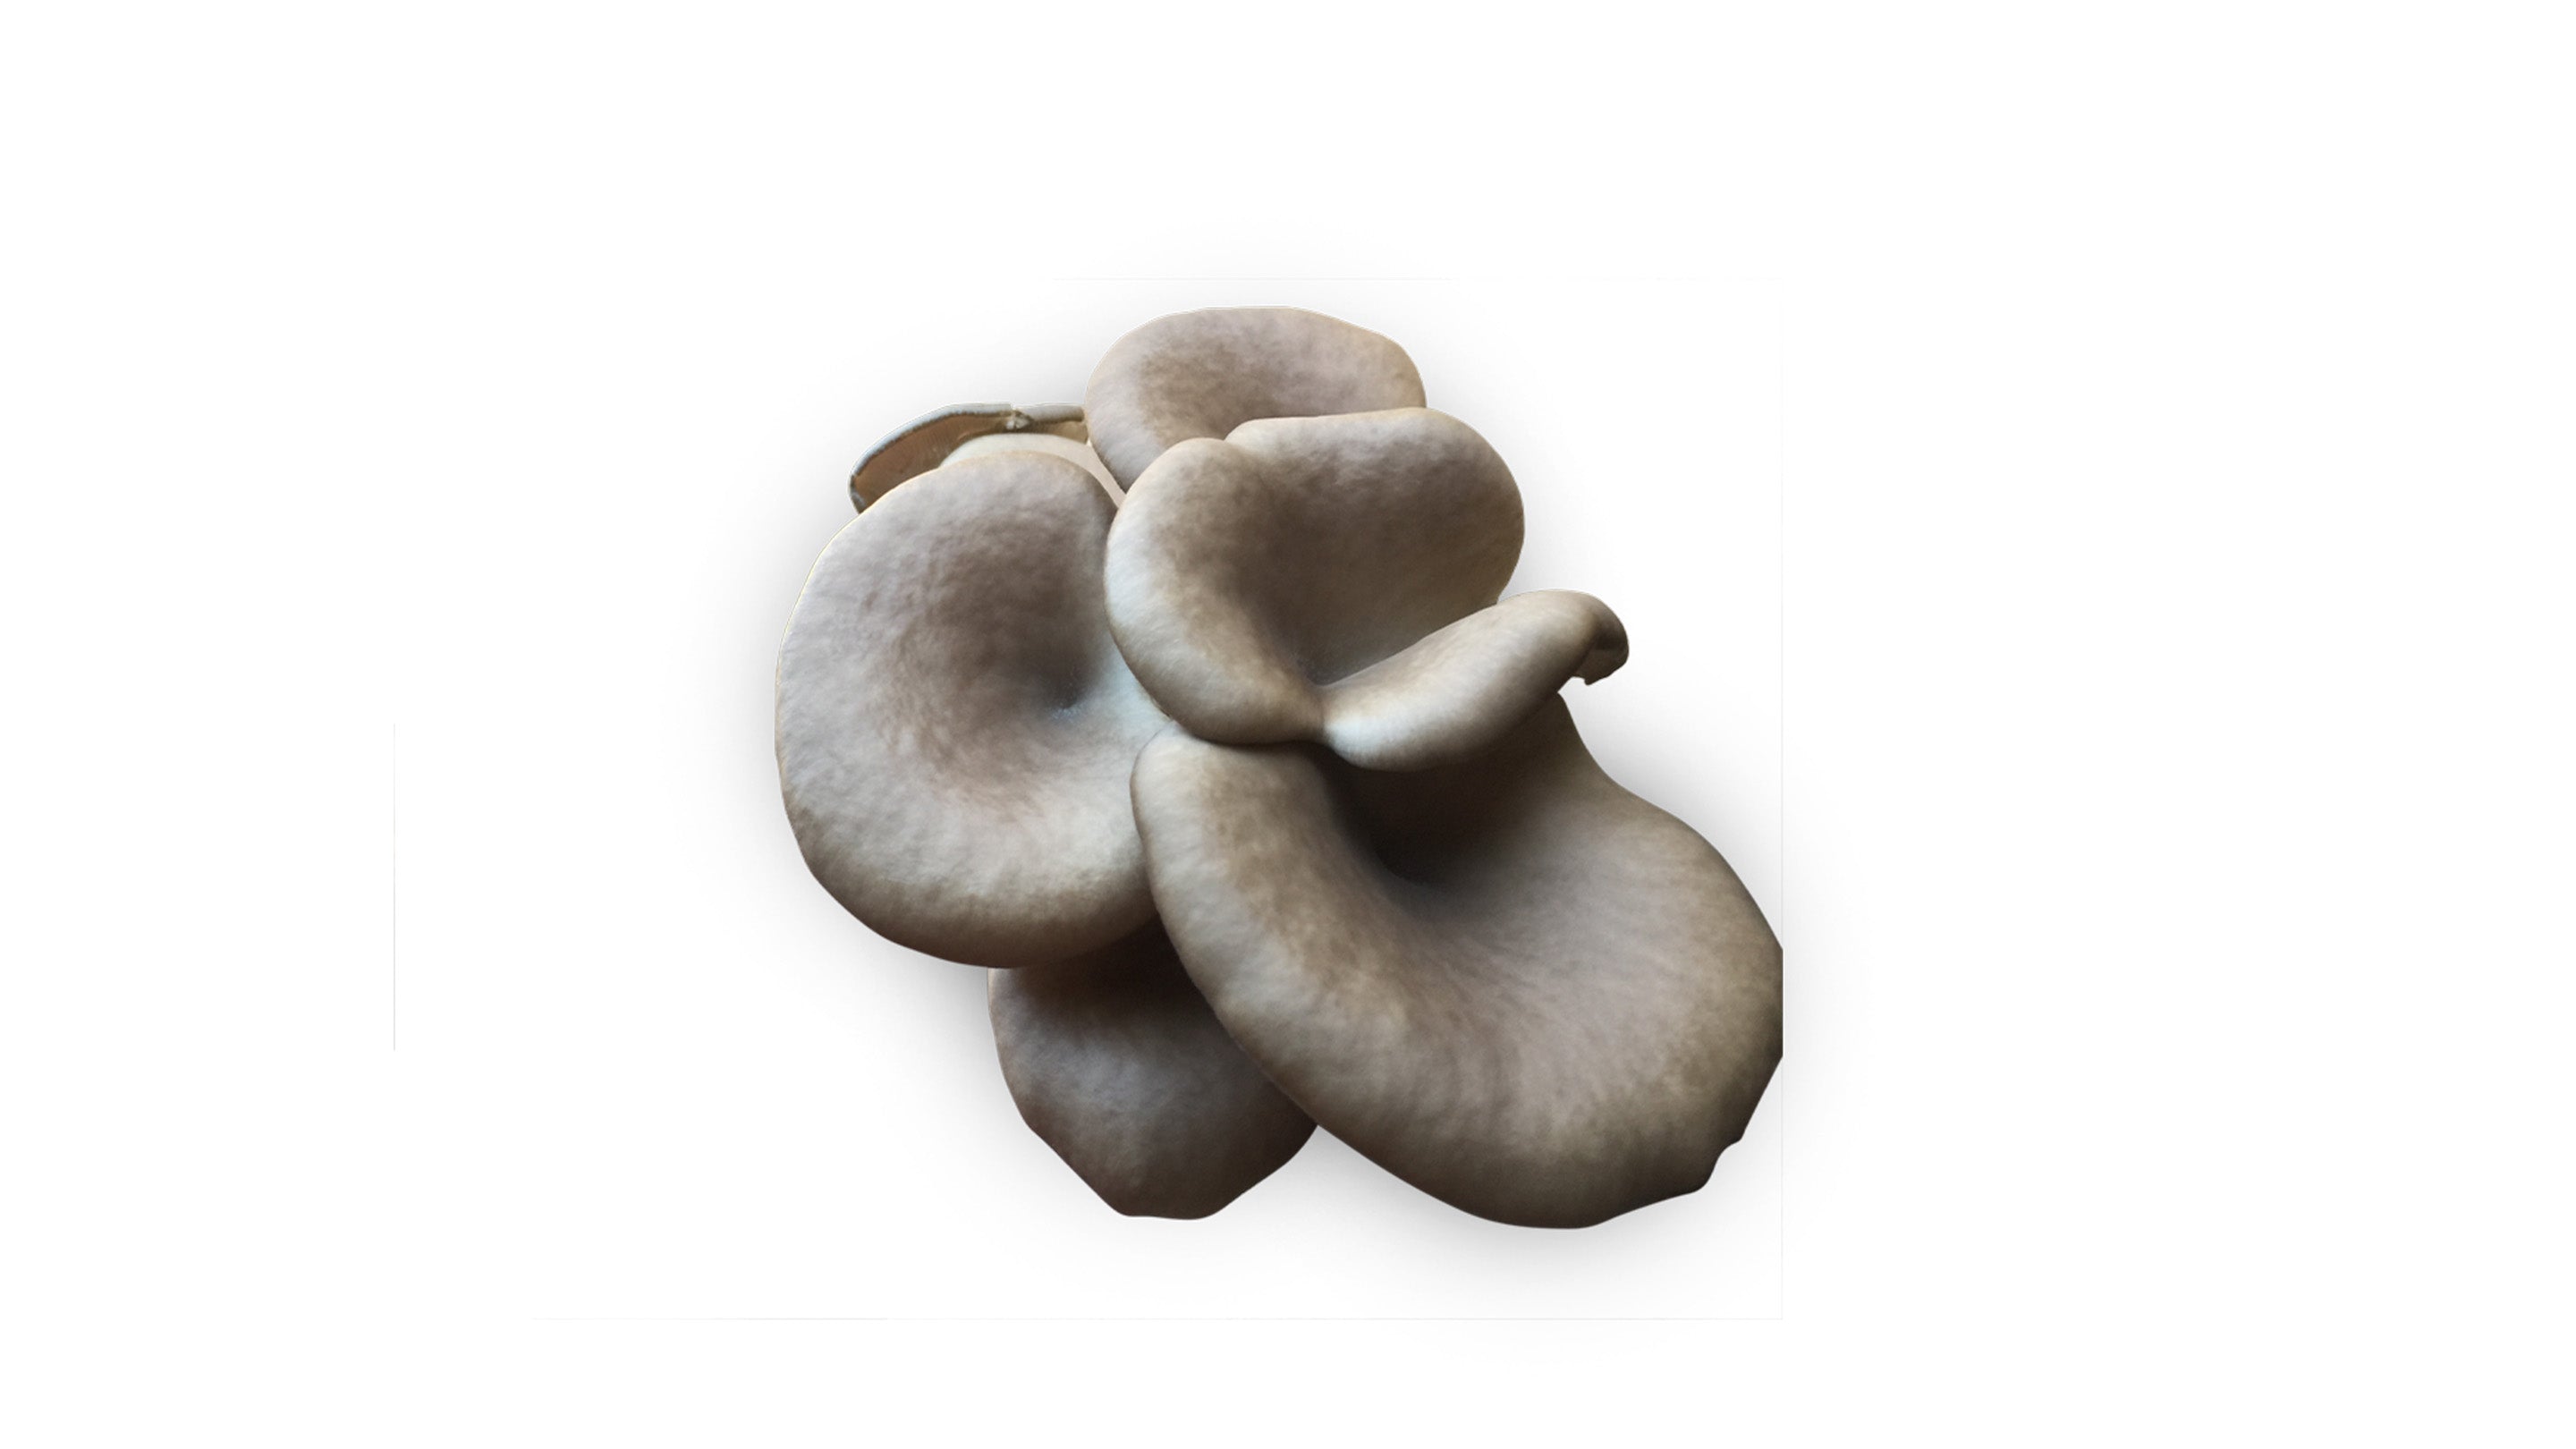
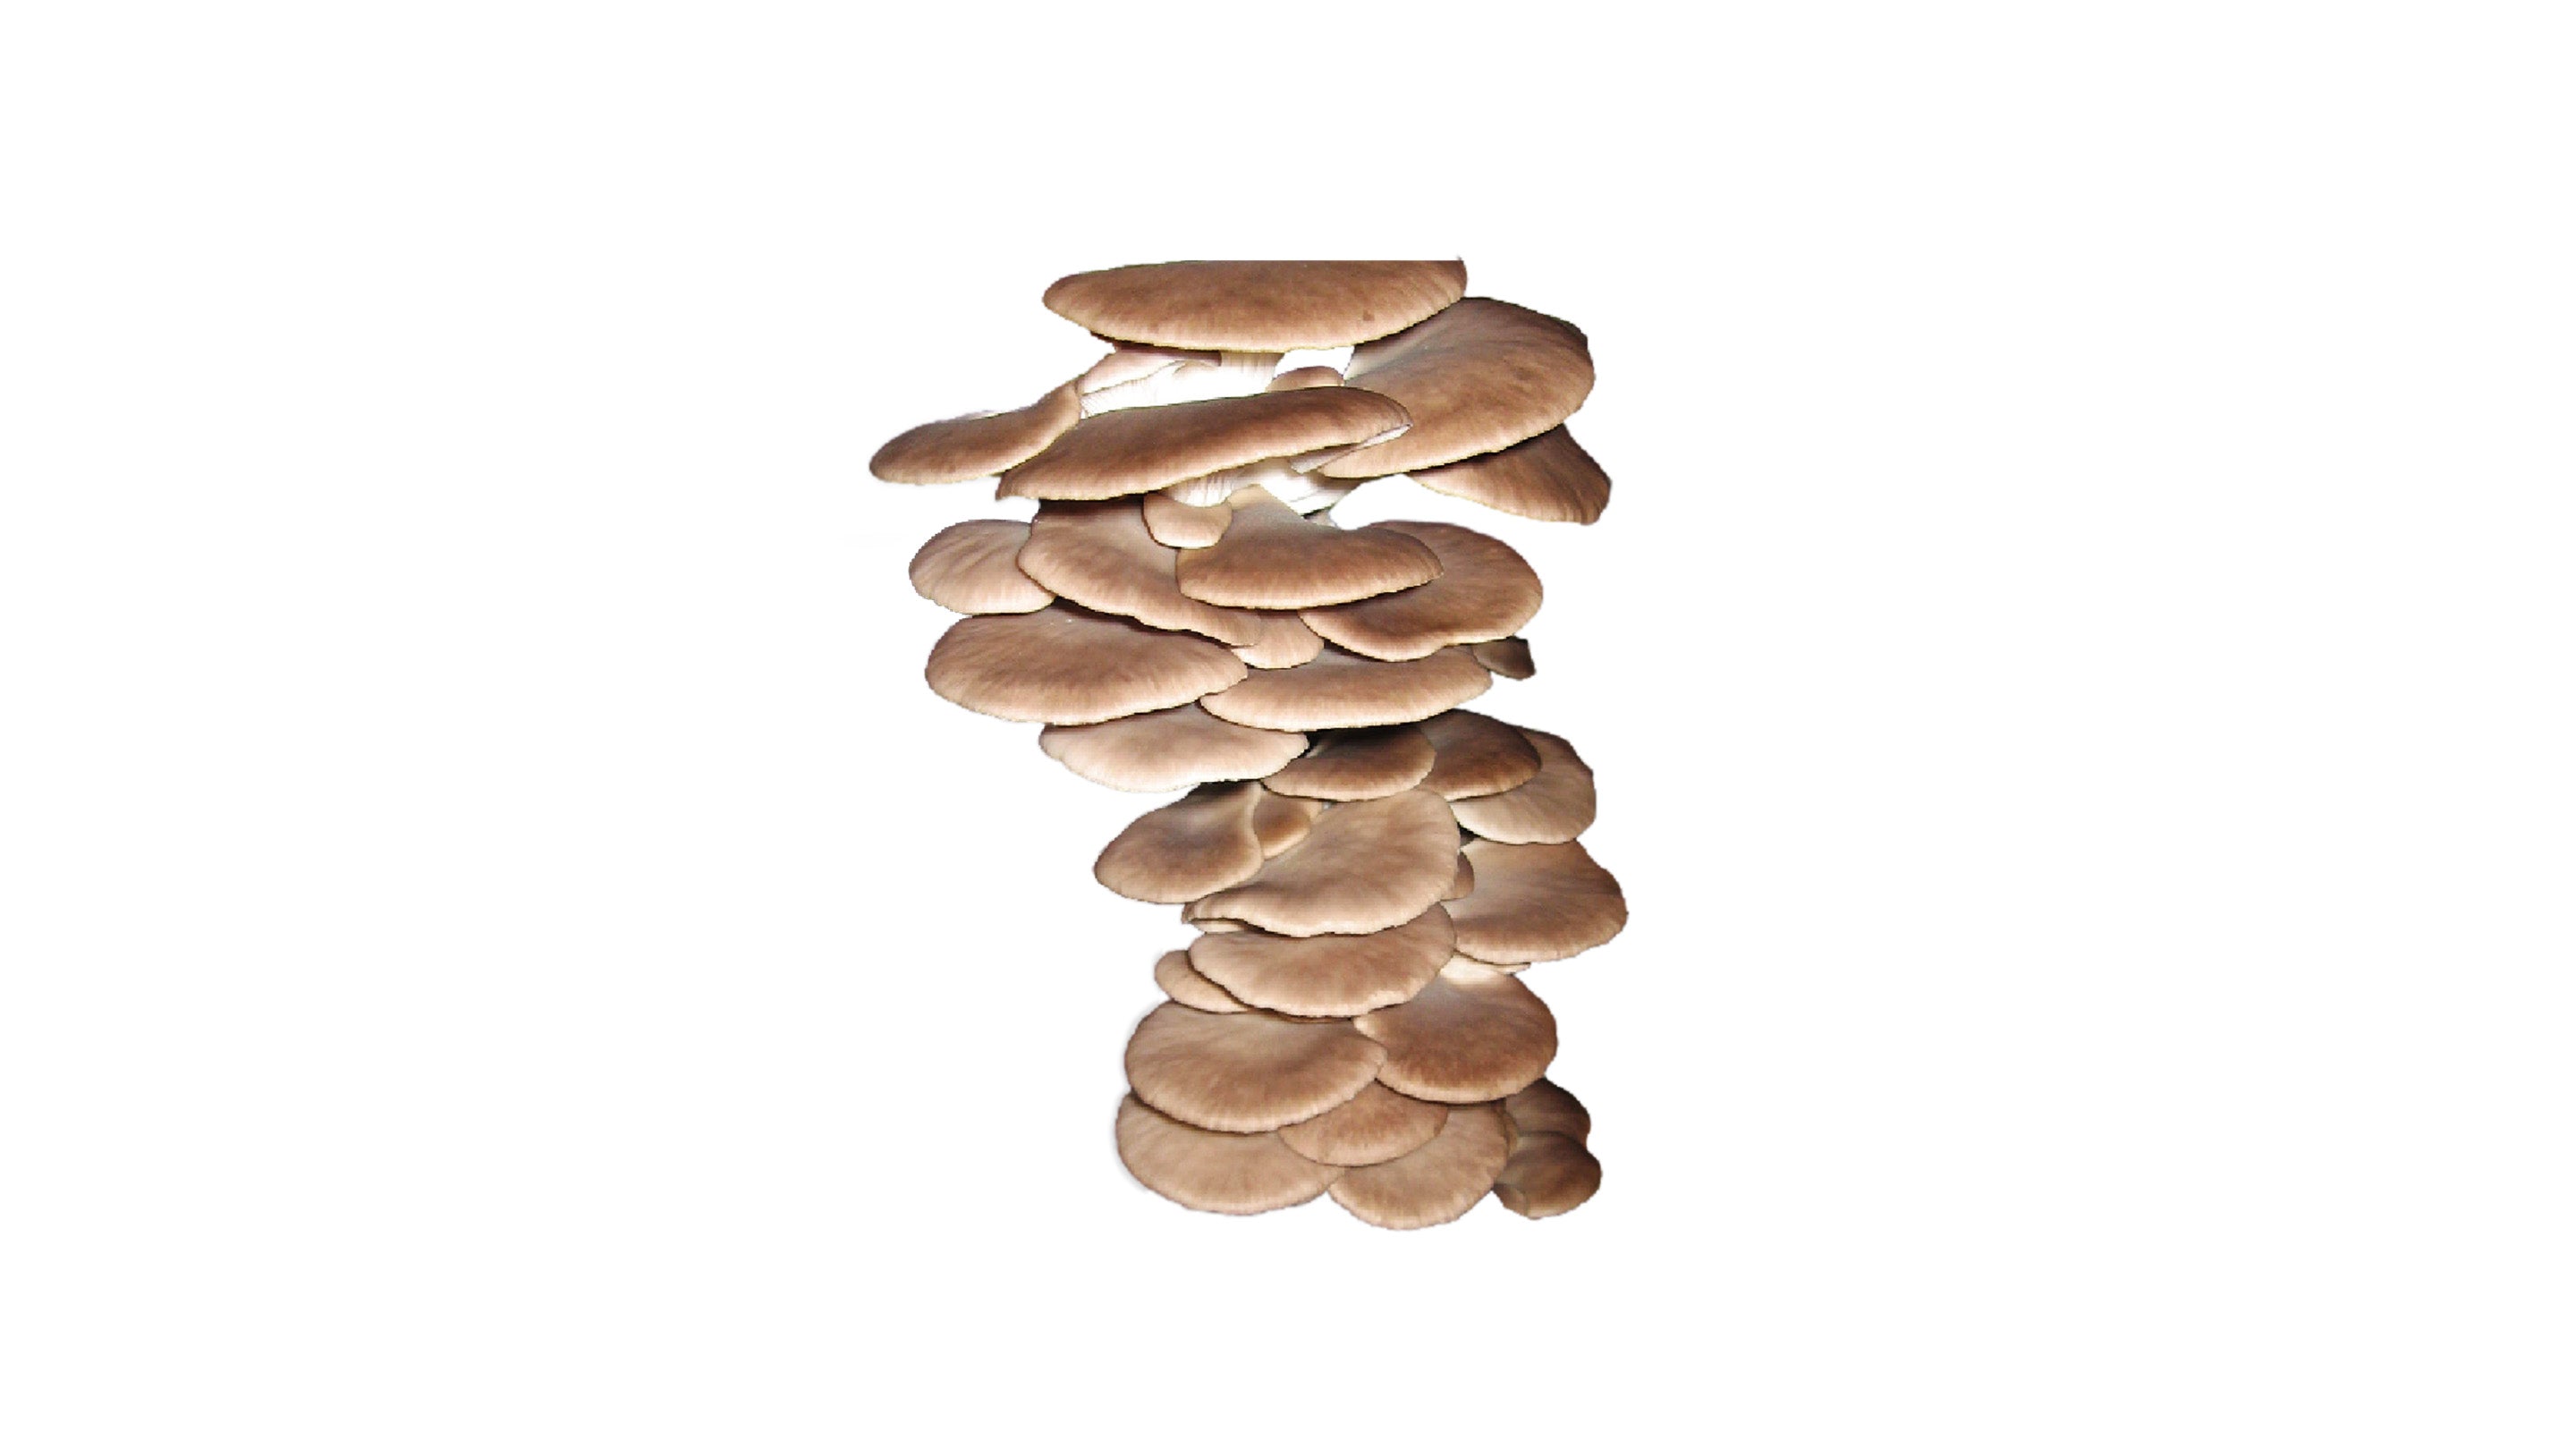
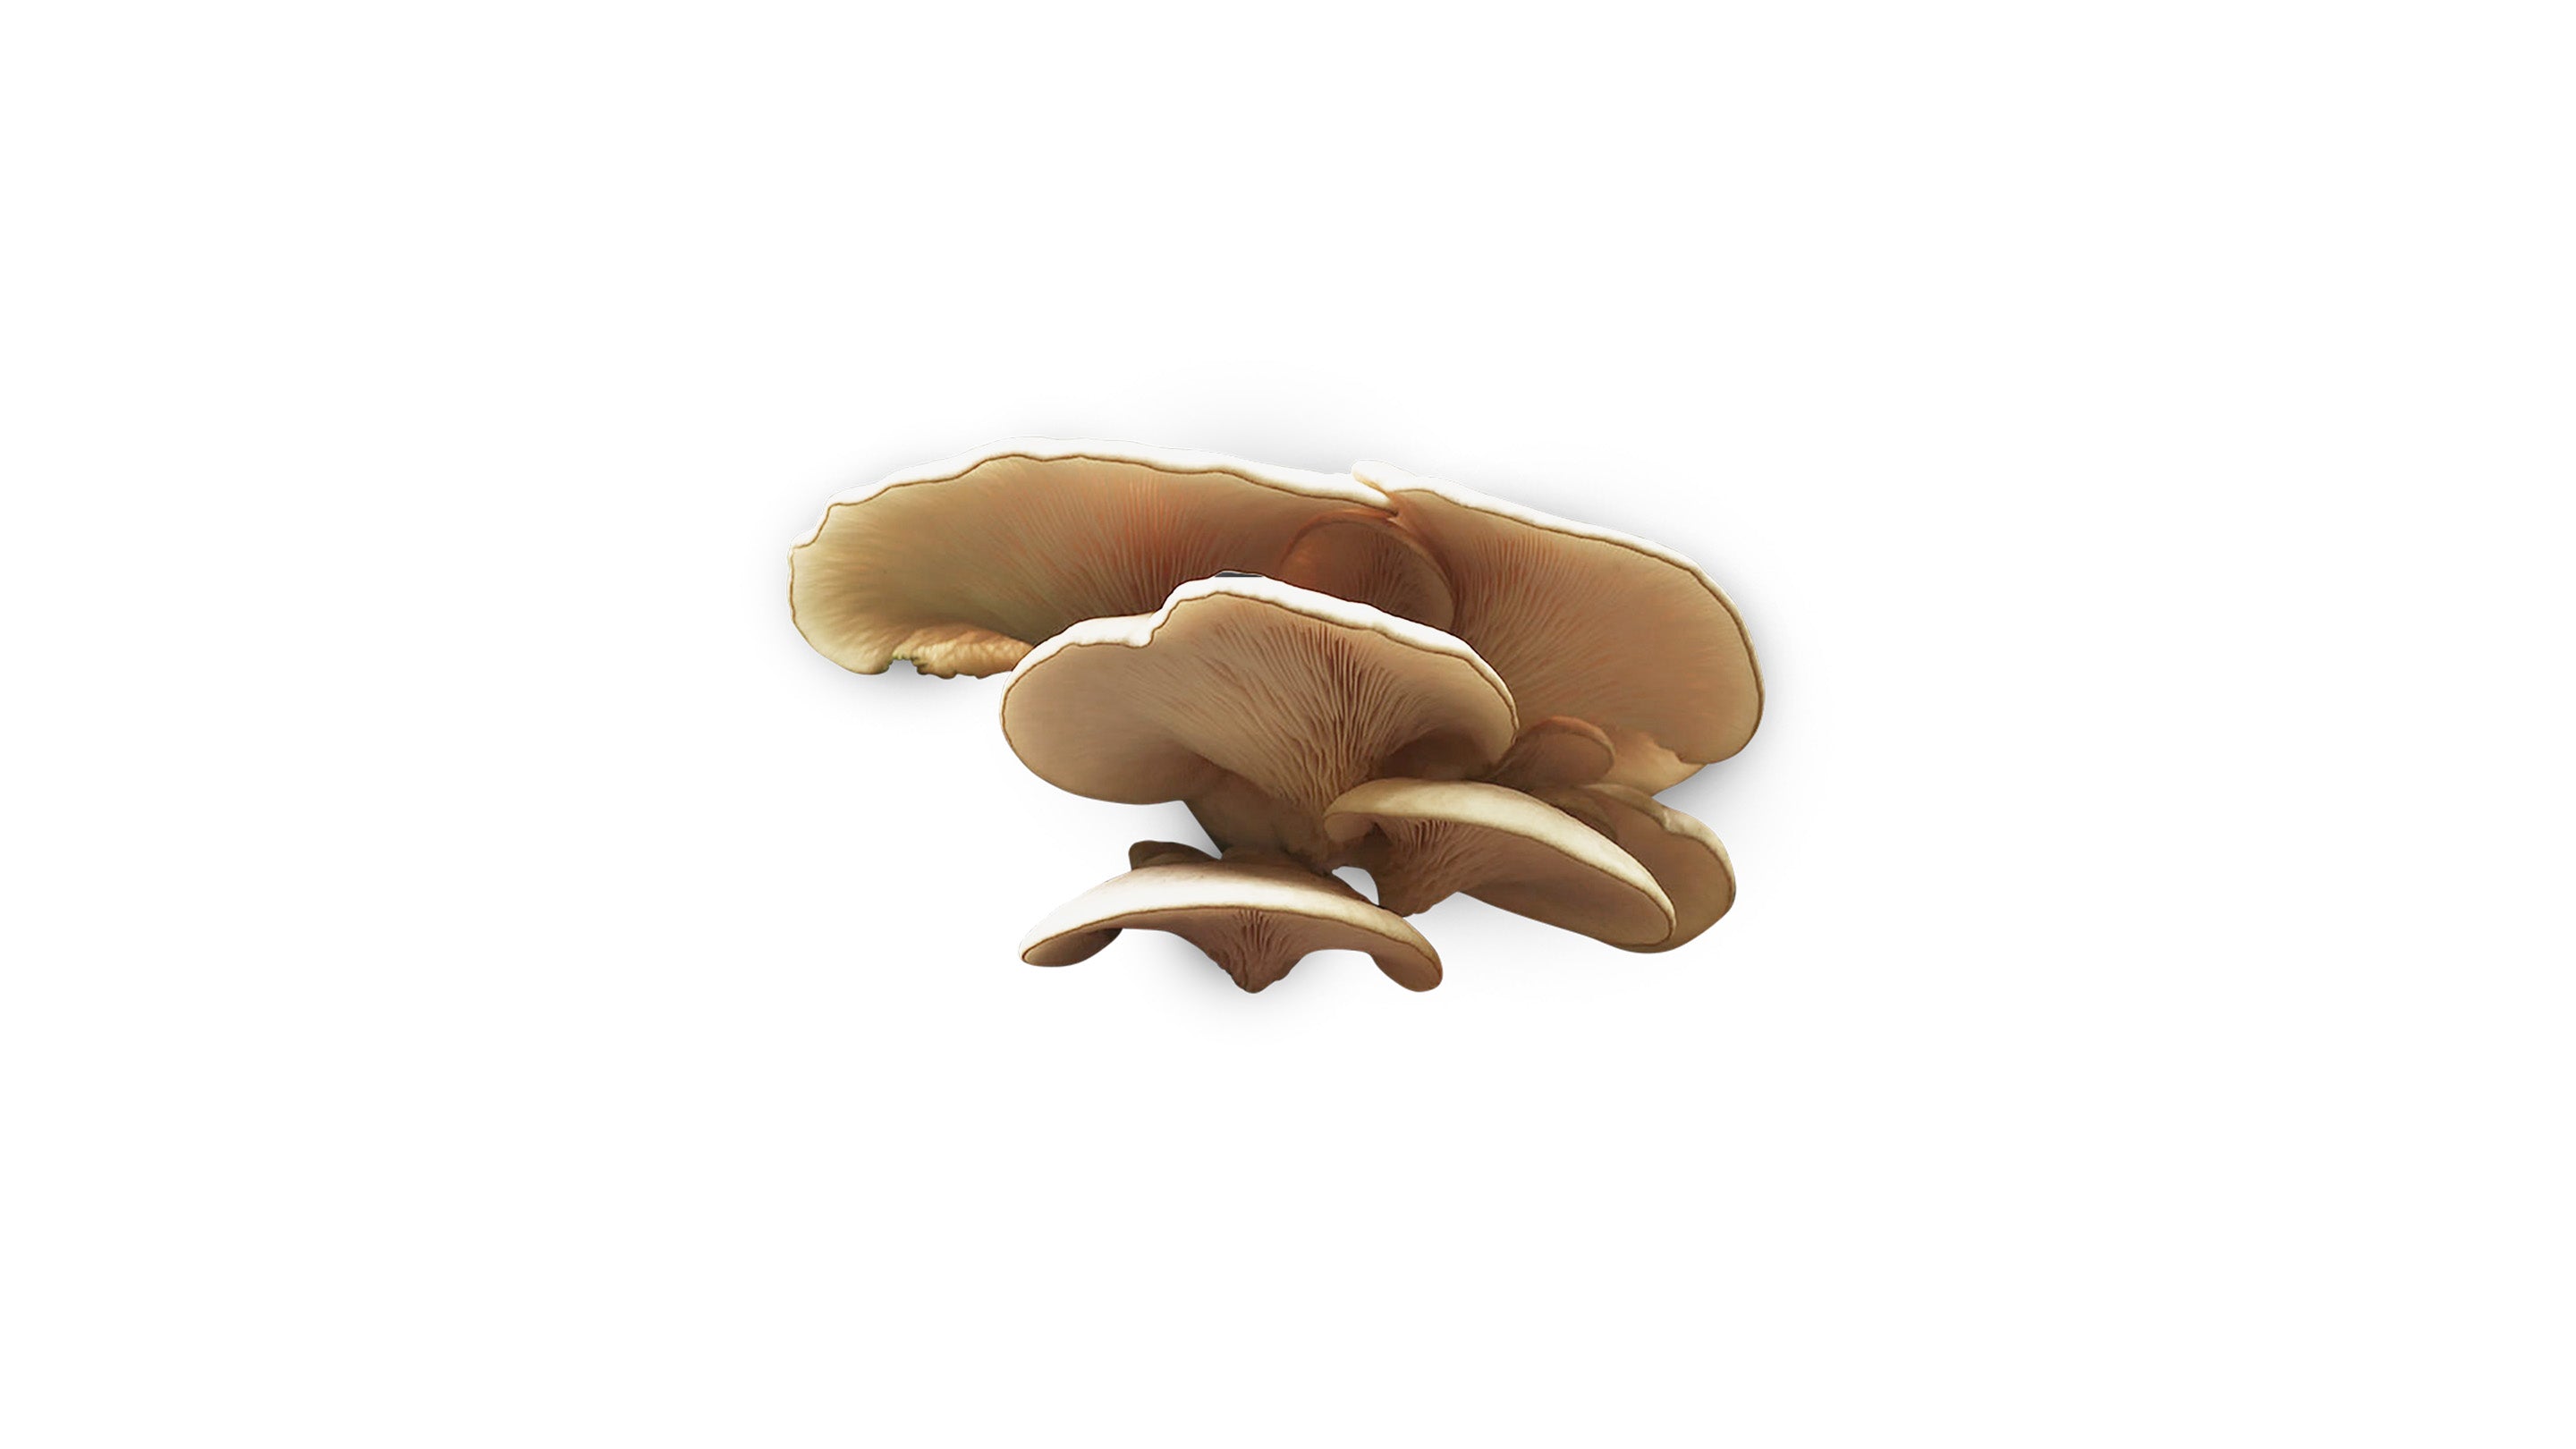
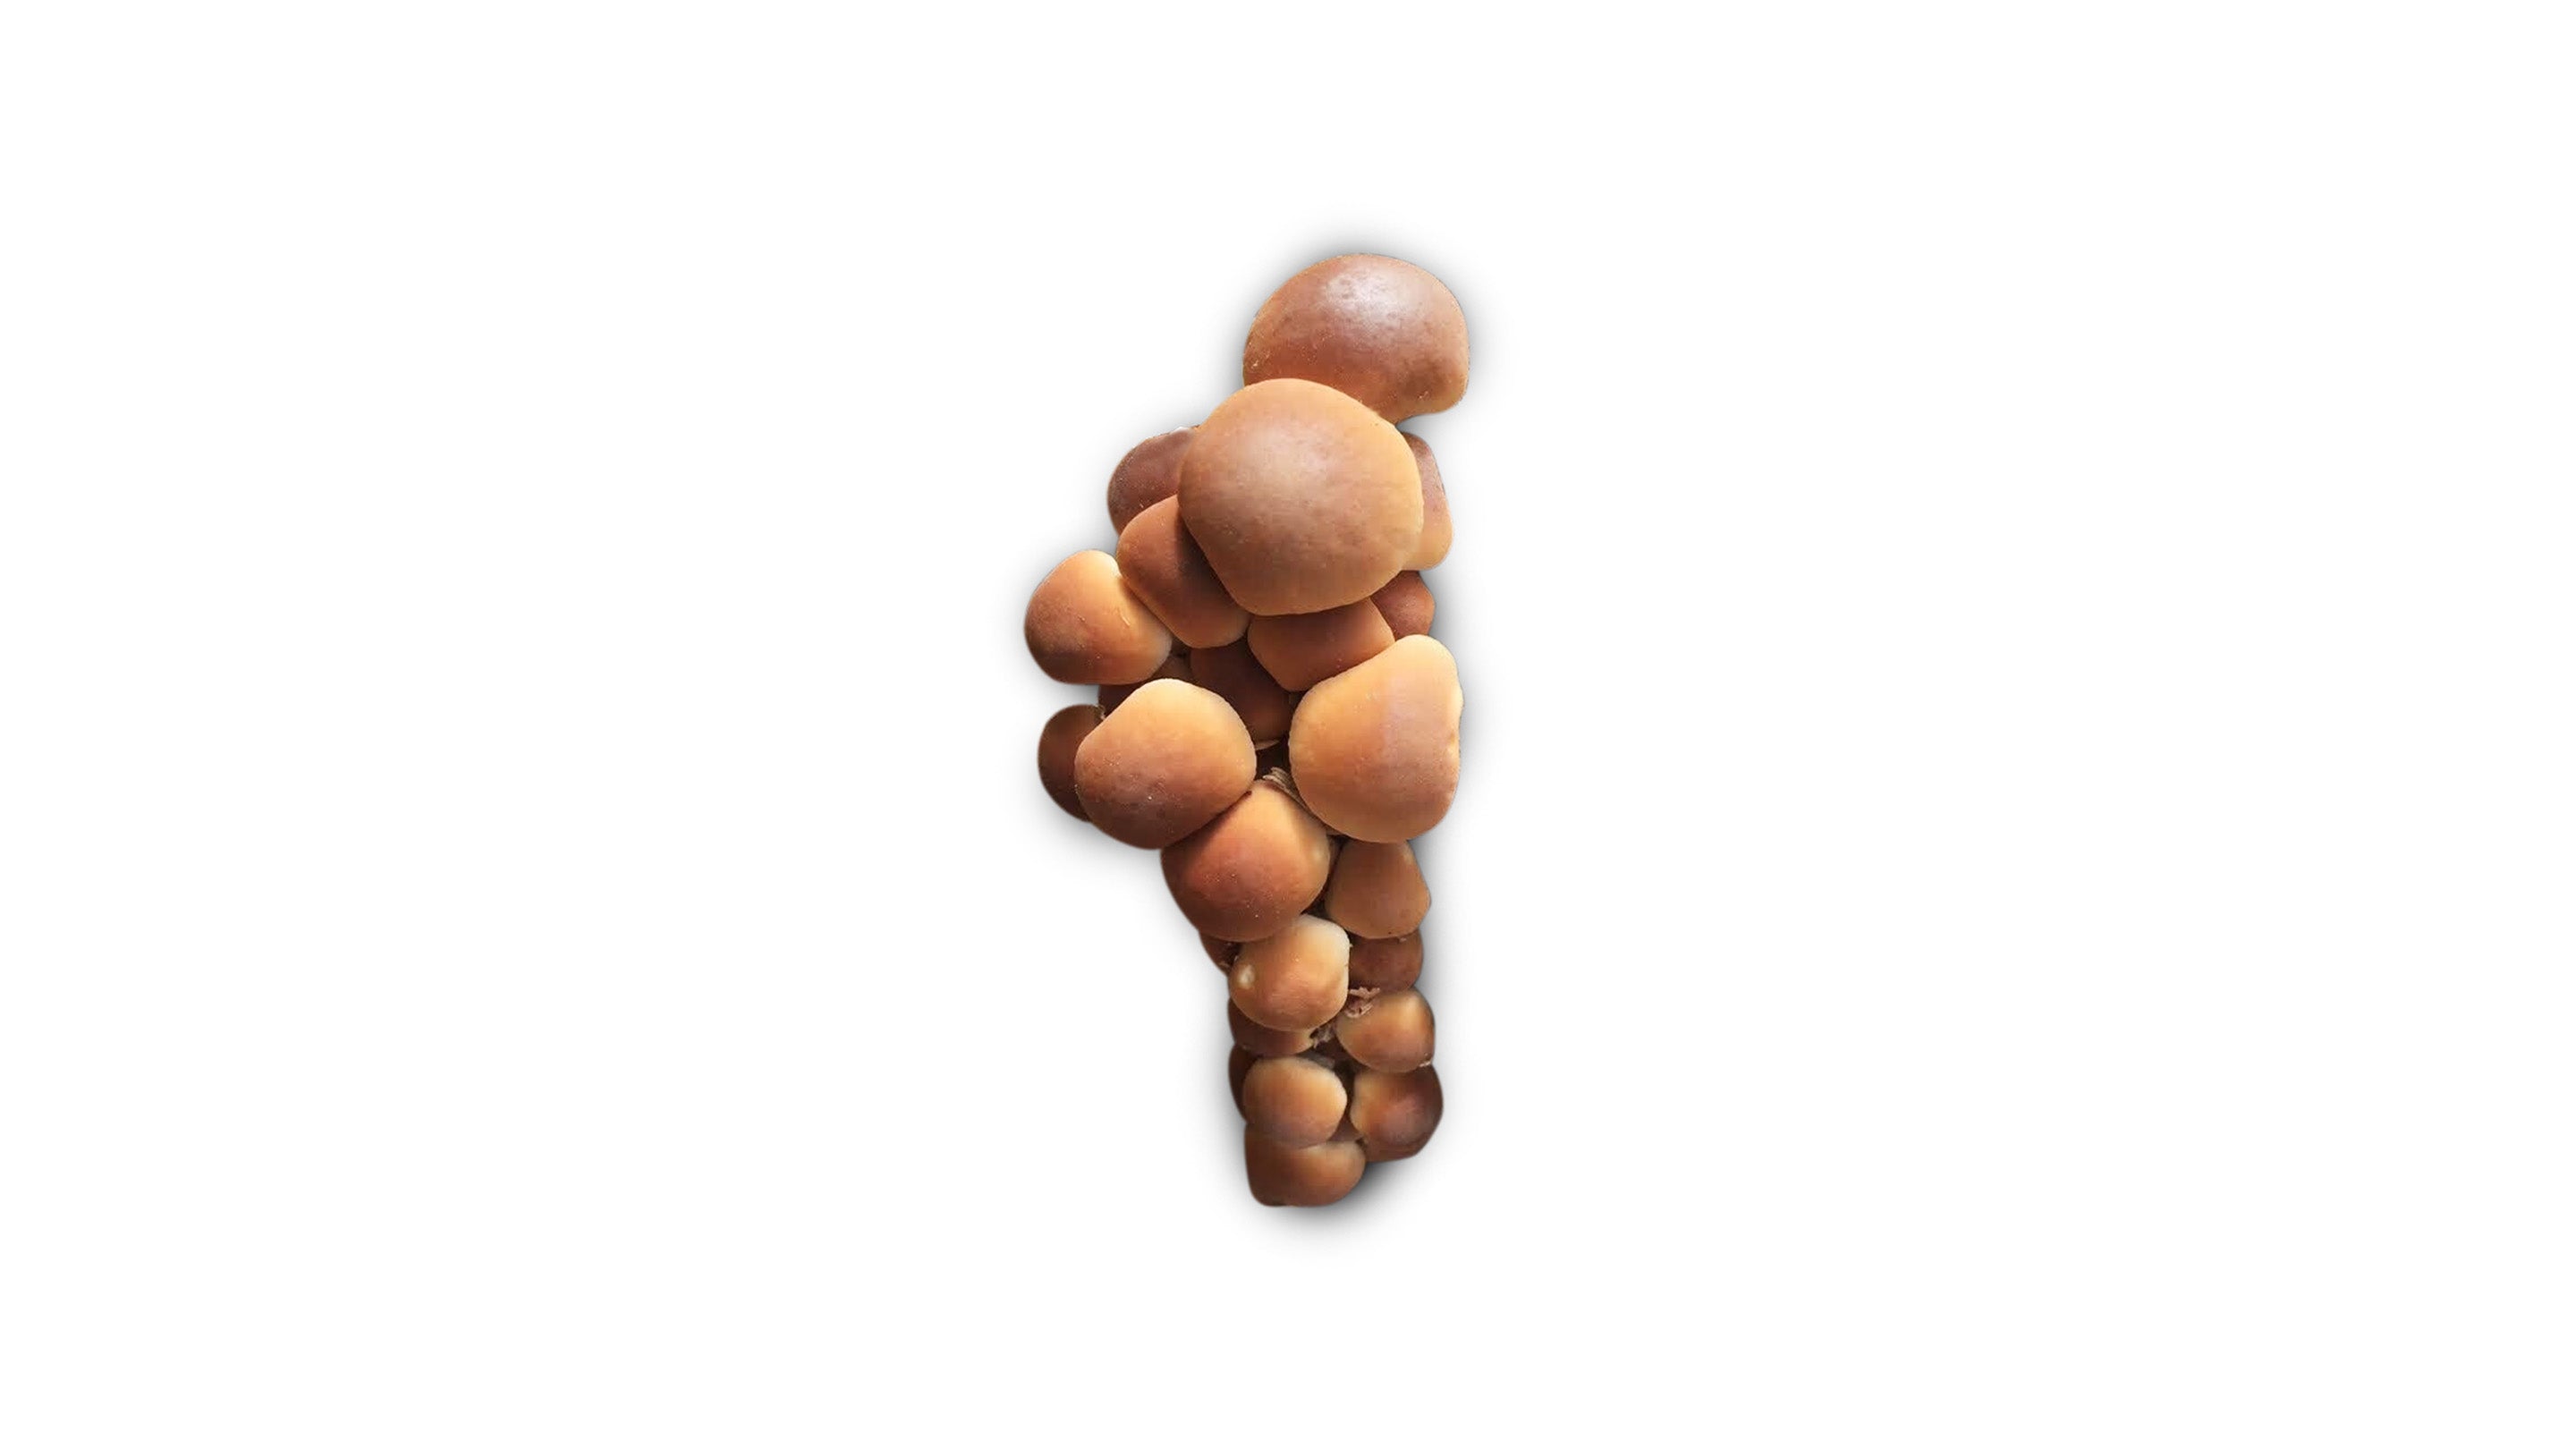
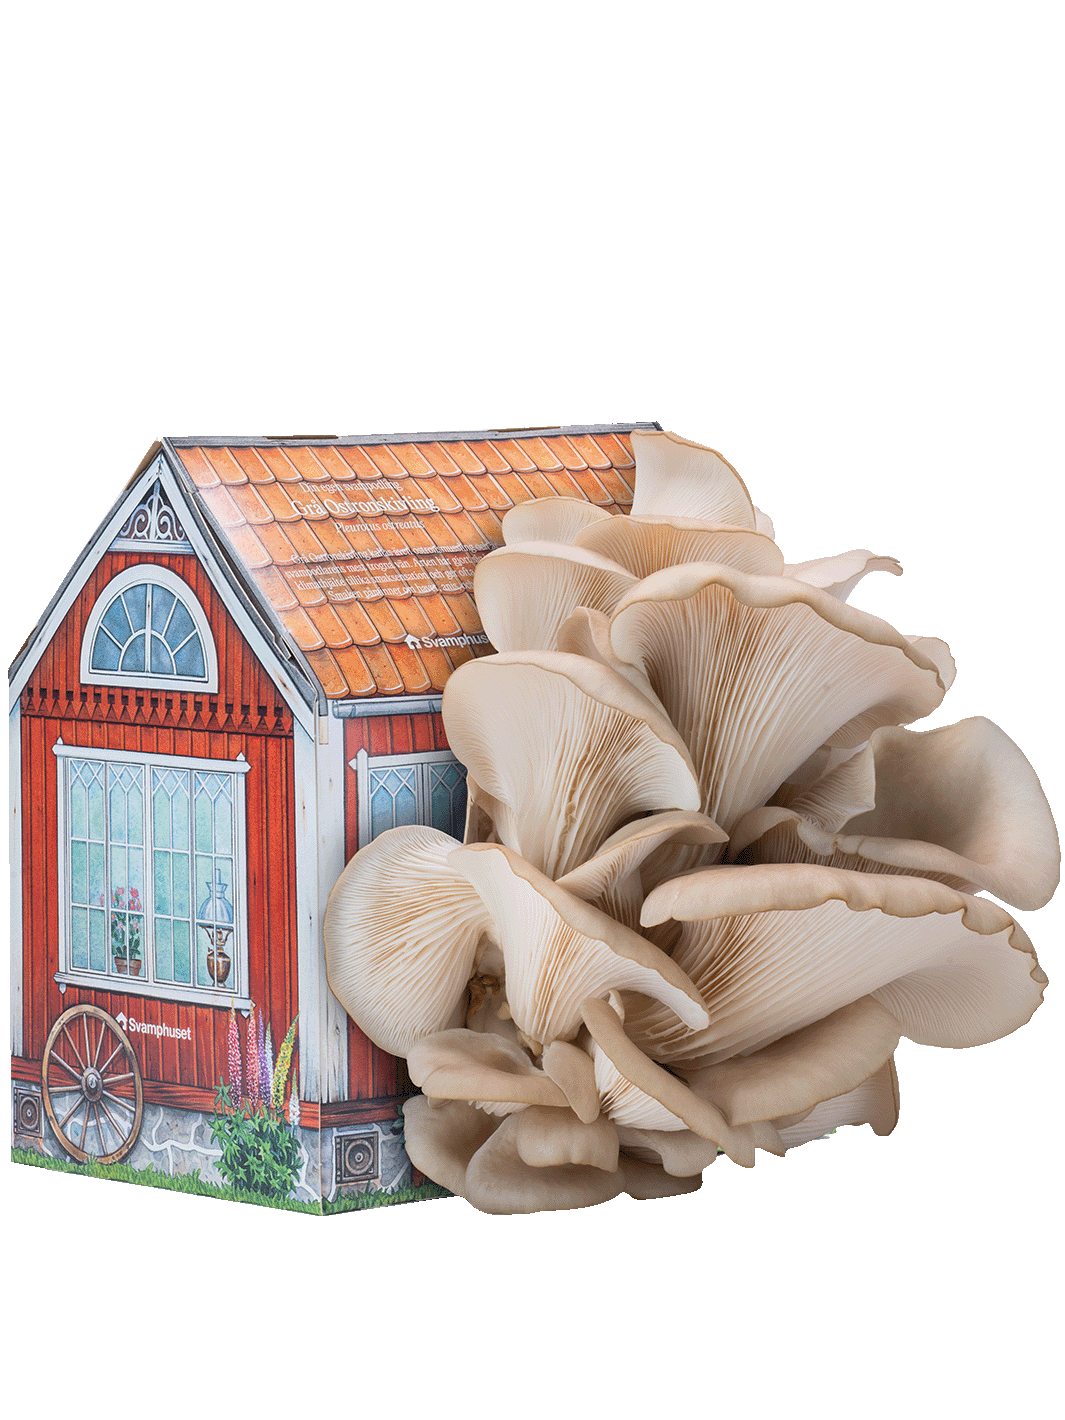
- Gray oyster mushroom (Pleurotus ostreatus).
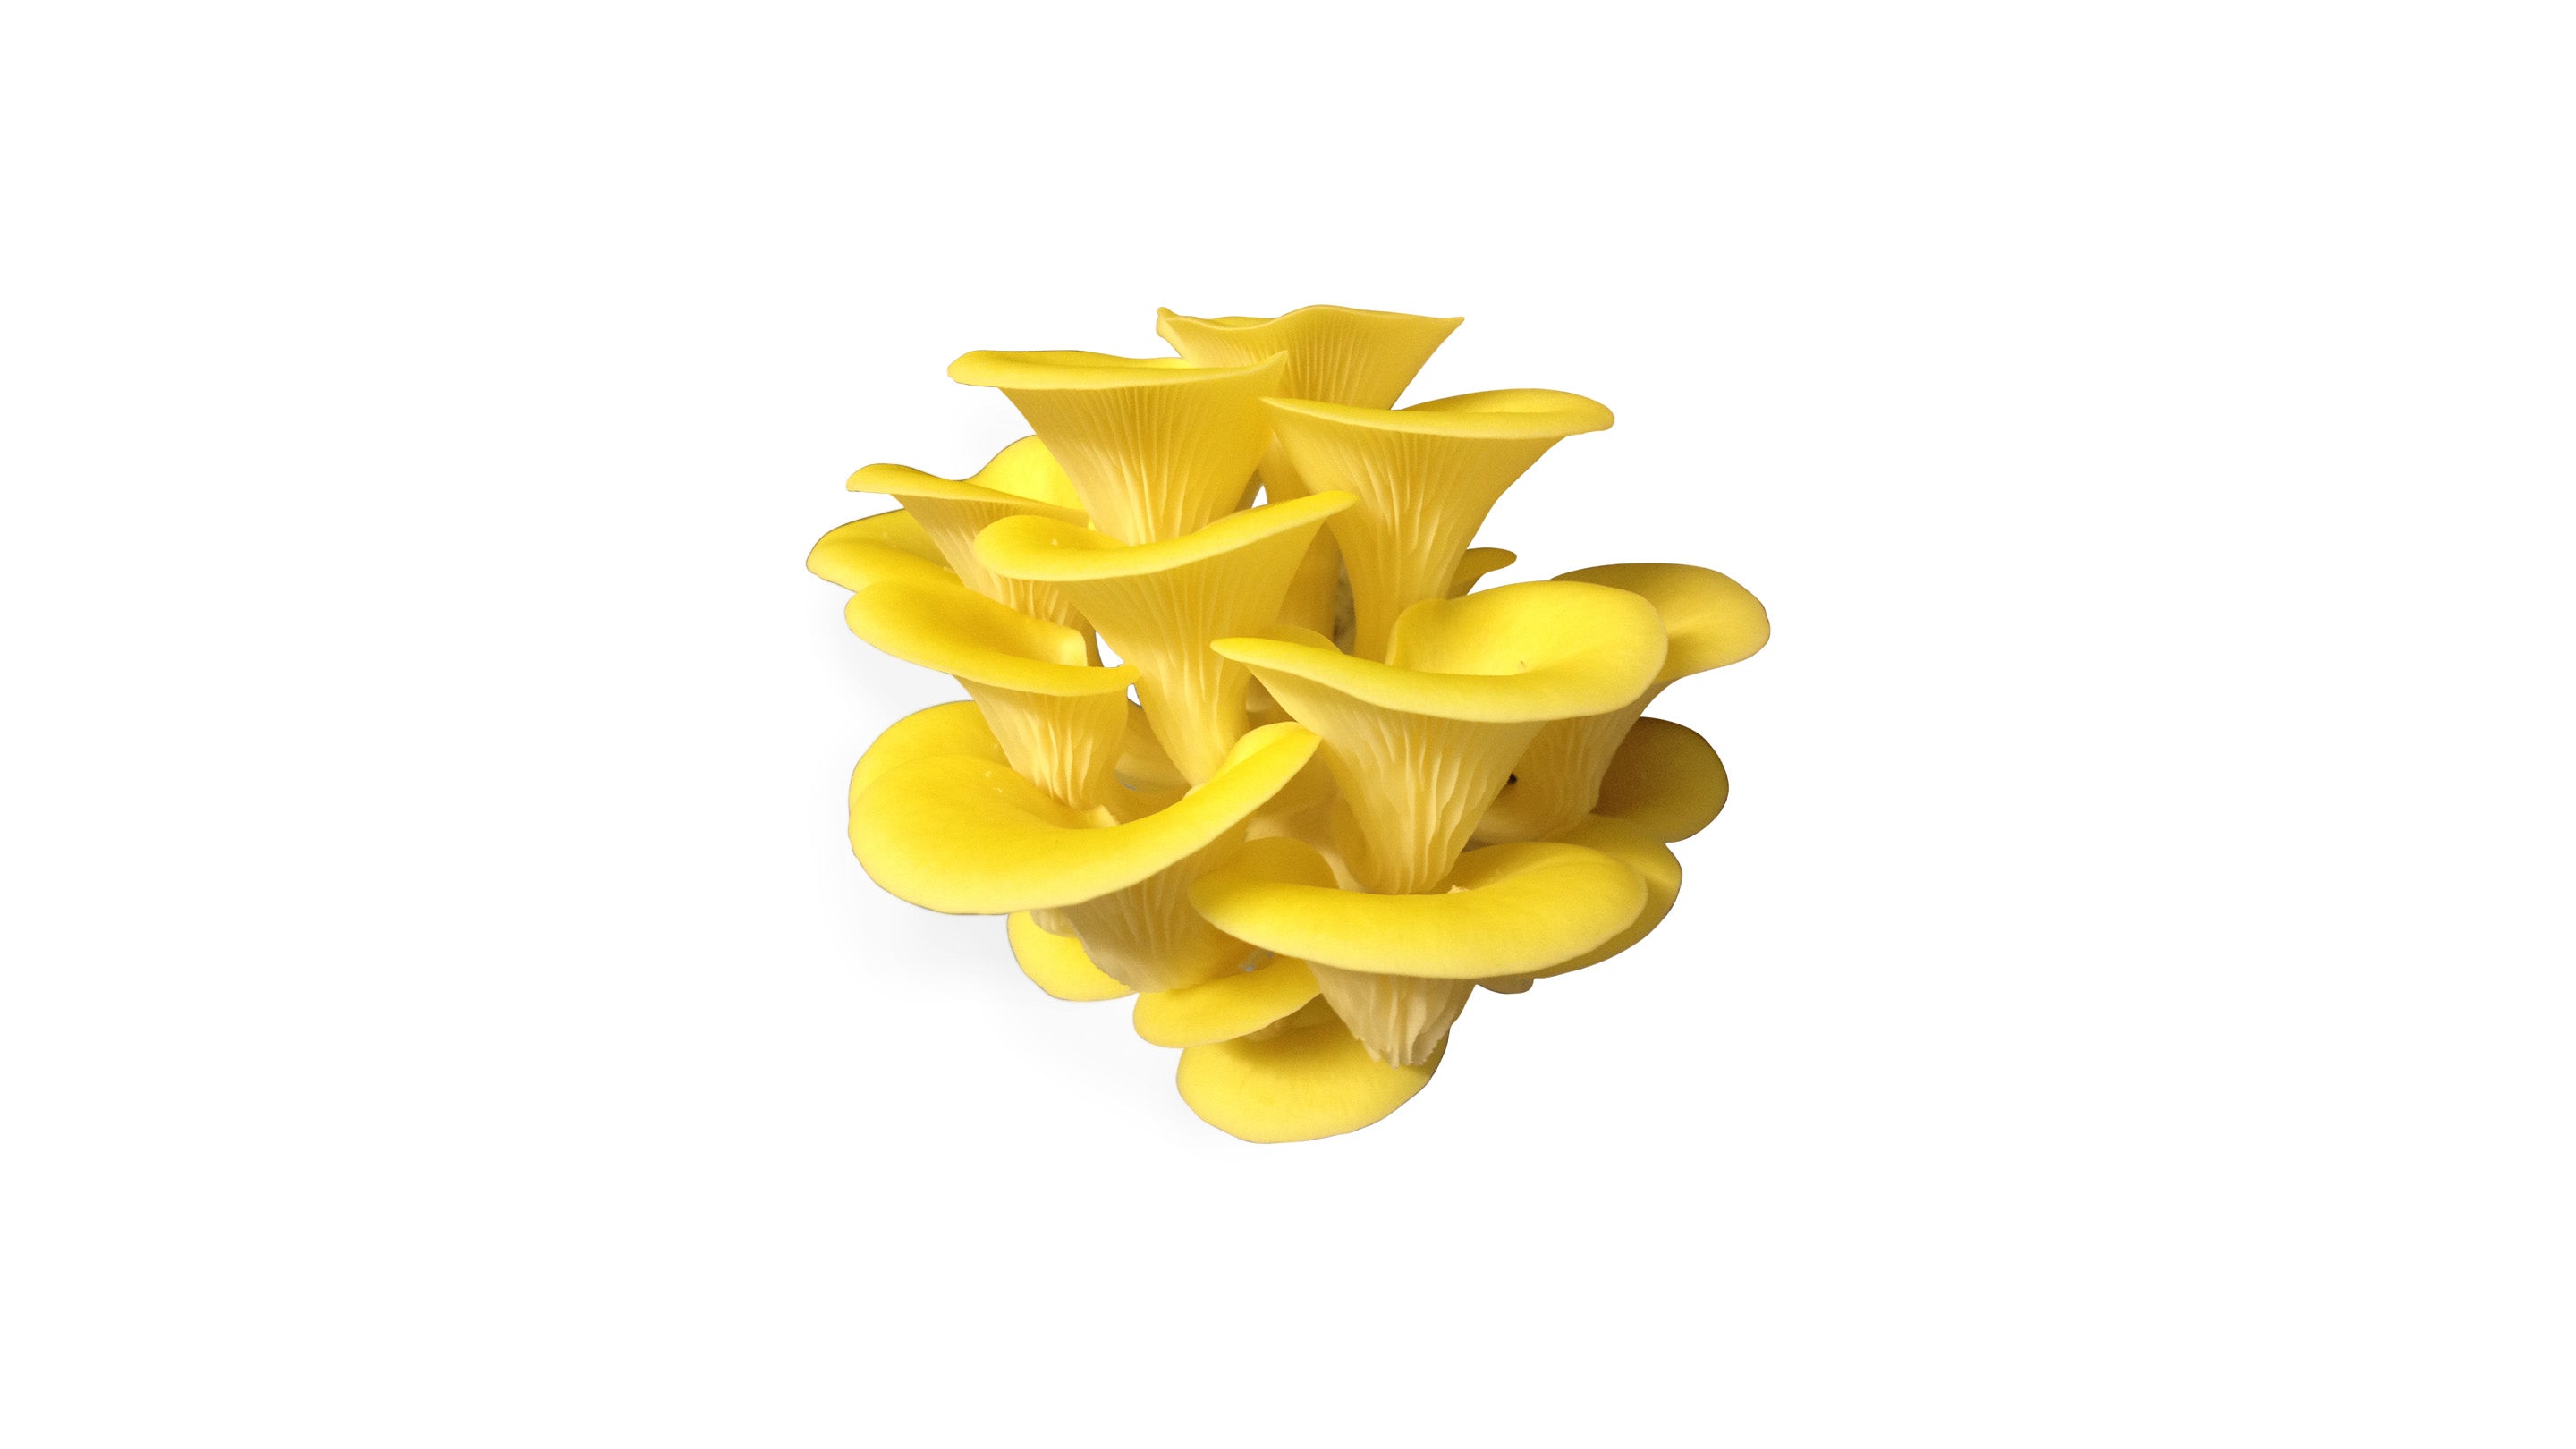
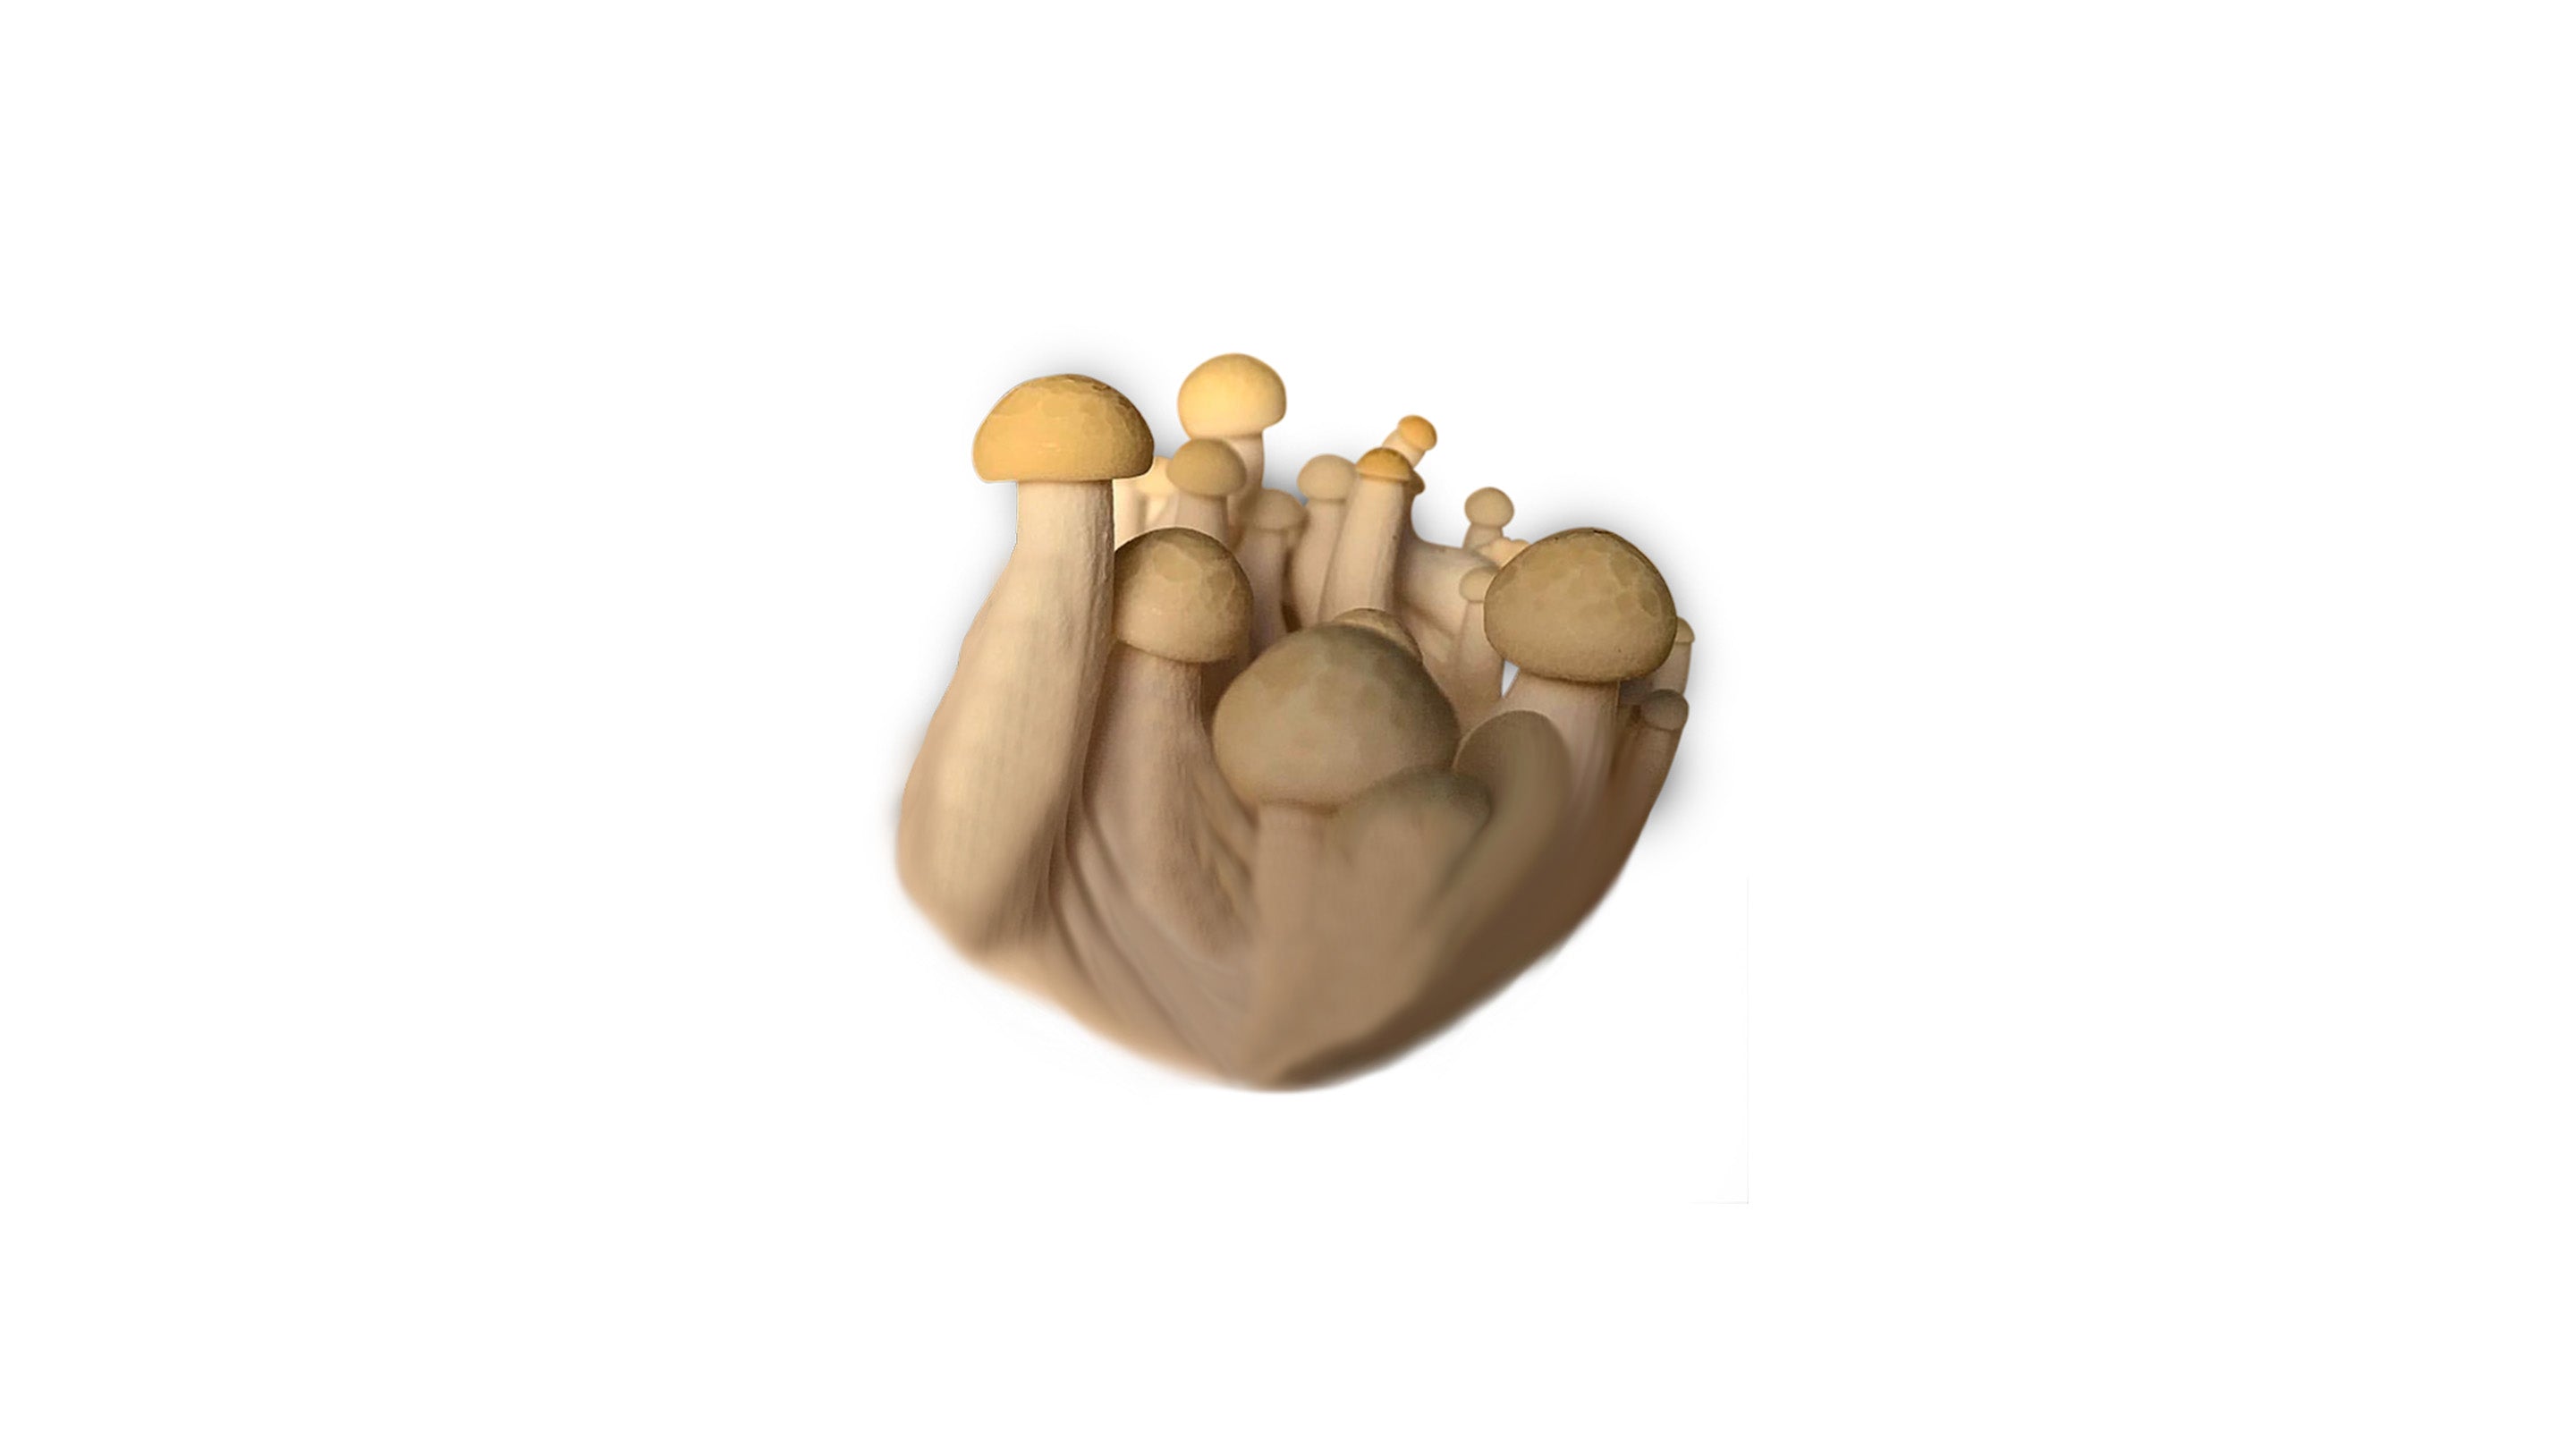
- Yellow oyster shell (Pleurotus citrinopileatus).
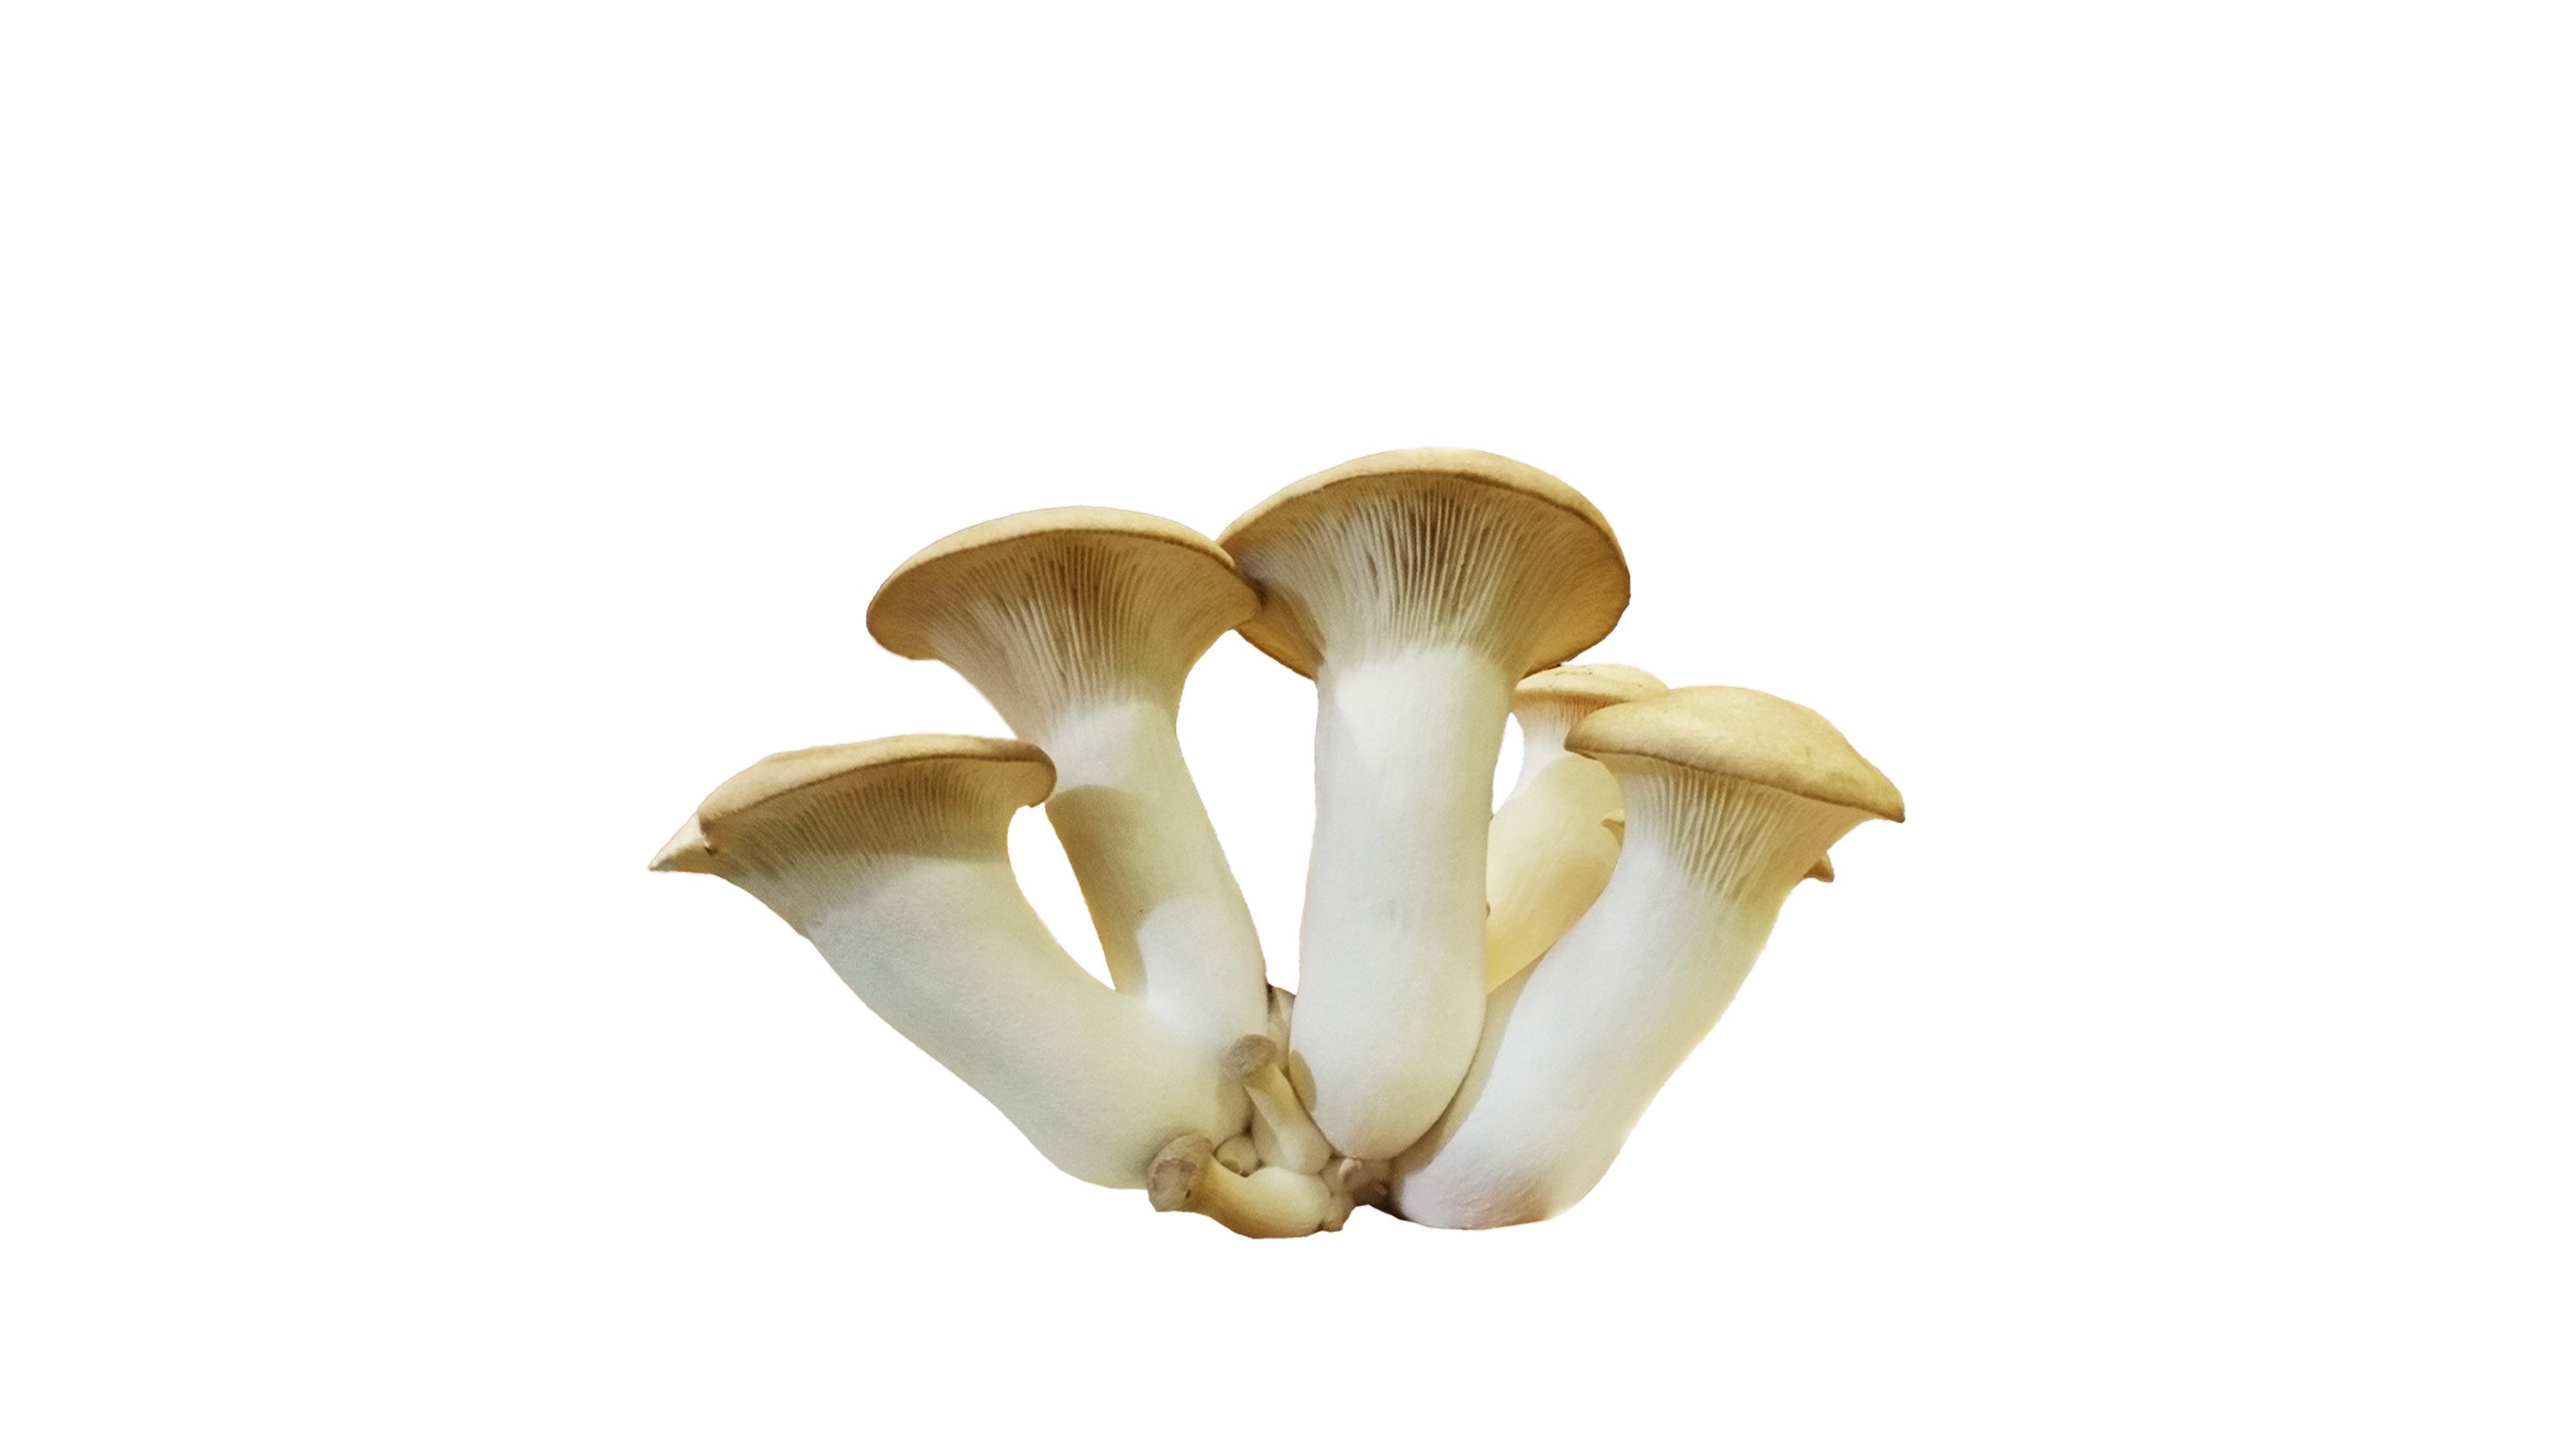
- King clam (Pleurotus eryngii).
Nej, det är inte inte mögel. Det vita är mycel, och ser ut precis som det ska. Vi skickar ALDRIG ut produkter som är dåliga. Alla produkter går igenom 3 steg innan dom lämnar våran byggnad och skickas till kund. Du behöver inte oroa dig. Vi kan detta med svampodling! :)
It depends on which mushroom house you have! See below estimated times:
Gray oyster shell (Pleurotus ostreatus): About 21 days.
Yellow oyster split (Pleurotus citrinopileatus): About 16 days.
King mussel (Pleurotus eryngii): Between 21-28 days.
Mycelium is a living organism and can sometimes take longer and sometimes shorter time.
Du kan få upp till tre skördar med ett svamphus. I odlingsbeskrivningen som kommer med i svamphusen beskriver vi hur du på ett lätt sätt gör detta.
Du kan även efter skörd plantera svamphuset utomhus med mer halmpellets för att få skörd utomhus, och även dela upp svamphuset i 5 nya odlingspåsar
med 5kg halmpellets, för att odla mycelet vidare och få mer skörd.
With the mushroom house, you get at least one harvest but usually up to three harvests. Our personal record is 6 harvests, if you can top that you will get a mushroom house from us!
Increase the chance of more harvests:
1.
After the first harvest, take the grow bag out of the mushroom house box.
2.
Place the entire culture bag containing the colonized substrate in a tub of water. Feel free to put a heavy weight on so that the entire growing block is covered with water. Leave for 12 hours so the substrate can absorb moisture via the holes you previously made and harvested mushrooms from.
3.
After 12 hours, pick up the entire block and wipe it dry. Then you tape over the previously made holes and put the block back in the mushroom house box. Store in the dark and wait 4-7 days.
4.
After 4-7 days, make 1-2 new cuts in a new location on the growing bag.
After a while, fungus starts to grow on the new cuts you made.
It depends a little on which Mushroom House you have and which growing conditions prevail.
You can get between 0.6kg and 1.5kg of mushrooms at a mushroom house.
Yes, yes and again yes!
There are several ways you can do it.
1. Replanting
You either plant out the house's mycelium in a growing bed or pallet collar that you fill with new straw pellets that you can buy from us.
2. Make new mushroom houses!
Get five large size grow bags and five kilos of straw pellets. Use the same method in the new grow bags as you did when you activated your first mushroom house, and use your first mushroom house block as the starter mycelium that you distribute among five different bags.
3. Use for stock cultivation
The mycelium from the mushroom house can be grafted onto a log instead of fast-growing mycelium or mycelium plug.
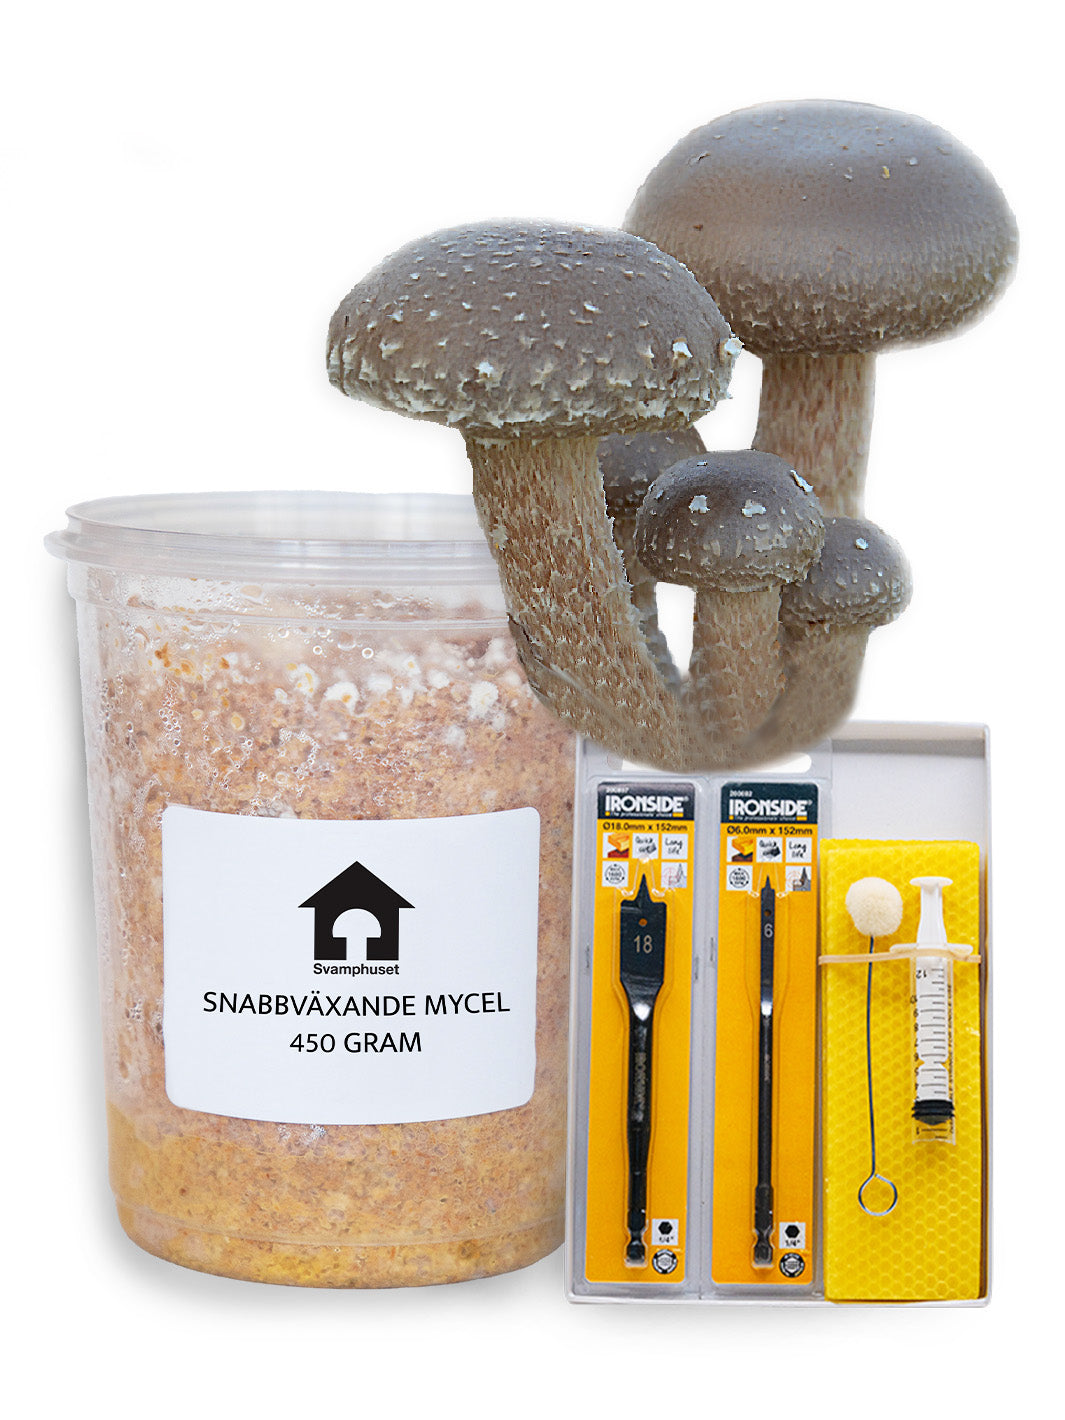
Then you need an 18mm drill, a 6mm channel drill, borehole wax and a wax applicator. You can find all that in our shop and you can find instructions in 'learn mushroom cultivation'
The mushroom houses have a 6 month best before date after production. This only applies to the mycelium itself in the mushroom house. However, the mycelium can be stored in the refrigerator and last significantly longer.
Nine times out of ten, fruiting bodies arrive within the time frame stated on the description. But sometimes it takes longer.
Mycelium is a living thing and sometimes seems to have a will of its own. If you followed the instructions and still did not get any fungus, it could be due to several reasons. It is probably time that is the biggest culprit in the drama. Sometimes the mycelium takes longer to create fruit bodies than what is stated in the description, and then it is a matter of patience. So continue spraying where you made the incision with water morning and evening, and during the day if you have the opportunity. If it has taken more than 4 weeks since you made the hole, please contact us and we will make sure to assist you so that you get fruiting bodies.
Then you put the mycelium that comes inside the mushroom house in the fridge, where you store it between 2-8 degrees for up to 6 months. Then the mycelium goes into "hibernation" and reduces its activity.
When you then take the mycelium out, it will wake up and be ready to grow as usual. Feel free to take it out 24 hours before mixing it with the straw pellets.
It is impossible for us to answer without a picture. But if it has been stored for over a year at room temperature, there is a high risk that the mycelium has died. If, on the other hand, it has been stored in the fridge, there is a significantly higher chance that it is still alive. We ourselves have activated mycelium that has been in the fridge for two years, which has worked brilliantly.
We cannot guarantee the condition of products after six months or more from the date of purchase, but we are happy to help regardless.
Try and keep your fingers crossed!
Det är mycel! Friskt, levande och redo att sättas igång.
Which mushroom house suits you best?
grow mushrooms on logs
It is very easy to graft mycelium onto wood and no prior knowledge is required.
All that is required is a log and some accessories. Drill holes in the log and tap in either mycelium plugs or fast-growing mycelium and seal with borehole wax . One hour's work generates several years of recurring mushrooms.
It of course depends on how many logs you are going to graft and which tools you use.
Three meters with a diameter of 35 cm takes about an hour from drilling until they are ready to be planted.
You make it even easier if you have the right tools. Such as good drill steel and a wax applicator .
Du måste inte vänta en vecka efter att du fällt dina stockar, men du kan göra det om du vill. Det finns en gammal tradition om att låta stocken vila några dagar, men det är absolut inget krav för att lyckas med inokuleringen.
Tvärtom: det kan faktiskt vara bättre att inokulera direkt, snarare än att vänta för länge. Anledningen är att om du väntar för länge riskerar stocken att börja koloniseras av vilda svampsporer från omgivningen. De konkurrerar med ditt mycel om utrymmet – och det kan i värsta fall leda till att din odling misslyckas.
It takes between eight and fifteen months for most species we sell. Sometimes longer. But it also depends on the type of wood, how much water the log has, how much mycelium plug or fast-growing mycelium was grafted and what the weather is like during the first year.
Our tip for faster fruiting is to soak the log for 2-3 days before drilling holes.
Then make sure to double the recommended amount of mycelium in the log and keep the log moist during the driest and hottest months.
If you have access to store the log in a barn, carpenter's shed or similar during the winter, this can also speed up the process because the mycelium can then grow actively even during the winter.
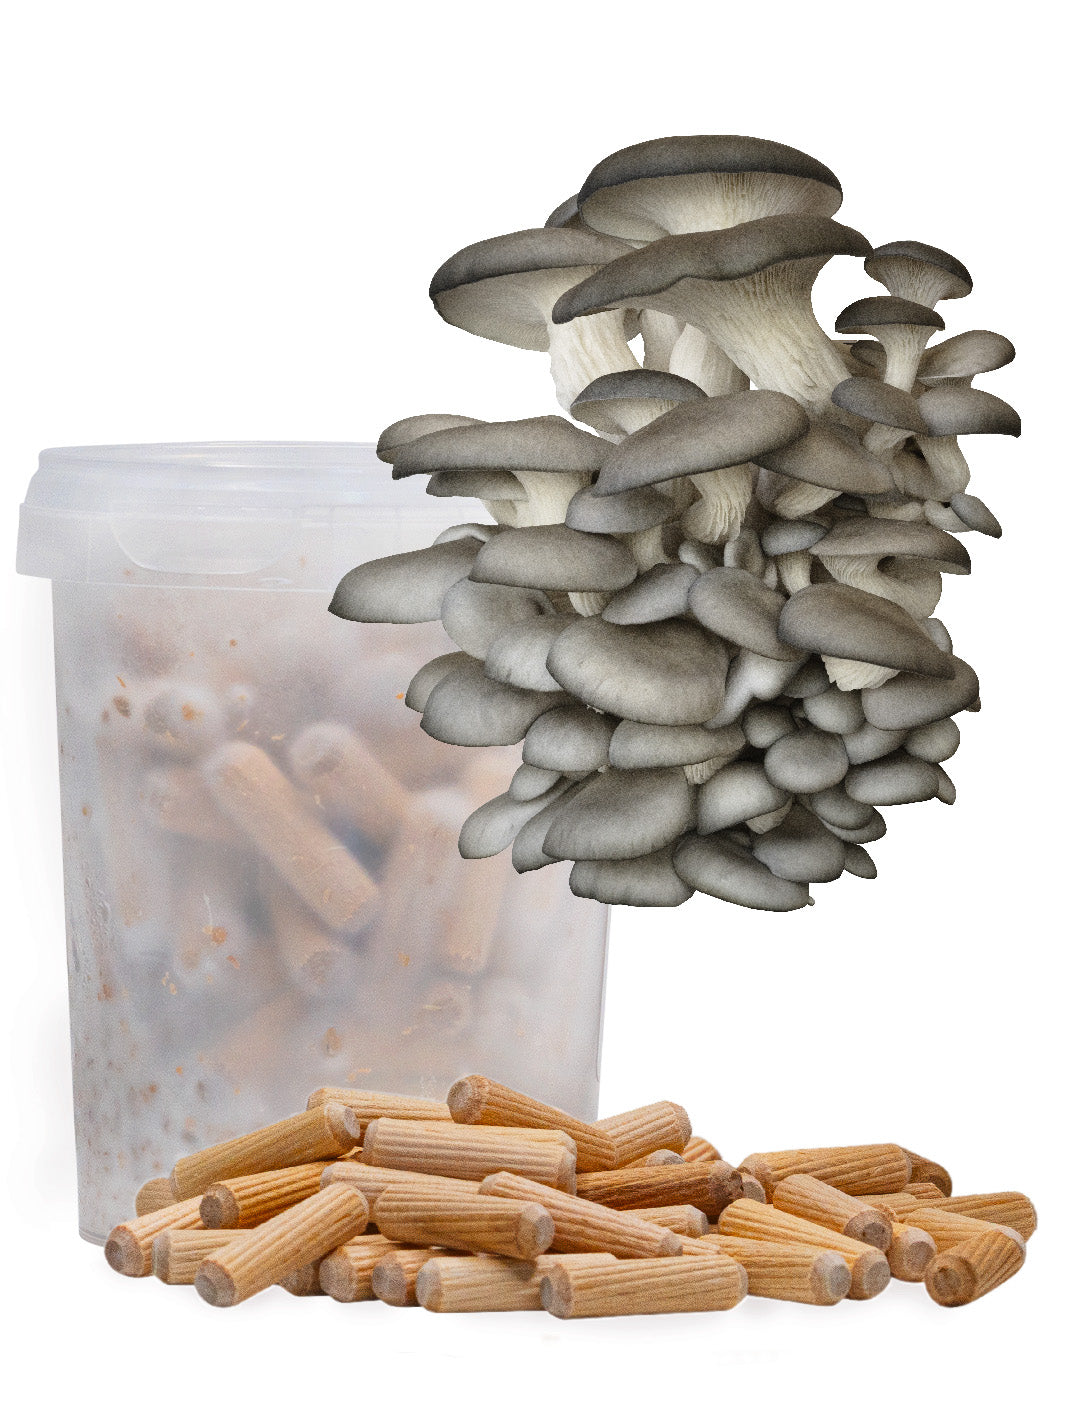
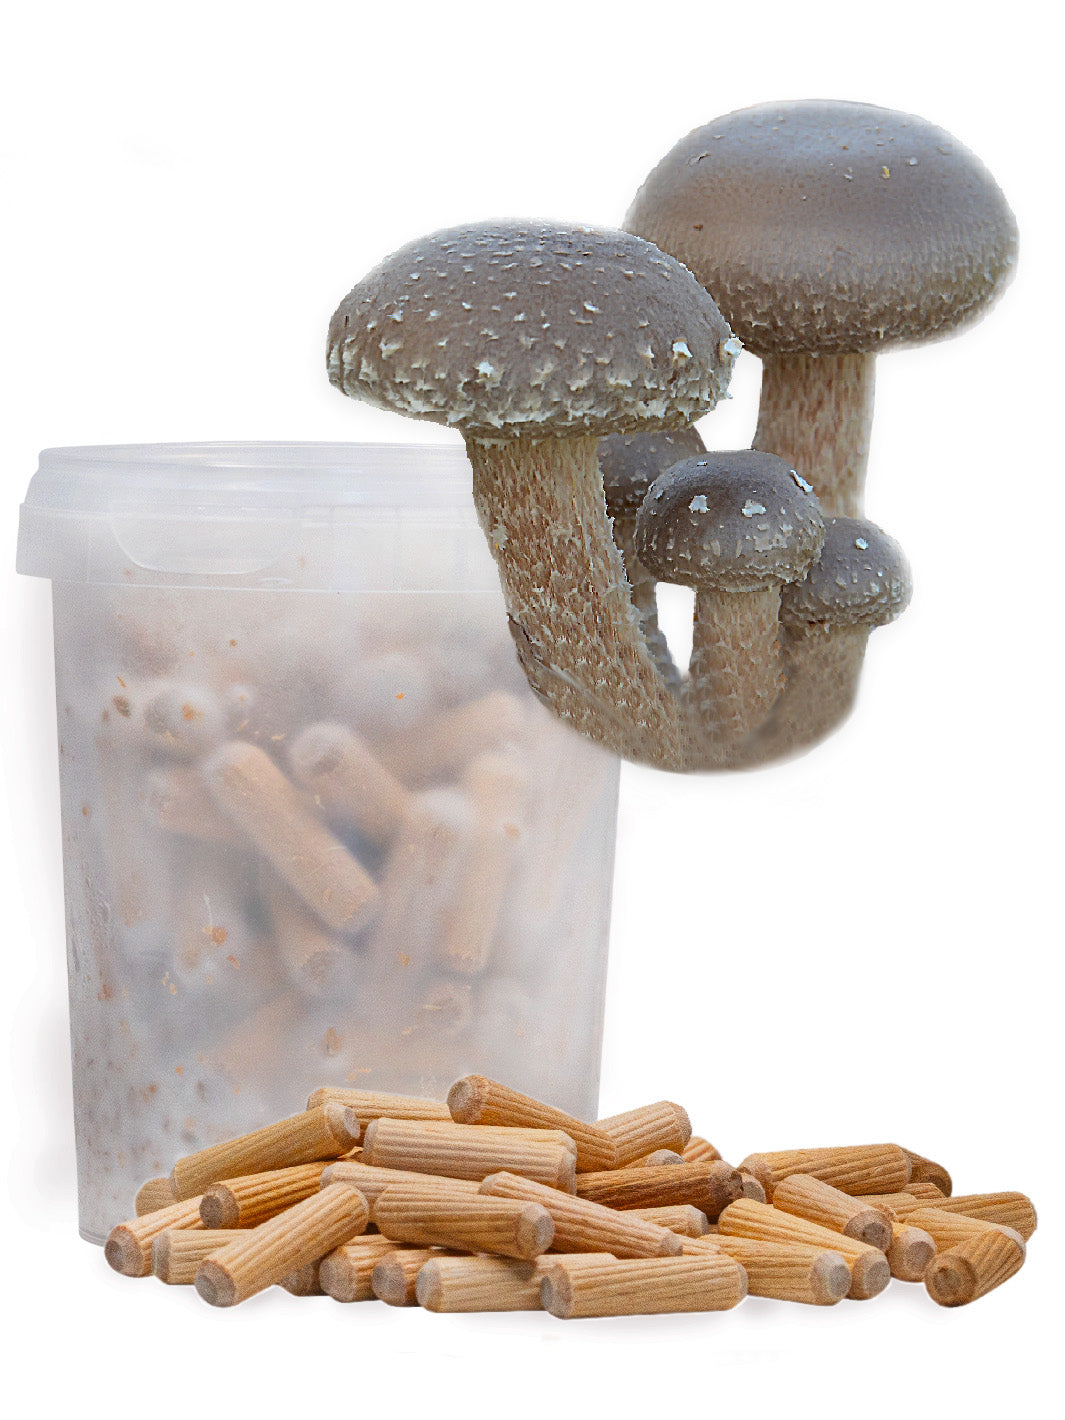
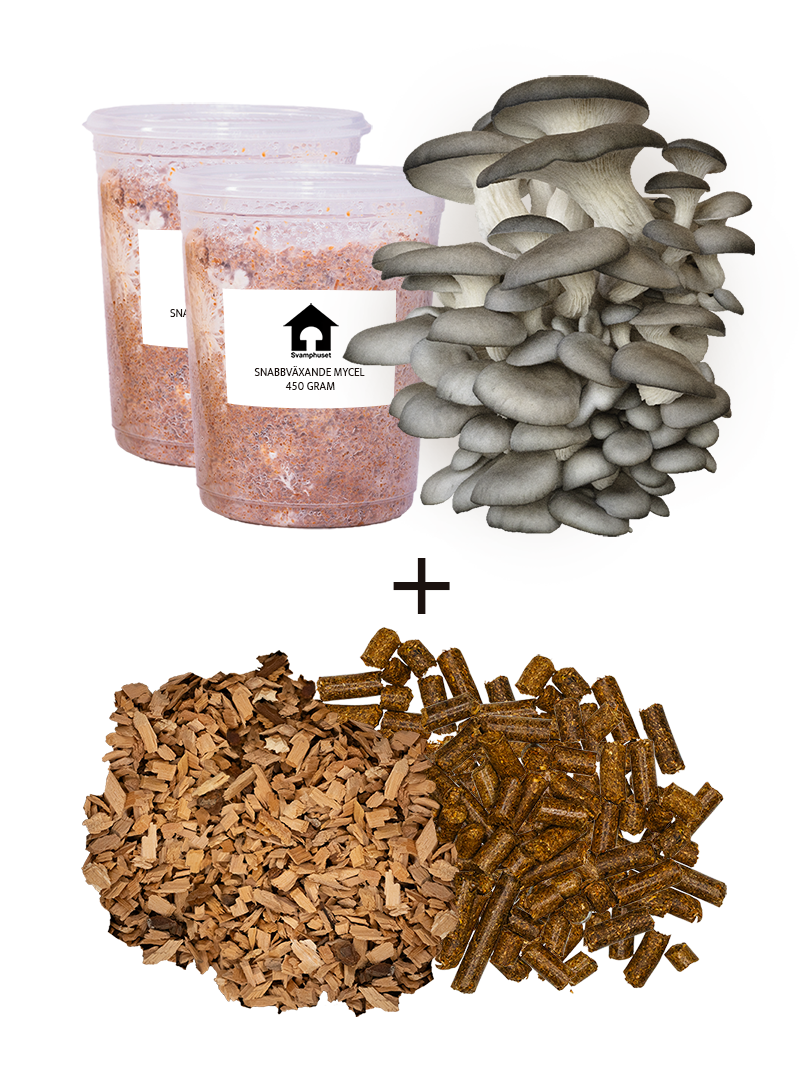
Mycelium plugs are as they sound; Mycelium on plugs. Fast-growing mycelium is mycelium on sawdust from hardwood trees.
Mycelium plugs are used to graft logs in a quick and easy way. Perfect if you are going to graft many logs or want to make it very easy for yourself.
Fast-growing mycelium can be used both for grafting logs and for growing mycelium on other substrate in a grow bag or for horticulture.
The advantages of fast-growing mycelium on logs is that the colonization is faster than when using a mycelium plug.
Usually 3-4 months faster depending on the species.
The disadvantage is that it takes a bit longer to drill the holes because you both drill a 12.8 mm hole and a 6 mm hole in the 12.8 mm hole.
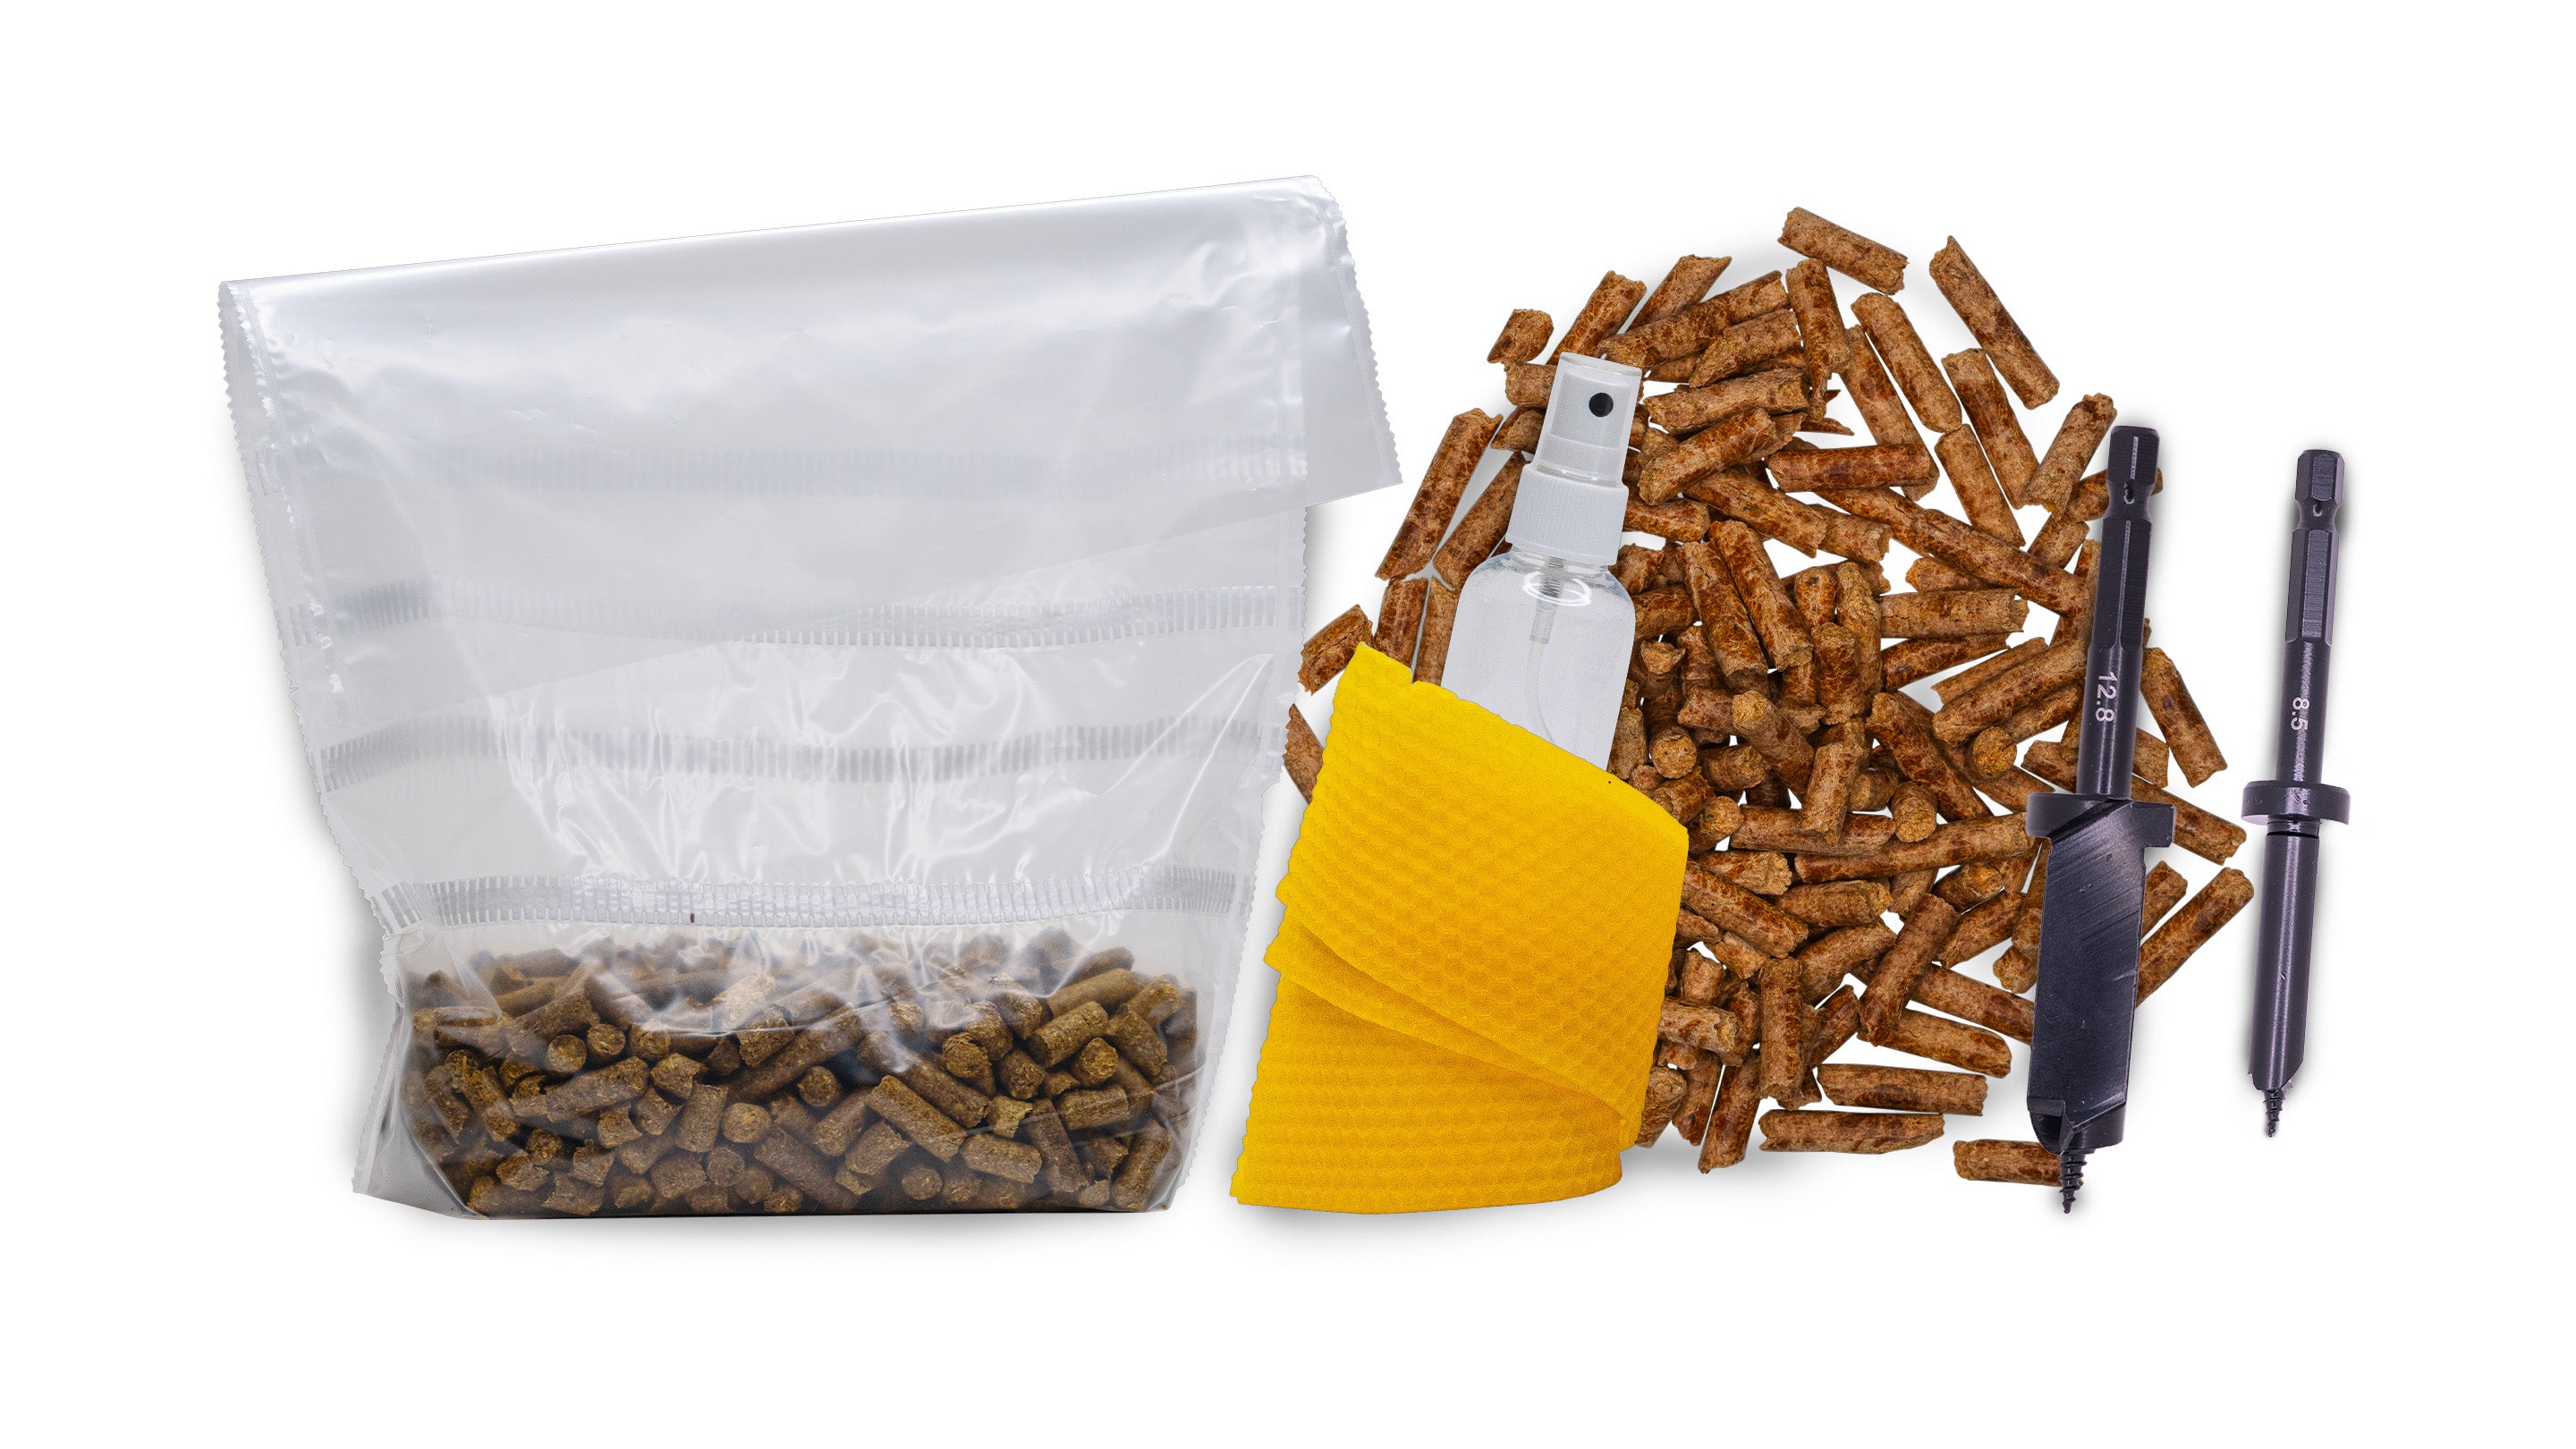
To use fast growing mycelium on logs you need a 12.8mm drill bit , a 6mm drill bit , borehole wax , mycelium injector and a wax applicator .
Each mushroom species has its own favorites. You can find recommended types of wood under each mushroom species when looking at mycelium plugs, fast growing mycelium or log growing kits.
Generally speaking, most deciduous trees do well.
Harder types of wood such as oak and alder produce fungus for a longer time as the mycelium has more compact nutrients to consume.
Oak and birch are two types of wood that work for most of the species we sell.
But as I said, take a look at the species you intend to graft and check the specific recommended wood species for that particular species.
En jordkällare är inte optimal för stockodling eftersom den ofta har för lite luftcirkulation och kan bli för fuktig, vilket ökar risken för mögel och konkurrerande mikroorganismer. Svampmycel behöver syre och rätt balans mellan fukt och ventilation för att trivas. En skuggig plats utomhus med naturlig luftväxling är därför bättre.
Simple answer yes. But there are a few variables to consider.
For apple trees, plum trees and pear trees, we recommend oyster slivers , pale oyster slivers or blue-grey oyster slivers .
For cherry trees, in addition to the varieties above, we also recommend sulfur tick . It tends to really like cherry trees.
We do not recommend conifers for mushroom cultivation. However, there are a few exceptions for certain mushroom species:
Nameko and Lackticka can grow on spruce and in rare cases also on pine.
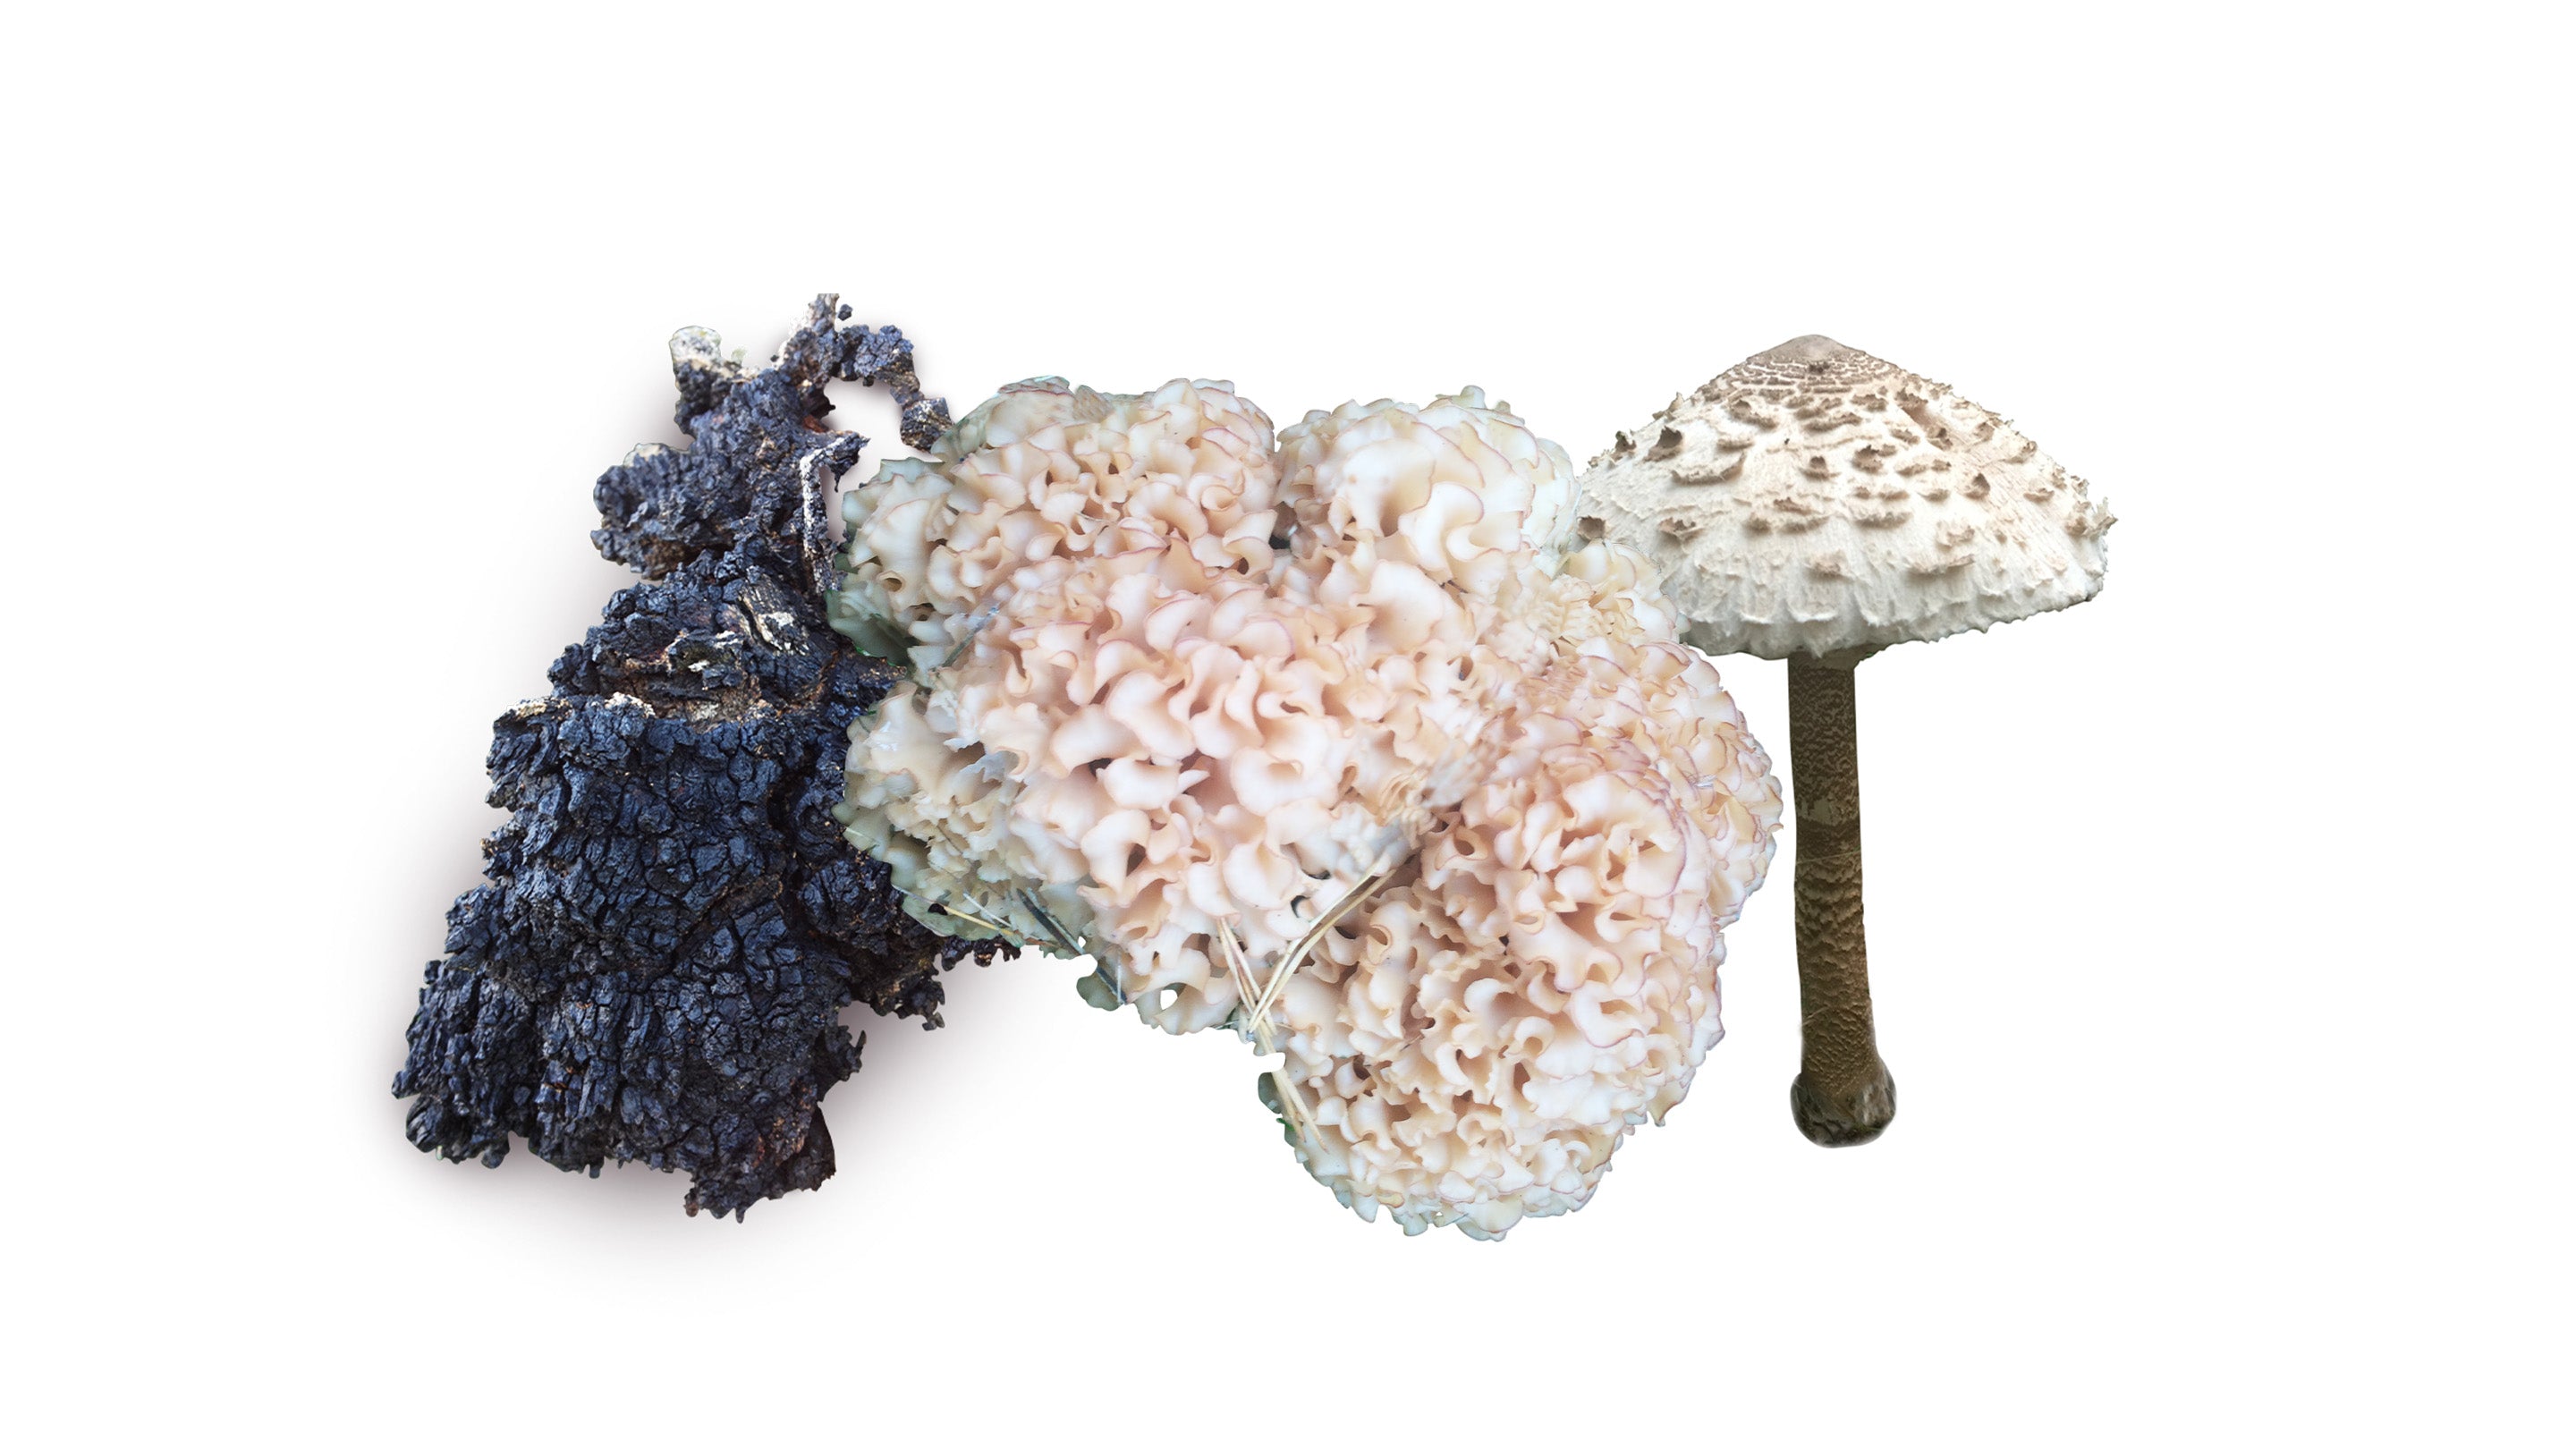
Cauliflower fungus can sometimes grow on pine stumps.
When the sap rises in spring but also in autumn when the moisture in the trees is high. Make sure to use freshly harvested logs that have been at least 1 week before grafting.
You can graft in the summer.
Just make sure to soak the logs 1-3 days before grafting, or soak immediately after grafting for 1-3 days.
You can also water the logs continuously for a week with either a sprinkler or hose in the afternoon/evening after you have grafted the logs if you do not have the opportunity to soak them. Moisture is very important for the mycelium, especially during the summer when it is hot and there is little rain.
We do not recommend old logs.
Feel free to use logs that are no more than a month old and have no damage to the bark. When logs have been left for too long, other competing mycelium can take over the log, which can lead to the mycelium you graft in being out-competed by that which has already colonized the log. The mycelium you graft in can of course win over the possible other mycelium in the log, but then the mycelium you grafted in will spend energy on arguing with the other mycelium and not on the growth in the log itself, which will lead to significantly longer colonization.
You can advantageously take freshly harvested logs and store them indoors to reduce the risk of spores in the air landing on the log and developing competing mycelium.
No. the mycelium survives the winter. If you live far north, it may be good to take the logs into a barn or similar to reduce the risk of the mycelium freezing and dying. If you grow more tropical species on wood, the mycelium may be more sensitive to cold.
But in general log growing is a classic "set and forget", so you don't have to think about things like bringing it in over the winter.
An advantage of bringing in the logs in the winter is that the mycelium gets the opportunity to grow and colonize the log even during the cold months of winter, which speeds up colonization properly.
A common mistake many people make when bringing in the logs over the winter is that they forget to keep them properly moist, which can lead to the mycelium simply drying out and dying.
The indoor climate in winter is generally very dry.
If you did not place the logs in water 1-3 days before you grafted, you can do so after you grafted.
if you can't soak them, please water them thoroughly with a sprinkler or hose.
Store the logs in the shade and never in direct sunlight.
Mushrooms like shade and hate strong sun. Places with a lot of wind blow moisture away. Please place the logs where there is no wind.
The logs can advantageously be watered continuously during the hottest months of the year.
All species prefer different types of wood. Some species have the same preference as others, while some refuse to grow on specific types of wood.
To make this easier for you, we have specified recommended types of wood under each mushroom species and product category.
You should not use Grain Spawn to inoculate logs.
Rye and grain, which are the basis of grain spawn, contain a high level of nitrogen along with other nutrients that not only mycelium likes, but also bacteria and various types of mold.
As we graft logs outdoors, and that logs are not sterile, the risk of contamination increases enormously when you graft with grain spawn.
If contamination starts to spread in the hole you have grafted, there is a great risk that the mycelium will die/be outcompeted and thus it will not succeed in colonizing the log.
If you are going to graft logs, use fast-growing mycelium in the form of mycelium on sawdust or mycelium plugs.
Sawdust and mycelium plugs in particular contain significantly less readily available nutrition for competing bacteria and mould.
This, combined with the fact that the mycelium has already colonized the sawdust and/or wooden plugs, greatly reduces the risk of contamination.
You will most likely not succeed with your log farms if you choose to run with grain spawn . However, you can do a number of other fun things with it, and you can read more about that further down this page!
You should not use liquid mycelium to grow directly in stock.
Liquid mycelium (liquid culture) is a sterilized sugar solution in which the mycelium grows inside. This is used to inoculate sterile substrate such as rye or other grains which can then be used to colonize bulk substrate such as pasteurized or sterilized straw, oak pellets or the like.
Why does it work in theory and not in reality? Liquid mycelium contains incredible amounts of fast nutrition and above all sugar that not only mycelium likes, but also contaminations such as bacteria and mold. The liquid mycelium is produced in a sterile environment, and is sterilized before introducing the mycelium to the sterilized substrate, so only the mycelium you added grows in the solution.
If you pour liquid mycelium on a log, mold and bacteria will take over the sugar solution before the mycelium has time to establish itself and kill the mycelium.
If you pour liquid mycelium into a drilled hole in the log, the same thing will happen.
Mushroom cultivation usually takes place in three or four steps:
1. Liquid mycelium
2. Liquid mycelium is inoculated into sterilized rye or other grains.
3. Fully colonized grain is used to inoculate spa bulk substrate or wooden plugs.
4. The bulk substrate can be fertilized or inoculated into logs. The same applies to the mycelium plugs.
With the above technique, you can create your own colonized bulk substrate that you graft onto logs yourself.
You can see mushroom cultivation a bit like making a fire. If you set fire to a large log with a lighter, nothing happens, or it takes a very long time before it starts burning. But if you instead make the fire in several steps, everything goes faster. Liquid mycelium is the igniter, the grain is the smaller twigs/shoots and the bulk substrate is the larger branches that should maintain a stable good fire for a long time.
Minsta diametern skulle vi säga är 5-7 cm, även om mindre än så funkar. Mindre än 5cm anser vi inte riktigt är värt tiden vs hur mycket svamp du får.
Du kan i stort sätt använda hur grova du vill. Mindre stockar koloniseras snabbare, men ger inte skörd lika länge som grövre stockar. Grövre stockar tar längre tid att koloniseras, men har ett mycket långt skördefönster. Vill du använda stockar som är över 40cm i diameter rekommenderar vi att du dubblar antalet inokuleringspunkter (borde hål med antingen mycelpluggar eller snabbväxande mycel i) för att få en snab och effektiv kolonisering.
Nej det går inte. En stock per svampart är det som gäller. Sätter man två olika arter i samma stock kommer arterna lägga sin energi på att konkurrera med varandra och inte fokusera på att kolonisera stocken för att sedan producera fruktkroppar.
Explore log farming
mycelium plugs
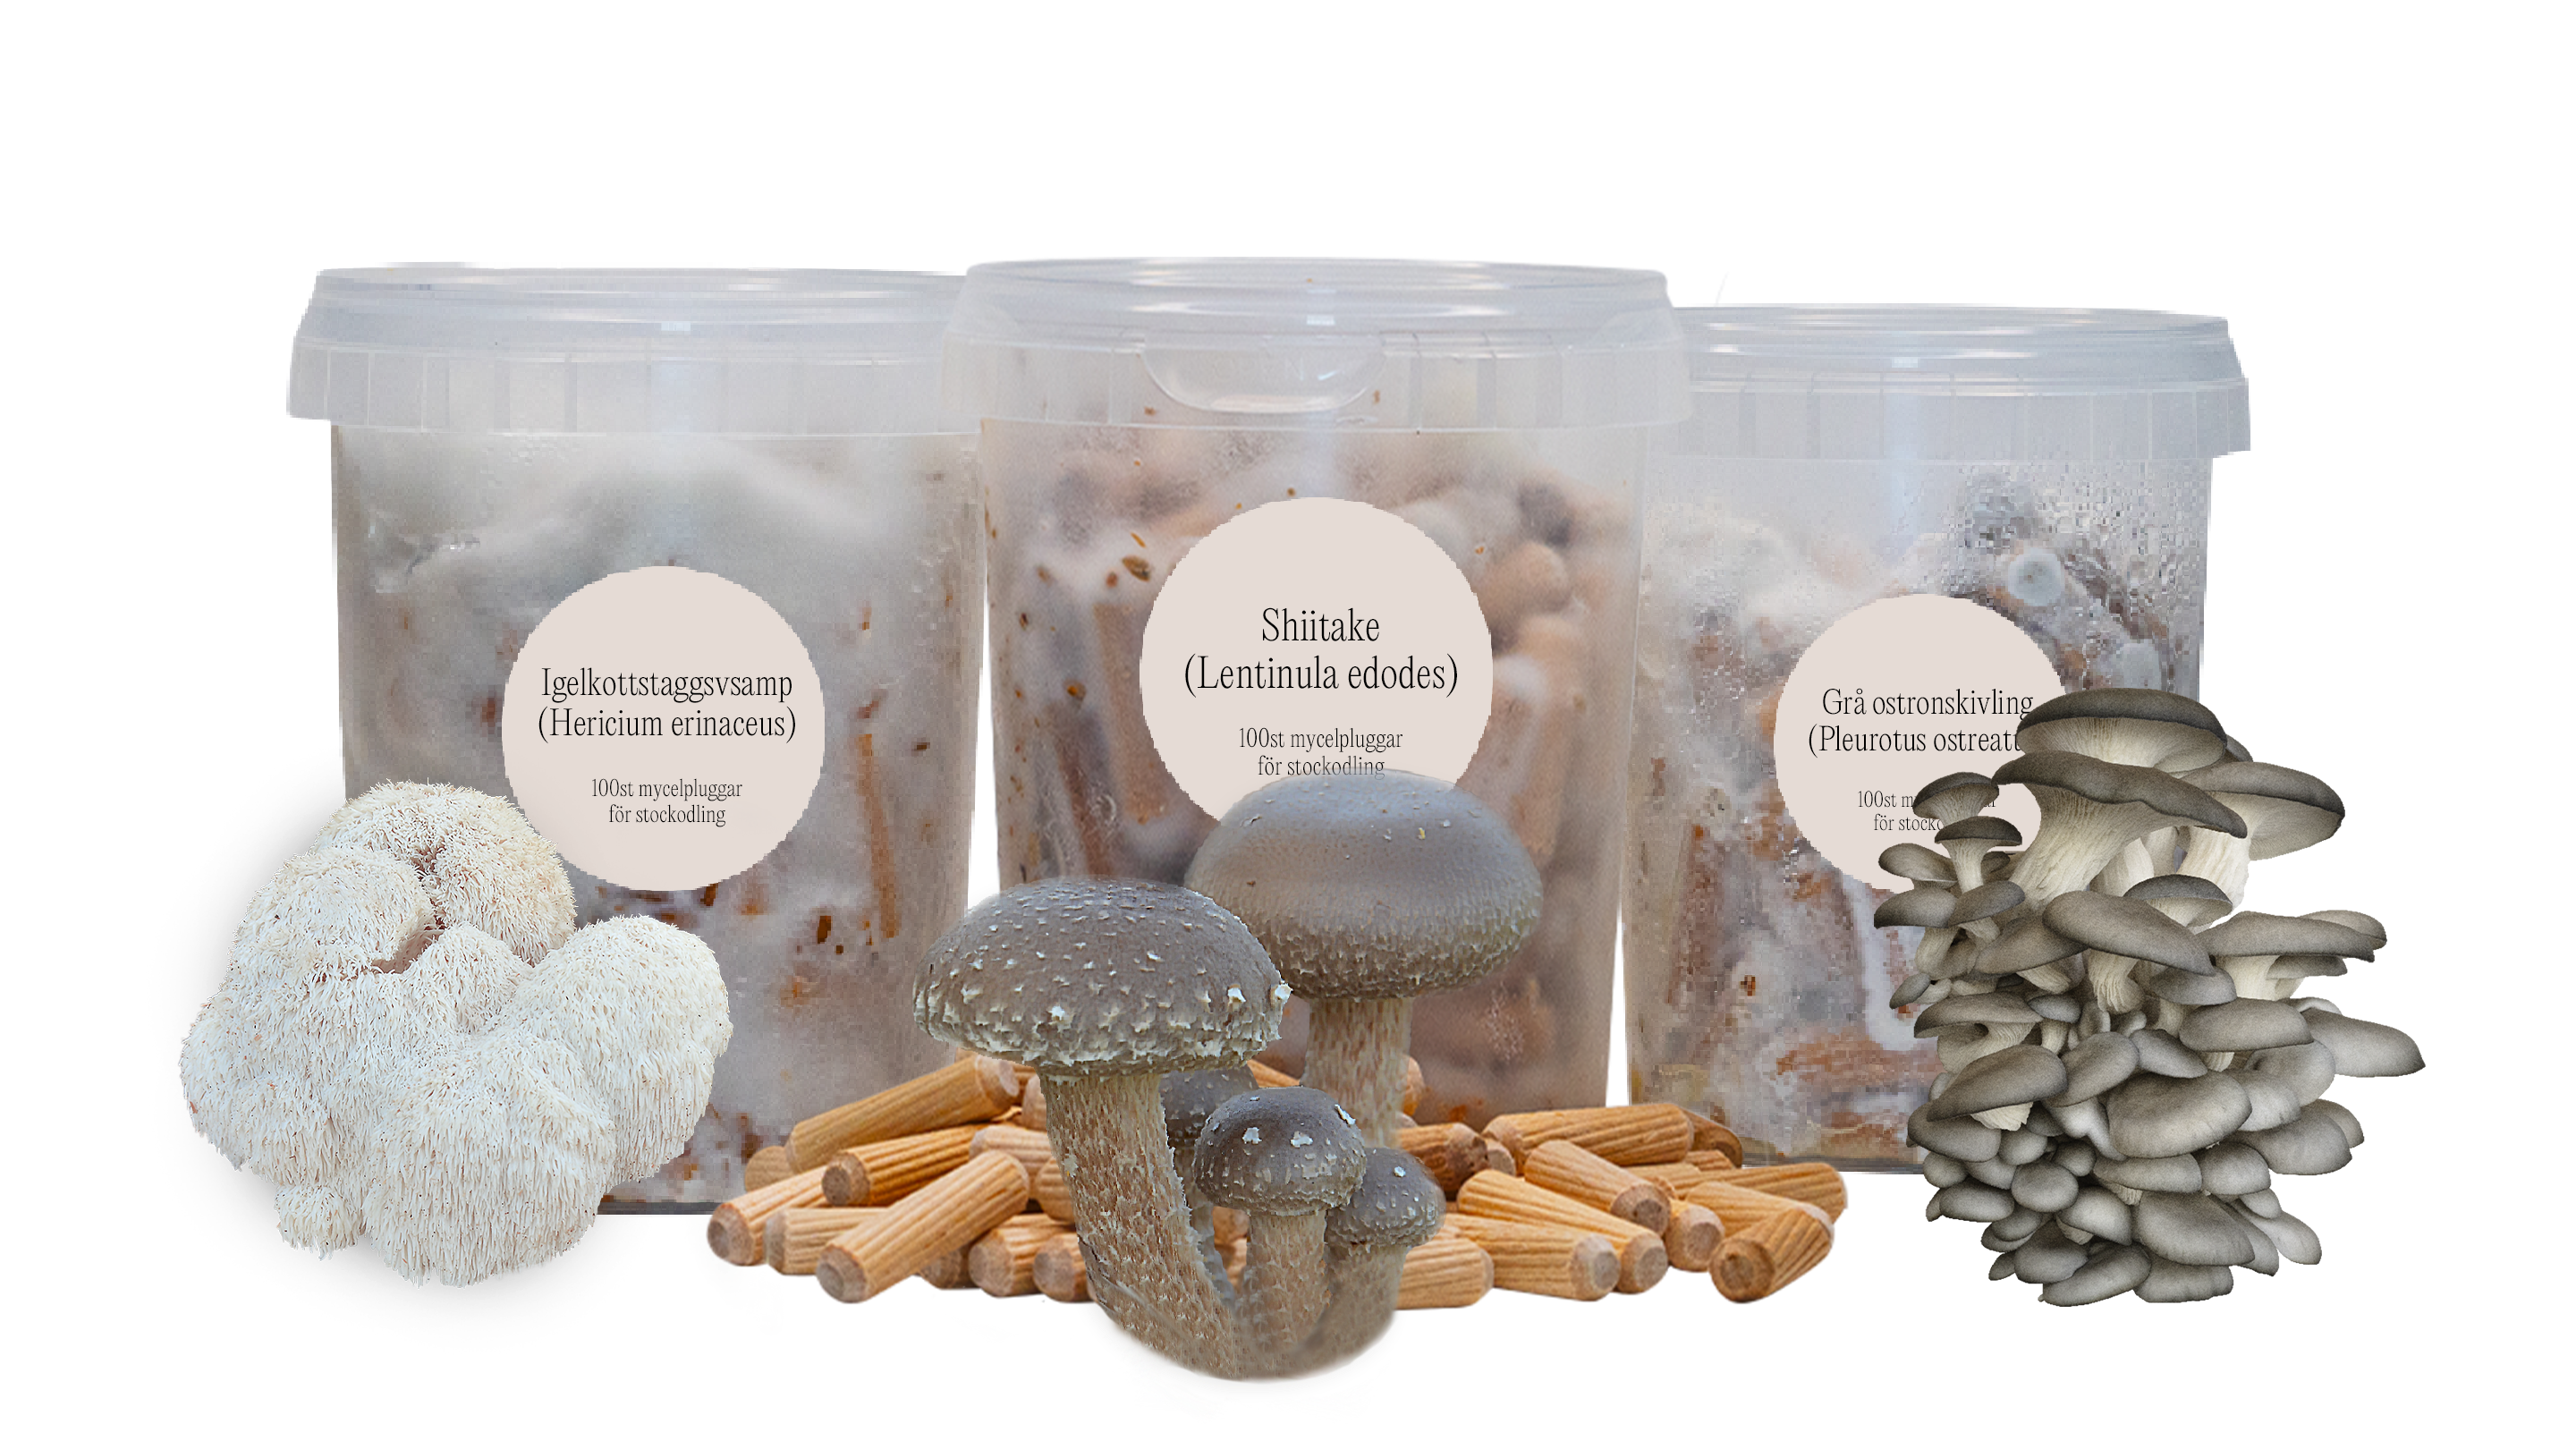
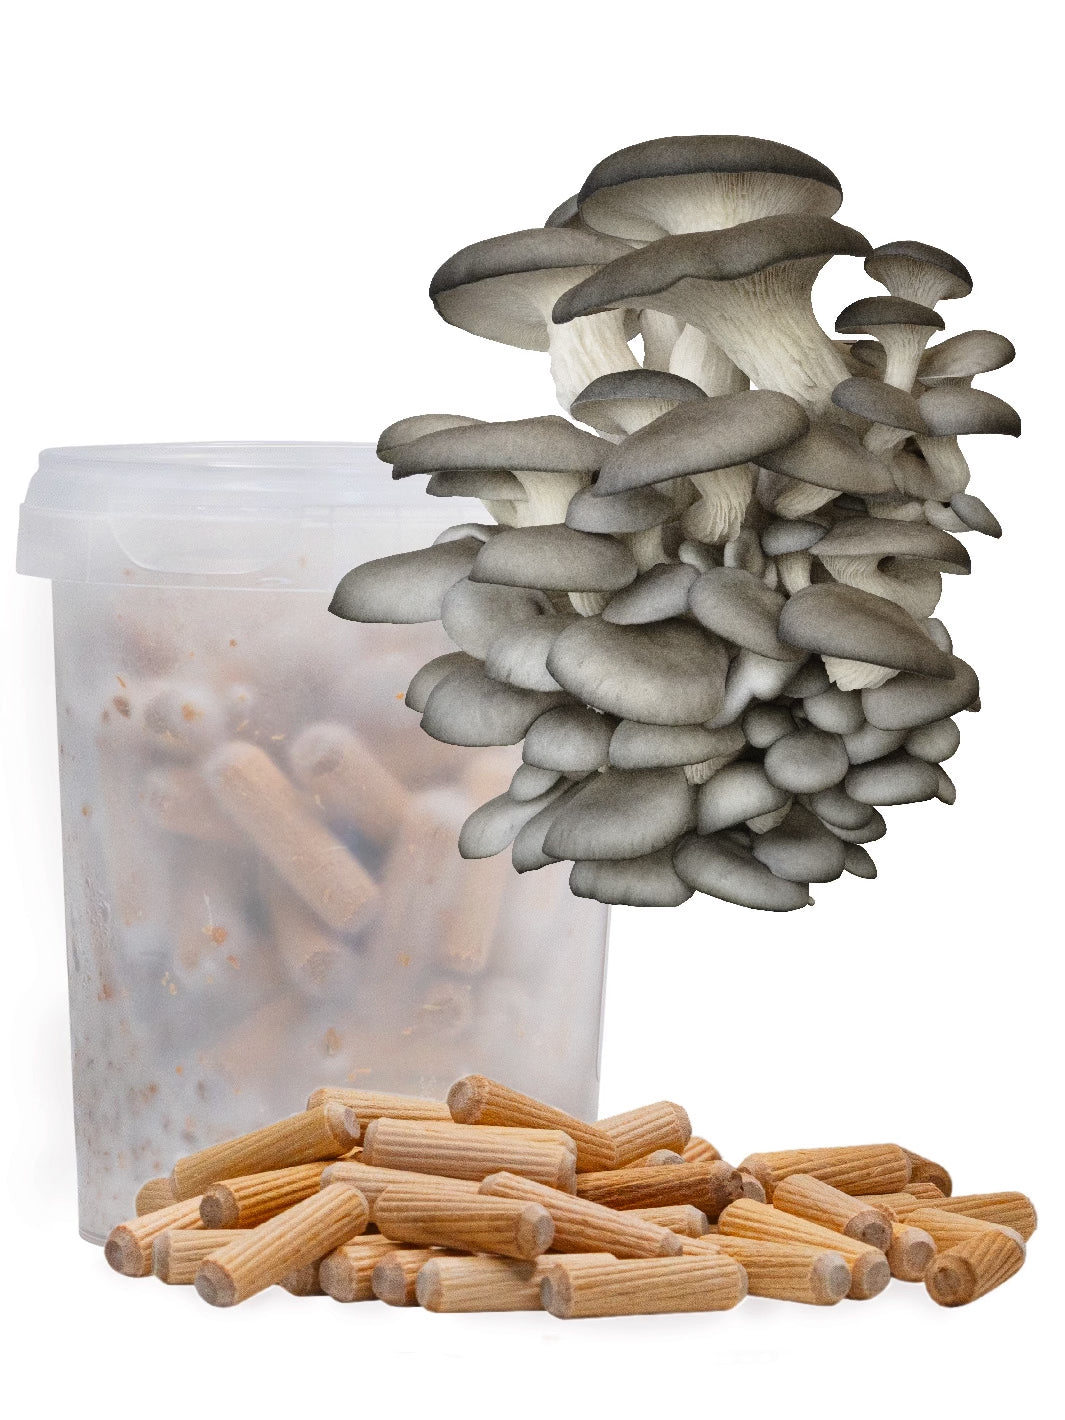
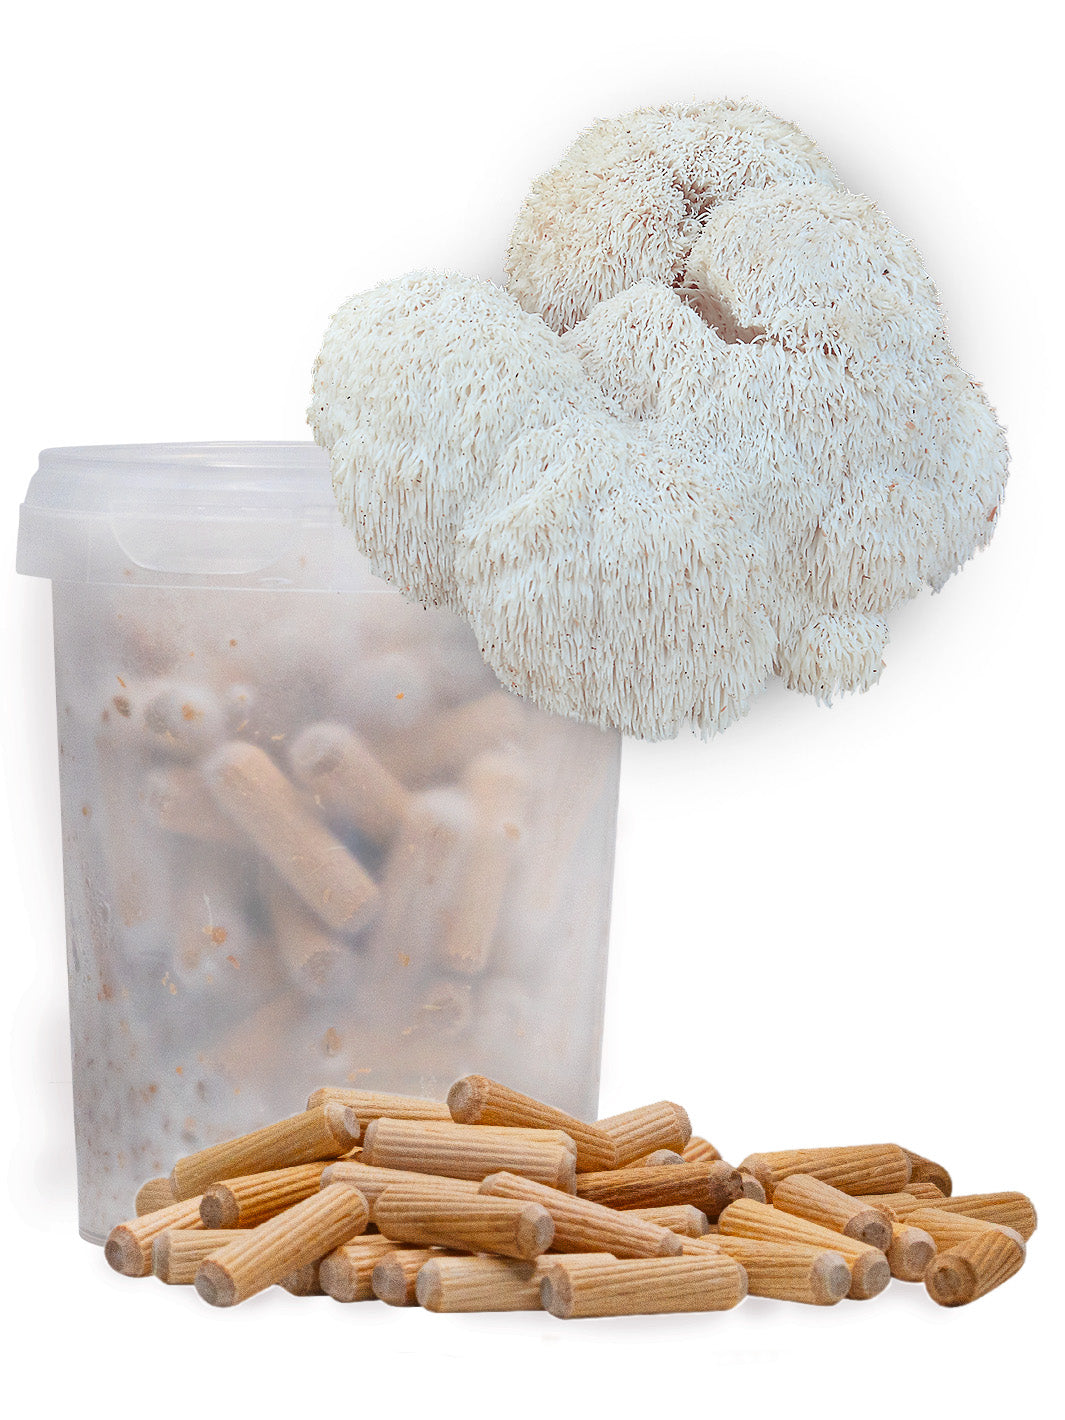
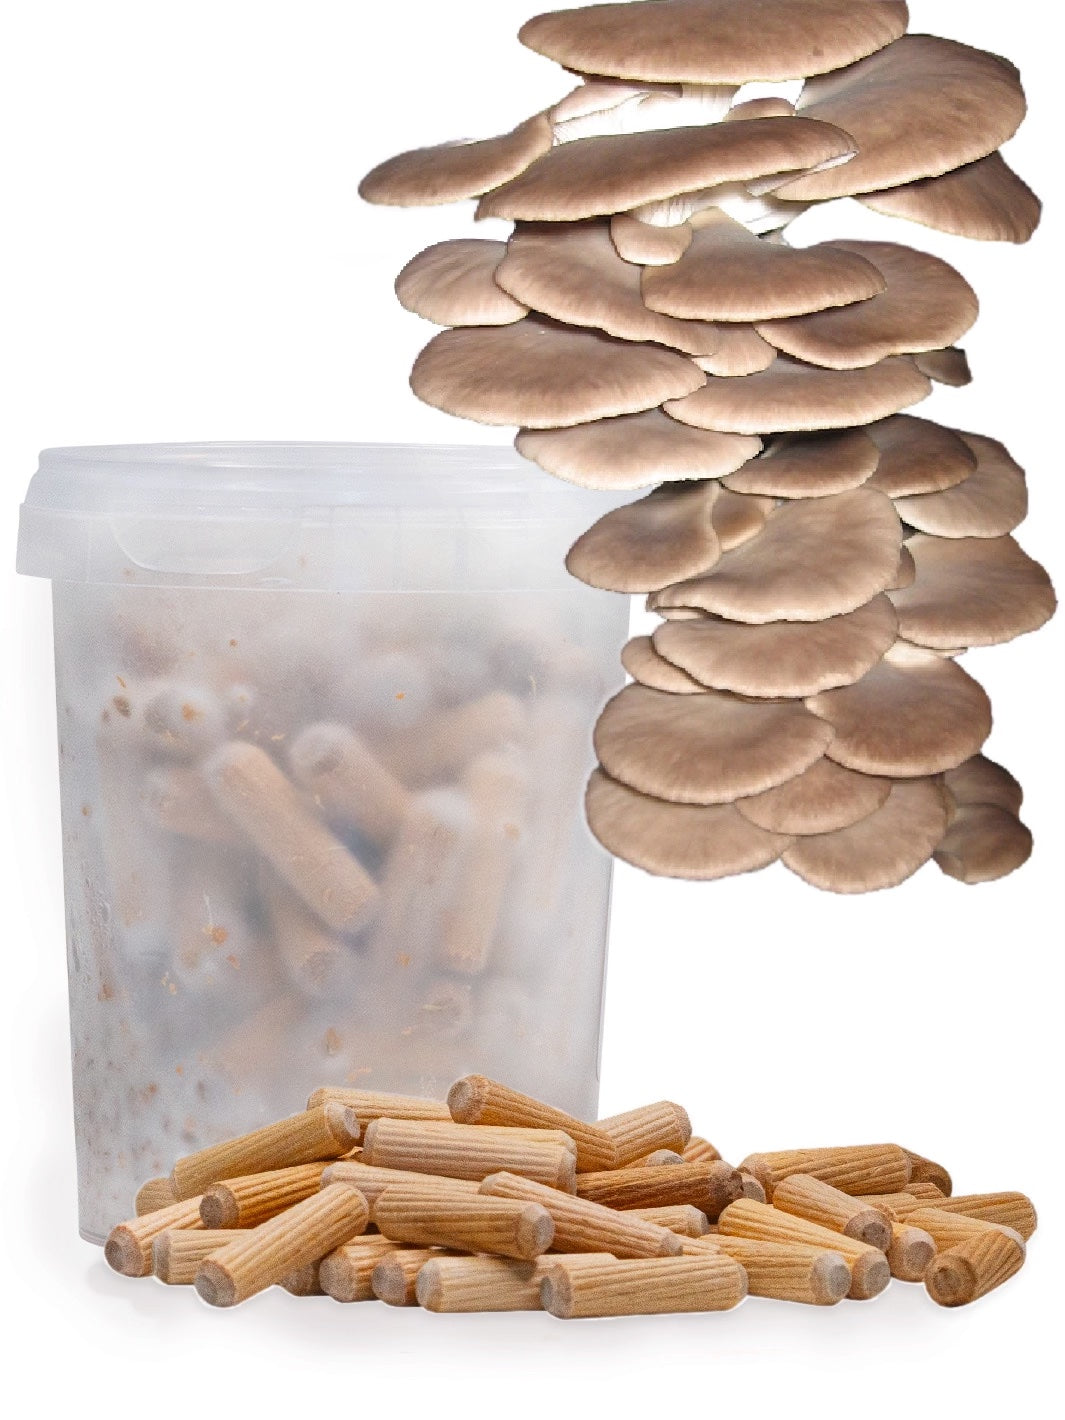
Mycel plugs are treated wooden plugs in birch.
We soaked these wooden plugs, boiled them, regulated humidity, sterilized them, and finally inoculated them with mycelium.
After inoculation, the mycelium is allowed to process the wooden plugs for 2-5 weeks depending on the fungus species.
Finally, under sterile conditions, we fill up the plugs in specially made sterile culture jars with a microfilter on top.
The white you see is healthy mycelium!
Mycelium is white, fuzzy and is what we want on and inside our wood plugs. What you see in the jar is the mycelium that has grown strongly in and on the wooden plugs.
Use a hardwood log. Preferably harder hardwoods. Oak and birch are two that work for most of our species. But you can read about specific types of wood under each mushroom species.
1.
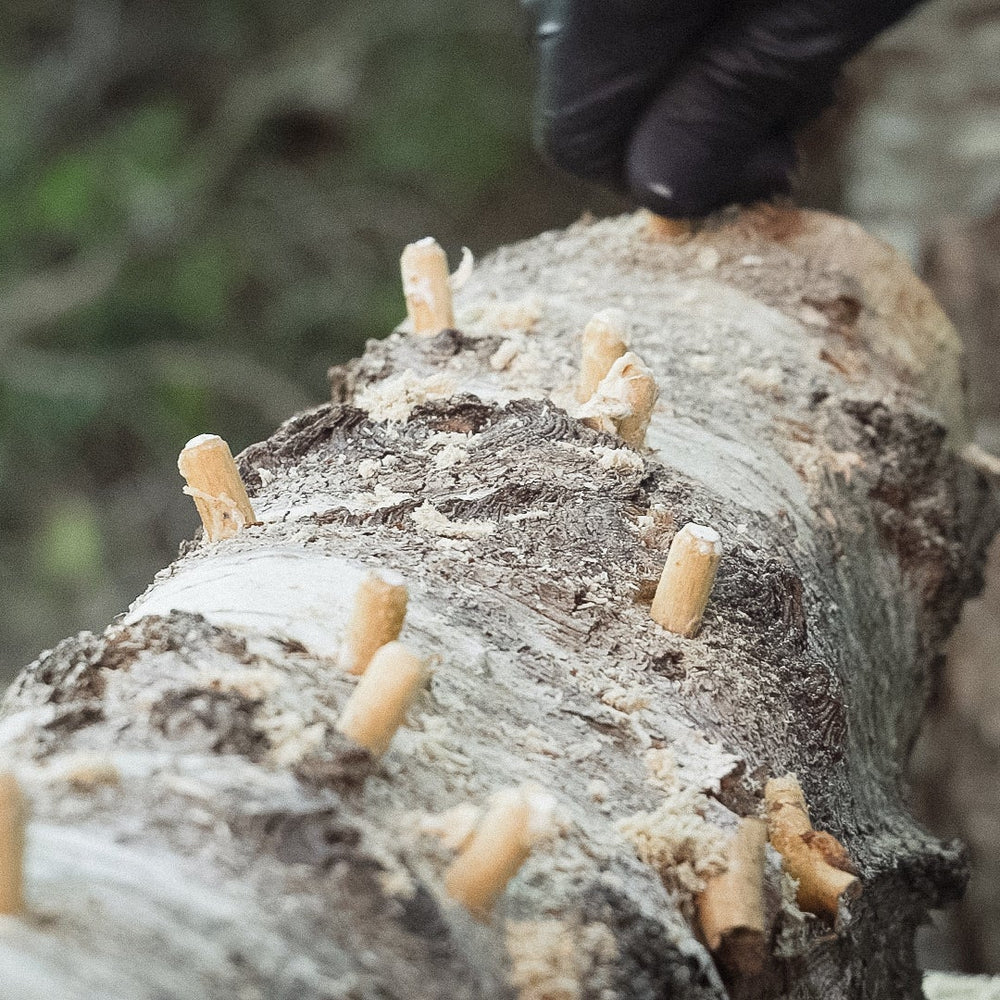
Drill 8mm holes in the log in a zigzag pattern. Make the whole log, on two opposite sides. Feel free to also drill a couple of holes on both sawn-off parts of the log.
2.
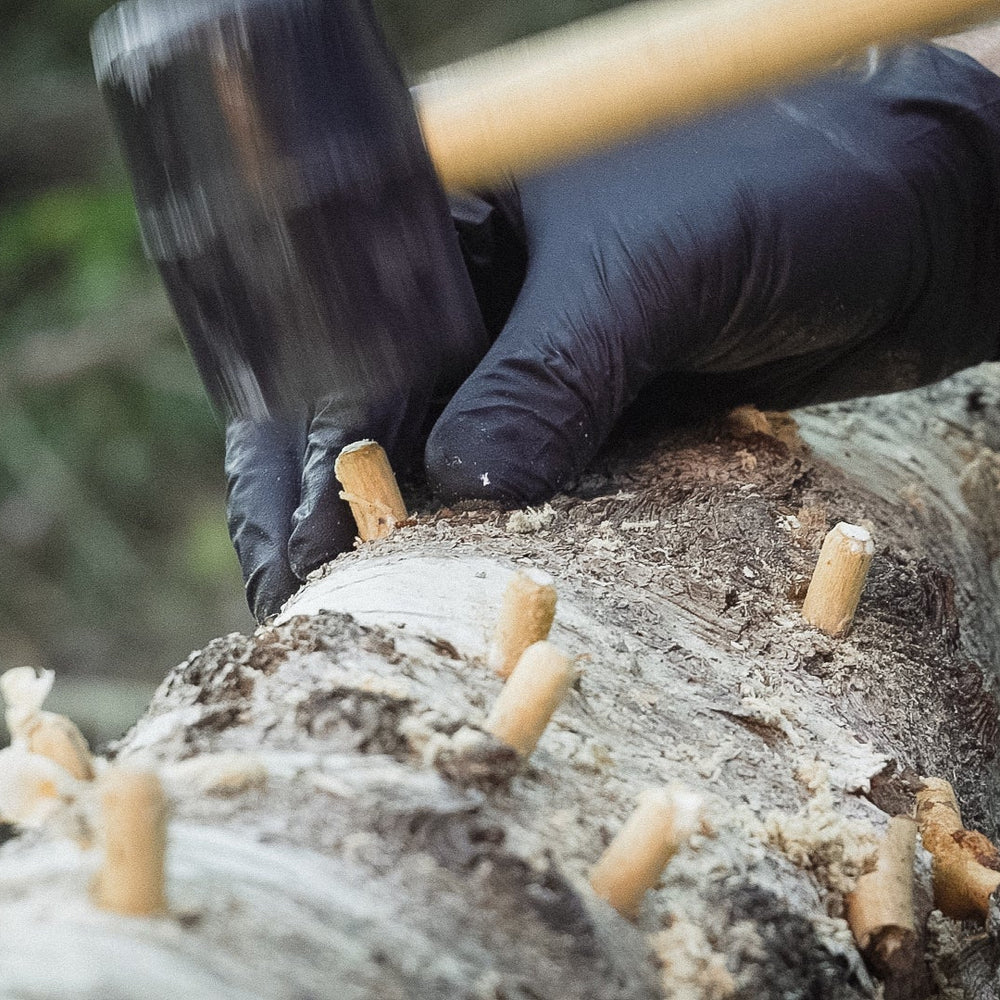
Insert the plugs by first pressing them down a bit with your fingers, and then you hammer them all the way down into the holes. Wash your hands before starting to reduce the risk of contamination.
3.
Apply borehole wax or grafting wax over all the plugs you put in the holes. The easiest is if you use our borehole wax that you melt in a water bath and dip our wax applicator once and "dab" 2-3 times per hole.
At room temperature, they last between 2-4 months, depending on the temperature and mushroom species.
Store the plugs in a refrigerator at 2-8 degrees if you are not going to use the plugs right away to be safe.
In this cold, the mycelium goes into "hibernation" and decreases in growth.
In the refrigerator, the plugs will last for at least 6 months, but usually up to a year.
A log of hardwood, preferably harder hardwood. An 8mm drill that can be put on a drill/screwdriver, borehole wax and a wax applicator .
Absolutely! Often used in outdoor cultivation when creating a growing bed. We also use it continuously when we have leftover plugs. Then we put the plugs in a pasteurized substrate, such as straw pellets and/or oak pellets, and add water.
The mycelium that is in the mycelium plugs will actively start to colonize the substrate.
No! Just as all mushroom species (the fruiting body) look different, the mycelium itself also looks different. Certain mycelium is thick and almost covers the plugs completely, while another mycelium is so thin that it is barely visible.
For example, oyster mushroom has a very thick mycelium, while the sulfur tick's mycelium is much fuzzier and thinner.
We have routine checks on all our products before they go out to the customer. Once in the lab, a second time during incubation, a third time when we take them out of incubation and a fourth time when we pack the product and send it to the customer.
Drill, plow, wait, harvest
fast growing mycelium
Fast-growing mycelium is mycelium grown on sawdust from hardwood trees.
You can fast-growing mycelium to grow in grow bags, or to grow on logs.
Grow bags
inoculate/inoculate the culture bag's substrate with 10-15 percent fast-growing mycelium. In this way, the mycelium spreads from the fast-growing mycelium to the rest of the substrate within 2-4 weeks.
You can then fruit the entire growing bag's substrate by cutting incisions in the bag.
At the holes that have been cut, mushroom bodies will come out after 1-4 weeks, depending on the species.
Stock farming
One also uses fast-growing mycelium to graft stock, instead of using mycelium plugs. Then you only need to drill a wider hole of 18mm and a channel hole in it of 6mm. Then press in the fast-growing mycelium.
If you want to make it easier and more efficient and thus not only save time but also speed up the colonization in the log, you can use a mycelium injector.
Seal the filled holes with borehole wax or grafting wax to retain moisture and keep out contamination.
If you are going to use it to grow in grow bags, you need:
1. Grow bags of any size.
2. Straw pellets, oak pellets or wood chips.
3. Water.
If you are going to use fast-growing mycelium to grow on stock, you need:
1. One or more logs from hardwood trees.
2. An 18mm drill bit and a 6mm drill bit.
3. A drill or screwdriver.
4. Mycelin injector .
5. Borehole wax or grafting wax.
6. Wax applicator .
The white you see in the can is not mold. It is healthy and strong mycelium.
Mycelium is white in its natural color. We never send out mycelium that has the slightest sign of mold or other contamination.
You can use fast-growing mycelium that has developed small fruiting bodies. Mycelium is a living thing and can develop fruiting bodies even though the conditions are against it.
The fruiting body is just mycelium, but in a different "form".
You may want to remove the fruiting bodies before using your fast-growing mycelium to avoid the fruiting body continuing to develop and starting to sporulate.
At least 6 months in the refrigerator. If you are not going to use within a month of receiving it, we recommend storing it in the fridge between 2-8 degrees.
Store your fast growing mycelium in the fridge. When the mycelium is stored at 2-8 degrees, it goes into "hibernation" and reduces its activity. In this way, we extend the lifespan of the mycelium.
We recommend using everything at the same time. We do not recommend that you use an opened jar as other bacteria may have entered the jar when you had it open.
If you grow in a grow bag, your bulk substrate blocks, after they are fully colonized, can be stored in a refrigerator and taken out at room temperature when you feel you want to set them to fruit.
Sure! First you need to make your own grain spawn. You can learn more about that further down this page.
Next, you inoculate grain spawn into bulk substrate (wood chips, straw pellets, or oak pellets) placed in a grow bag. Wait 2-4 weeks depending on the species until the entire contents of the bag are colonized.
Then you have fast-growing mycelium.
At Svamphuset, we take care of all these steps so that you don't have to, and can instead focus on the cultivation instead of producing high-quality mycelium. When you buy a fast-growing mycelium from us, you can be sure that it is of the highest quality on the market.
Indoor mushroom cultivation
Growing mushrooms is easy. To get started, you need:
1. Fast growing mycelium.
2. Grow bags.
3. Straw or oak pellets.
4. Water.
If you want to deepen your interest in mushroom cultivation, there are a number of things you need/may need. It all depends on how deep you want to "geek" down.
Some essential tools you need are:
1. Pressure cooker that reaches at least 15psi.
2. A still airbox or fume cupboard
3. 70% Alcohol for sterilization.
4. Grow bags or glass jars
5. Cereals such as rye or millet.
6. Bulk substrate such as straw pellets.
Write to us and we can help you get started with more advanced mushroom cultivation!
All species that we sell can be grown indoors!
We are constantly increasing our range of mushroom species that can be grown indoors or outdoors. So far, over 200 species have been grown indoors, with only 20 reaching industrial scale.
More than that have probably been cultivated, but there is very little information about exactly how many species have been cultivated. That's the fun of mushroom farming!
One can always look for new species to experiment with. Who knows, maybe you will be the first in the world to cultivate a special species?
Growing mushrooms indoors is a simple hobby. Mushroom farming is super easy, incredibly rewarding and something for everyone. If you are completely new to mushroom cultivation, we recommend our mushroom houses to quickly and easily become a mushroom grower.
It's guaranteed to make you want to grow even more mushrooms!
Mushrooms can be grown indoors. At present, we do not sell ready-made growing kits for mushrooms. But we sell our absolute favorite oyster slivers , which we think are even tastier and easier to grow. For those of you who really want to grow mushrooms , we have it as liquid mycelium.
You cannot grow chanterelles at all, unfortunately.
Chanterelles are a mycorrhizal fungus that needs plants and the plant's roots to grow, thrive and set fruit. Mycorrhizal fungi live in symbiosis with the plants, where they receive, among other things, sugar from the plant's roots in exchange for the mycelium of the fungus providing the plant with micronutrients that the plant otherwise has difficulty absorbing.
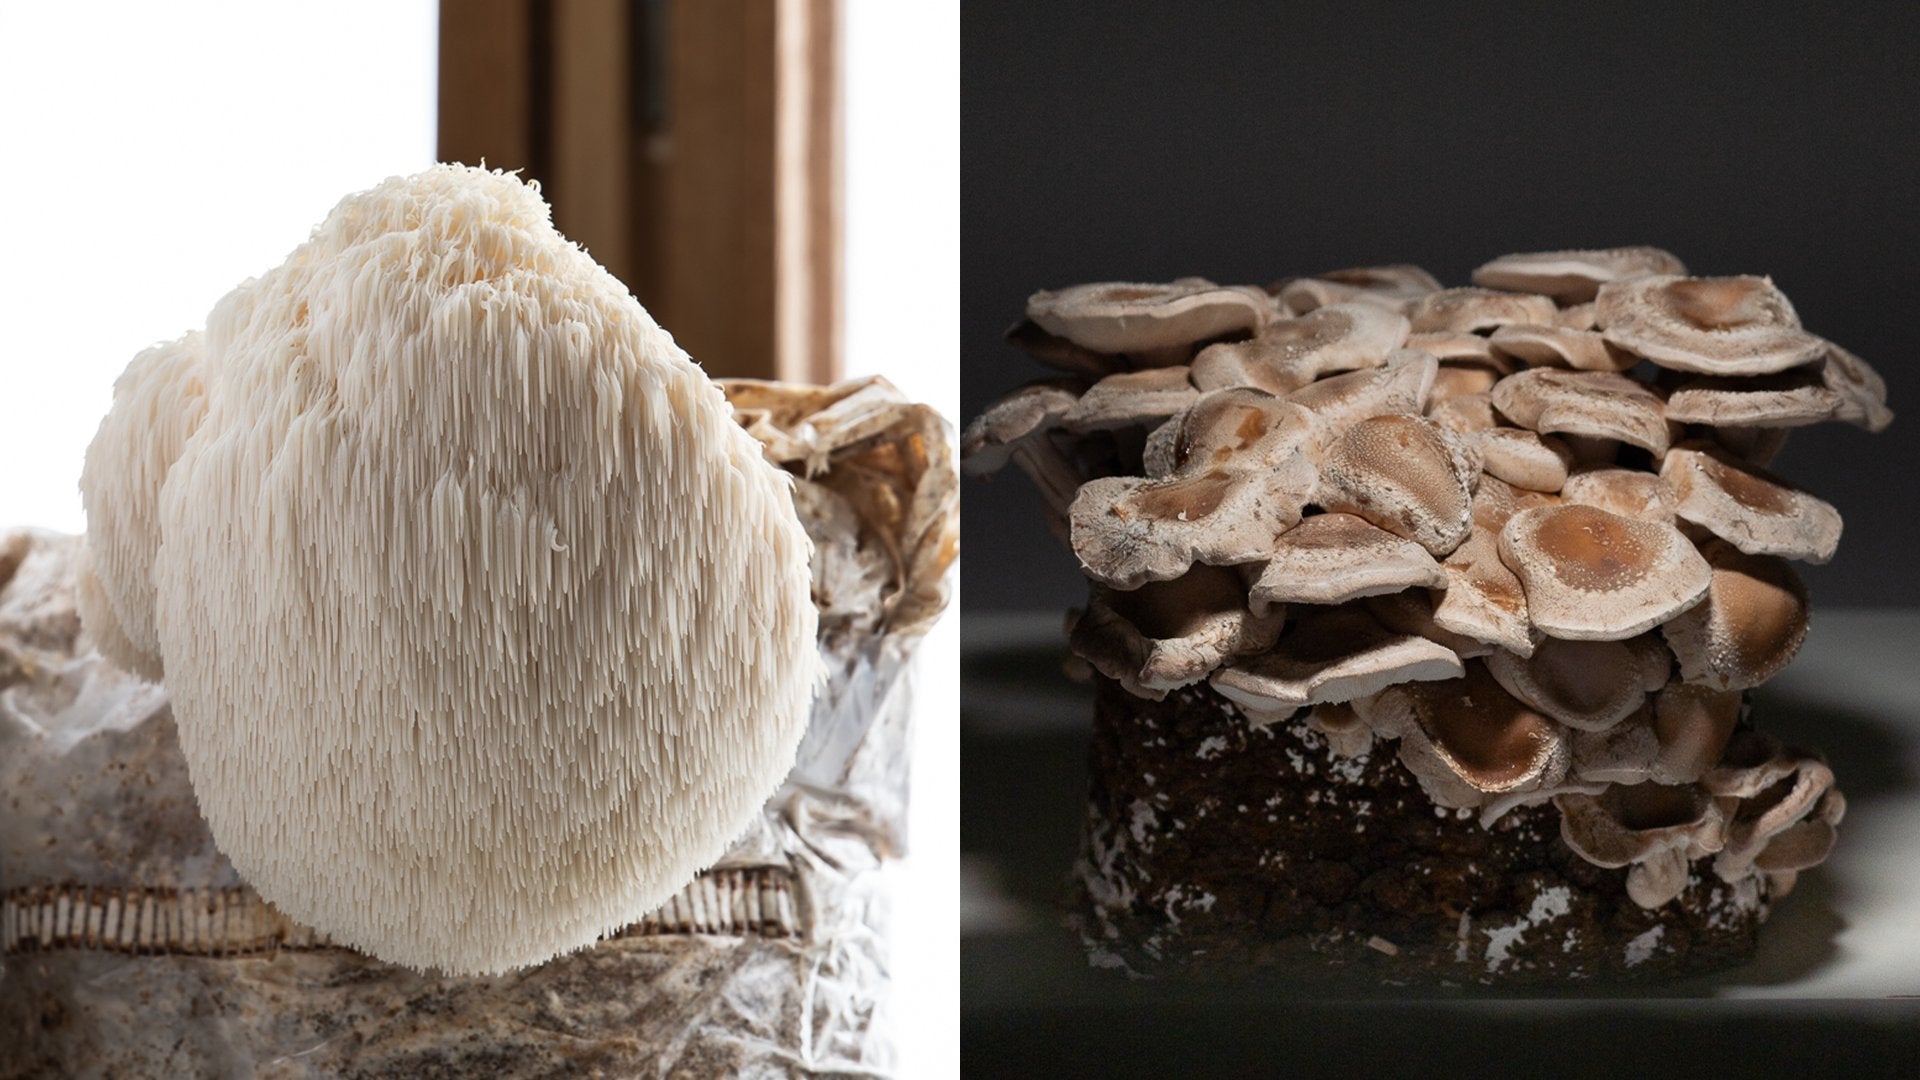
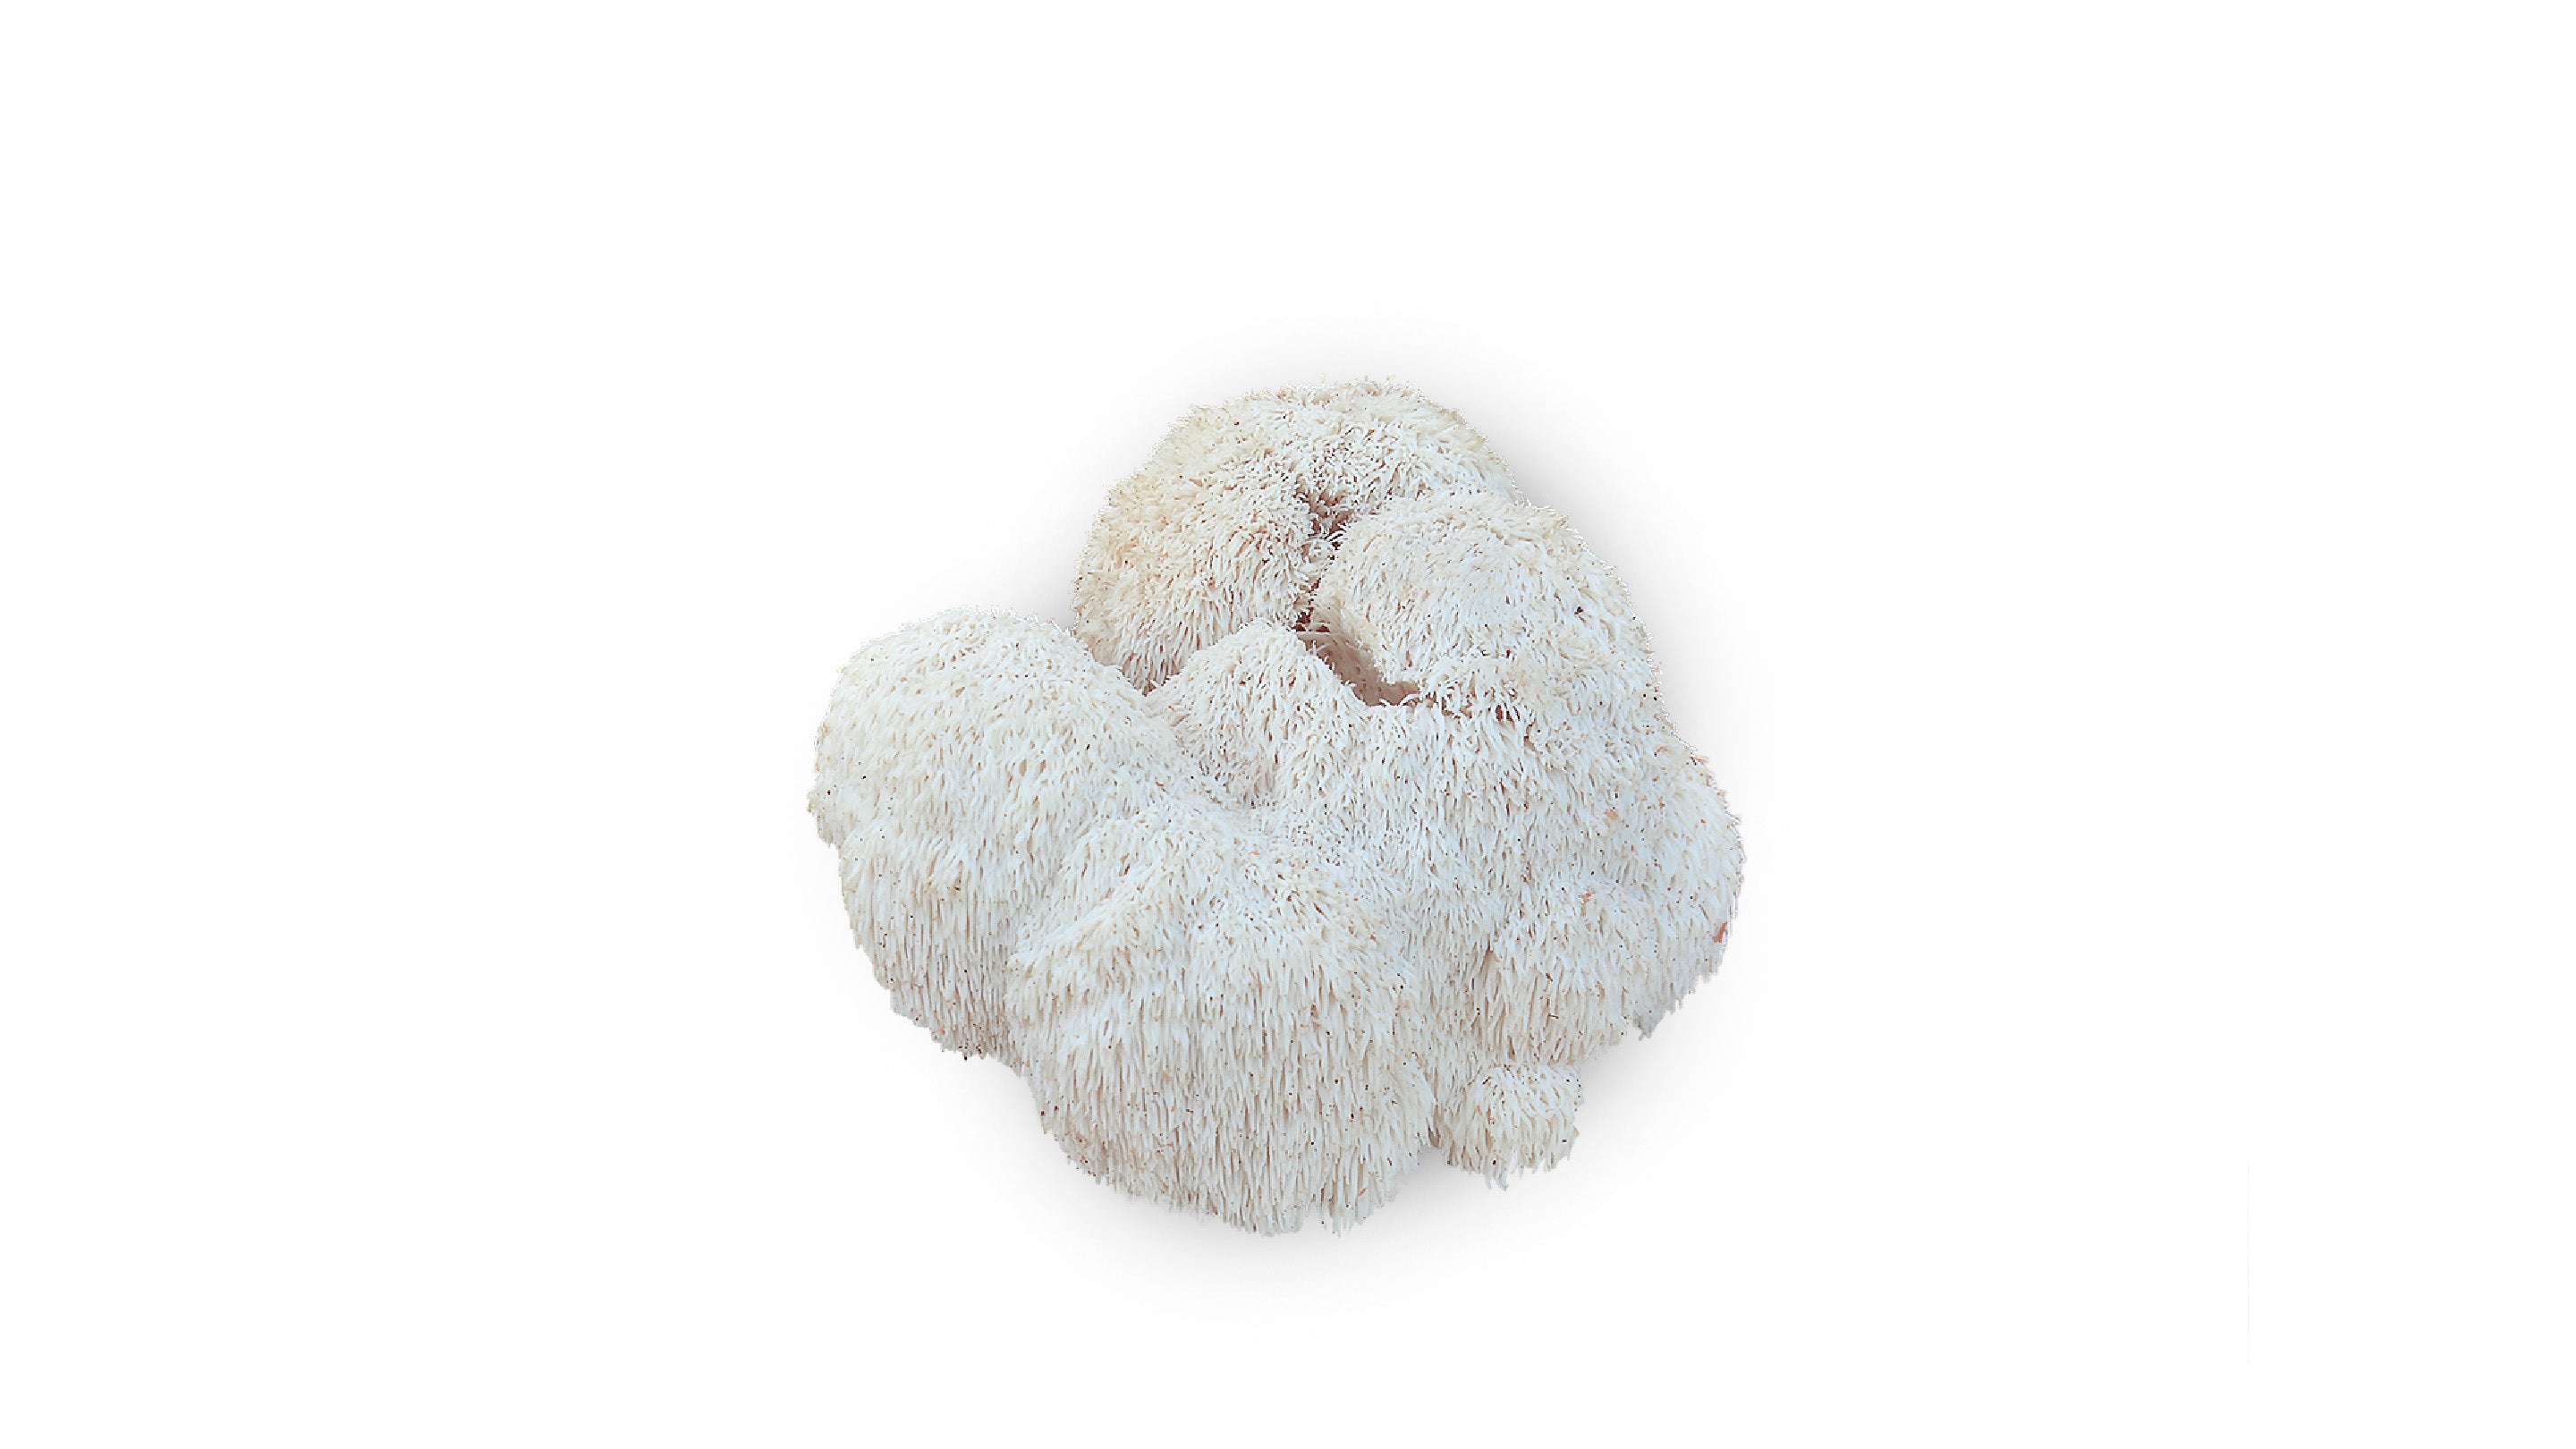
The easiest is oyster shives, followed by yellow oyster shives and king clams. Hedgehog mushroom (Lions Mane) is also incredibly easy to grow.
As a whole, almost all the mushroom species we sell and work with are easy to grow, if you follow our instructions.
mushroom cultivation in the garden
Yes, you can! All our species can be grown outdoors. Some are easier than others. Oyster shucking is a classic that you almost cannot fail with. Then we have our personal favorite Jättekrag Skiing.
Check out our fast growing mycelium and mycelium for stock growing to find the variety you want to grow. You can also take a look at our gardening kits to get started easily.
Growing mushrooms outdoors is super easy.
You can grow on, among other things, logs and growing beds outdoors. Our log growing products, such as mycelium plugs and log growing kits, give you all the information you need to get started.
Do you want to grow in the open field or pallet collar?
To make it easier for you, we have put together several different garden kits for mushroom cultivation that contain everything you need for a successful mushroom cultivation outdoors in the open, in pallet collars or as co-cultivation together with your plants. In the kit, you will find species such as Proud Mountain Plover, Giant-collared Plover and Gray Oyster Plover. You can find our ready-made gardening kits here!
So how do you do it?
Dig a pit of about 10-20 cm. Then you pour in an approx. 2cm thick layer of substrate at the bottom, for example al-chips and/or straw pellets.
After that, spread a 0.5cm layer of mycelium over the entire surface and then cover with more substrate of 5cm. Keep repeating this method until you reach the top of the hole, watering each time you add more substrate. This method is also called the "lasange method", because in short you make a substrate-mycelium lasagna.
If you look at our ready-made wooden garden cultivation kits, we also have full cultivation instructions. Of course, we always send growing instructions with your order, so you can start growing right away without a doubt.
You need free-choice mycelium, substrate (eg alder chips and/or straw pellets), water and a shovel.
The easiest and most effective way is to choose some of our ready-made gardening kits , which contain everything you need to get started. We have carefully selected the right substrate for each mushroom species and the right ratio of the different substrates. Of course, clear and simple growing instructions are always included when you order your kit!
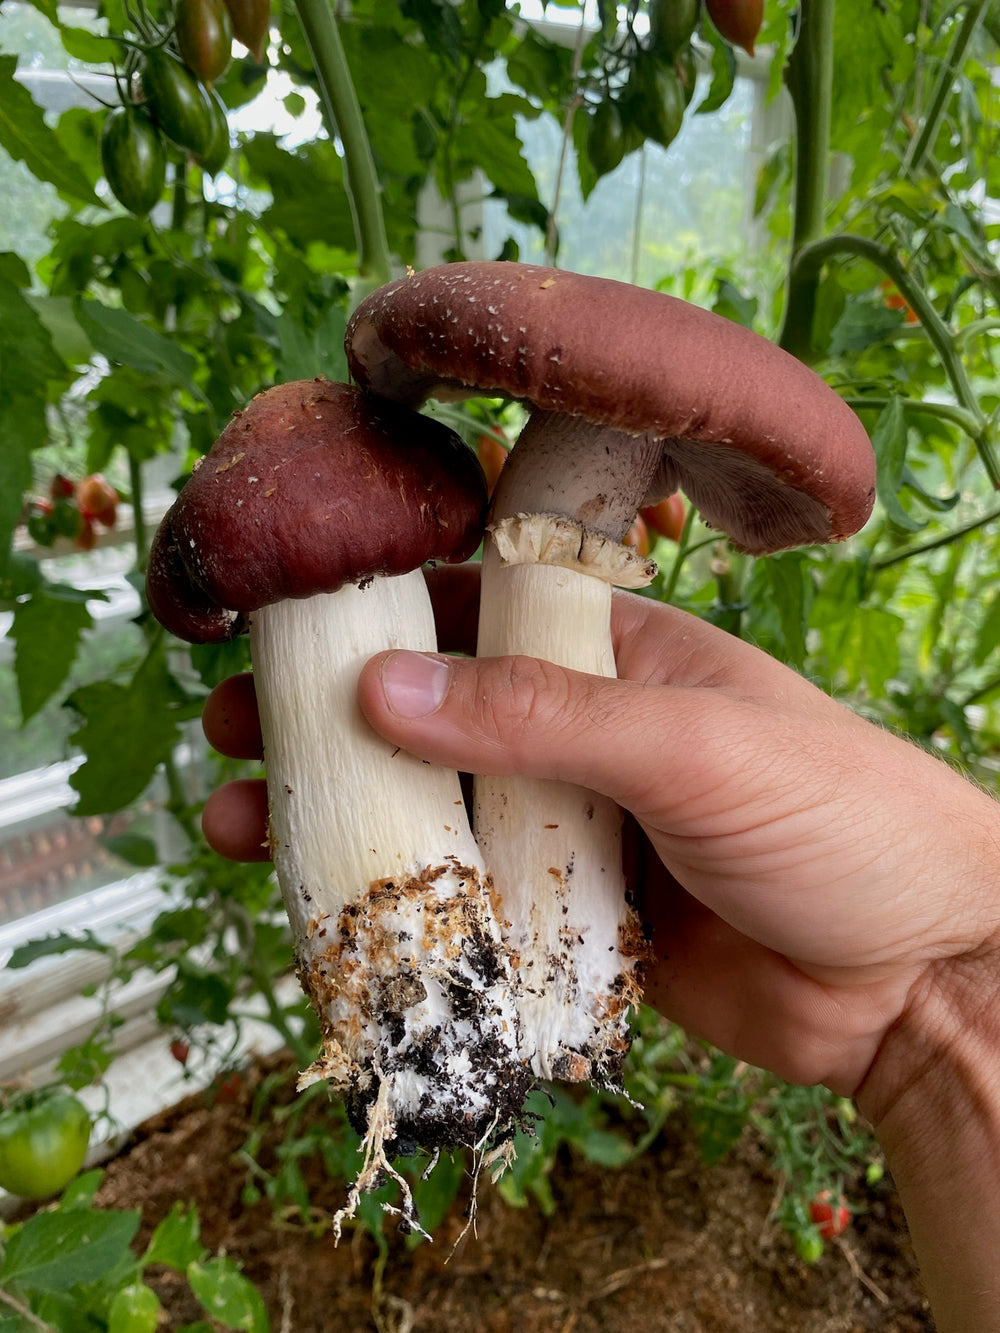
Almost all of our species can be grown outdoors or in pallet collars in your garden. Some recommendations if you are completely new to growing mushrooms outdoors are Giant collared mushroom , Proud mountain mushroom , Oyster mushroom , Chocolate brown oyster mushroom and Hedgehog mushroom .
Check out our gardening kits that contain everything you need to get started.
There are different methods for different species, we almost always recommend the lasange method.
If you check out our gardening kits, you can read about specific instructions for each mushroom species. We also always send full instructions with your order of our garden mushroom growing kits.
Dig a 10-20 cm deep pit of approx. 1 sq.m.-3 sq.m. Then pour in substrate such as al-chips and/or straw pellets at the bottom of about 5cm. After that, spread a 0.5cm layer of mycelium over the entire surface and then cover with more substrate of 5cm. Keep repeating this method until you reach the top of the hole, watering each time you add more substrate.
No, chanterelles cannot be grown.
Chanterelles are a mycorrhizal fungus that needs plants and the plant's roots to grow, thrive and set fruit.
In addition to that, chanterelles need a number of other things from the soil it grows on. Mycorrhizal fungi live in symbiosis with the plants, where they, among other things, get sugar from the plant's roots in exchange for the mycelium of the fungus providing the plant with micronutrients that the plant otherwise has difficulty absorbing.
So what you can do is to throw away the mushroom cleaner from chanterelles that you picked in the forest in the same place every year. Preferably in a place similar to chanterelles' natural habitat.
With a bit of luck, the right conditions, and many years of waiting, spores from the chanterelles can be spread, which can create a mycelial network in the ground and perhaps create fruit bodies.
It should be emphasized that this is absolutely not a guarantee that it will work. We have a bunch of customers who have done this year after year, where some believe that chanterelles have actually appeared around the place they throw away the cleaner, while others have not noticed any difference at all.
But if you have your chanterelle patches that you pick every year and get a lot of clearance with that, why not try it?
The best time to start your mushroom cultivation outdoors in the garden is generally from when the spring is released all the way to the end of September, depending on where in the country you are. A good rule of thumb for not starting your garden cultivation too late is not to start your cultivation if the leaves have completely fallen off the trees.
Giant collard chives and Gray oyster chives can be planted from early spring to autumn. If you plant your crop in the fall, it is not certain that mushrooms will come up the same year, but instead mushrooms will pop up early next spring and continue to come up throughout the summer and early fall.
If you start the cultivation in the spring or summer, it usually takes 2-3 months before the first mushrooms look up and you can therefore harvest already the same year.
Proud mountain pine is best planted in the spring and during the summer, and fruiting bodies usually come up the following year. Although fruiting bodies can sometimes appear already a few months after starting cultivation.
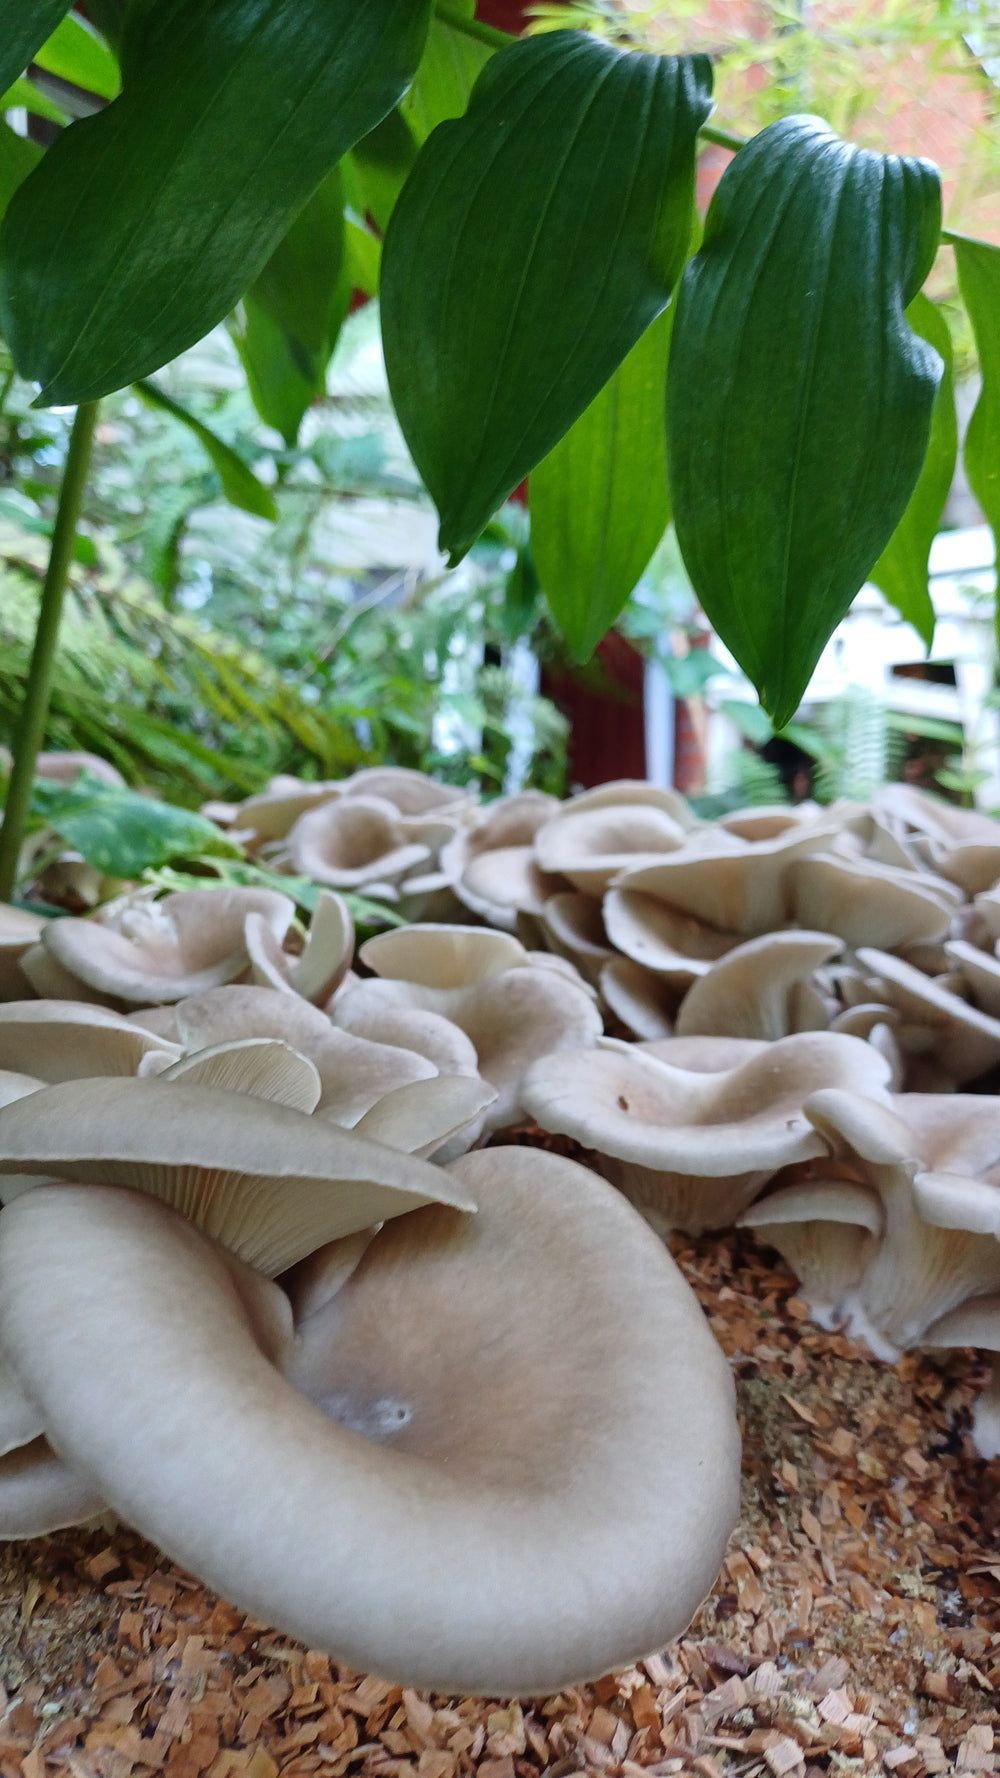
For Gray oyster mushroom and Giant collard mushroom, it usually takes 2-3 months for the first fruiting bodies (mushrooms) to emerge. After that, it comes continuously throughout the season (spring to autumn).
Proud mountain pine usually comes up no earlier than the year after you started your cultivation.
For Giant collard chives and Gray oyster chives, 2-3 seasons usually produce mushrooms continuously from spring to autumn. In order to ensure that you get a harvest for several seasons, we recommend that every spring or autumn, you add more straw pellets and wood chips to the top of your cultivation, which will then act as new nutrients that the mycelium can consume and thus have energy to create more fruiting bodies (mushrooms)
Vårplantering: skörd samma år, efter 1–3 månader. Skörd forstter hela våren, somamren och en bra bit in i September. Kommer flera år. Se till att mata mycelet med mer halmpellets och träflis under vår, sommar och höst så ger du mer näring till mycelet, som kommer ge mer fruktsättning (svamp).
Sommarplantering: skörd samma år, efter 1–3 månader. Precis som vårplantering kommer det svamp löpande när det väl kikat upp och fortsätter för just grå ostronskivling en bra bit in i september, och faktiskt hela vägen in i Oktober. Är det en mild November kan även svamp komma upp tidigt in i november.
Plantering i September: ibland skörd samma år, men inte alltid. Vanligtvis skörd tidigt nästa år och därefter hela säsongen (vår–höst).
Vårplantering: skörd samma år, efter 1–3 månader. Sedan ger det skörd en bra bit in i September. Kommer flera år. Se till att mata mycelet med mer halmpellets och träflis under vår, sommar och höst så ger du mer näring till mycelet, som kommer ge mer fruktsättning (svamp).
Sommarplantering: skörd samma år, efter 1–3 månader. Samma gäller som ovan.
Plantering i September: skörd vanligtvis först nästkommande år. Men väldigt tidigt på våren. Sen fortsätter det hela våren, sommaren och en bit in i september.
Vår- och sommarplantering: Stolr fjällskivling kommer väldigt sällan samma år som man satt sin odling. Fruktsättning och skörd sker vanligen först året därpå på sommaren hela vägen in i september. Ibland tar det längre tid, om mycelet behöver mer tid att sprida sig. Men va så säker, när det väl börjar komma upp så har du Stolt fjällskivling i väldigt många år framöver.
Sensommar/Septemberplantering: skörd nästkommande år, oftast framåt sensommaren-september. Men ibland tar det ytterligare ett år innan det kikar upp svampar.
Glöm aldrig; Svamp är svamp, och gör lite som svamp vill. När vi odlar svamp direkt i trädgården eller på stockodling, så lämnar vi mycket åt naturen till skillnad från när vi odlar svamp inomhus i exempelvis svamphus.
Grow mushrooms in the garden
View allliquid mycelium (Liquid culture)
Liquid mycelium is mycelium that grows in a sugar solution.
We make all liquid mycelium by mixing different ingredients that differ depending on the mushroom species. By growing mycelium in liquid, you get extremely much more mycelium because the mycelium can grow in all directions compared to growing mycelium on an agar plate where the mycelium can only grow flat.
Liquid mycelium is used to inoculate sterilized substrate and grain.
By using liquid mycelium, you can get a very high amount of mycelium in a very small amount of liquid.
This is both time-efficient and cost-effective for the mushroom grower.
A good tip is to use our grow bags with an injection port when making your own grain spawn . this way you can easily inoculate the mycelium via the needle through the injection port and minimize the risk of contamination.
You can see mushroom cultivation a bit like making a fire. If you set fire to a large log with a lighter, nothing happens, or it takes a very long time before it starts burning. But if you instead make the fire in several steps, everything goes faster. Liquid mycelium is the igniter, the grain is the smaller twigs/shoots and the bulk substrate is the larger branches that should maintain a stable good fire for a long time.
You should not use liquid mycelium to grow directly in stock.
Liquid mycelium (liquid culture) is a sterilized sugar solution in which the mycelium grows inside. This is used to inoculate sterile substrate such as rye or other grains which can then be used to colonize bulk substrate such as pasteurized or sterilized straw, oak pellets or the like.
Why does it work in theory and not in reality? Liquid mycelium contains incredible amounts of fast nutrition and above all sugar that not only mycelium likes, but also contaminations such as bacteria and mold. The liquid mycelium is produced in a sterile environment, and is sterilized before introducing the mycelium to the sterilized substrate, so only the mycelium you added grows in the solution.
If you pour liquid mycelium on a log, mold and bacteria will take over the sugar solution before the mycelium has time to establish itself and kill the mycelium.
If you pour liquid mycelium into a drilled hole in the log, the same thing will happen.
Mushroom cultivation usually takes place in three or four steps:
1. Liquid mycelium
2. Liquid mycelium is inoculated into sterilized rye or other grains.
3. Fully colonized grain is used to inoculate spa bulk substrate or wooden plugs.
4. The bulk substrate can be fertilized or inoculated into logs. The same applies to the mycelium plugs.
With the above technique, you can create your own colonized bulk substrate that you graft onto logs yourself.
You can see mushroom cultivation a bit like making a fire. If you set fire to a large log with a lighter, nothing happens, or it takes a very long time before it starts burning. But if you instead make the fire in several steps, everything goes faster. Liquid mycelium is the igniter, the grain is the smaller twigs/shoots and the bulk substrate is the larger branches that should maintain a stable good fire for a long time.
We make all our liquid mycelium ourselves, in clean rooms in front of fume hoods.
Everything is sterilized before we inoculate the solution with mycelium from our mother cultures.
All liquid mycelium is continuously tested on agar plates to identify if there is any contamination in our liquid mycelium cultures.
We not only test newly produced liquid mycelium immediately after they are fully colonized, but we also continuously test all our species on liquid mycelium weekly to always ensure that they are free of contamination and have a healthy and aggressive mycelium.
grain spawn
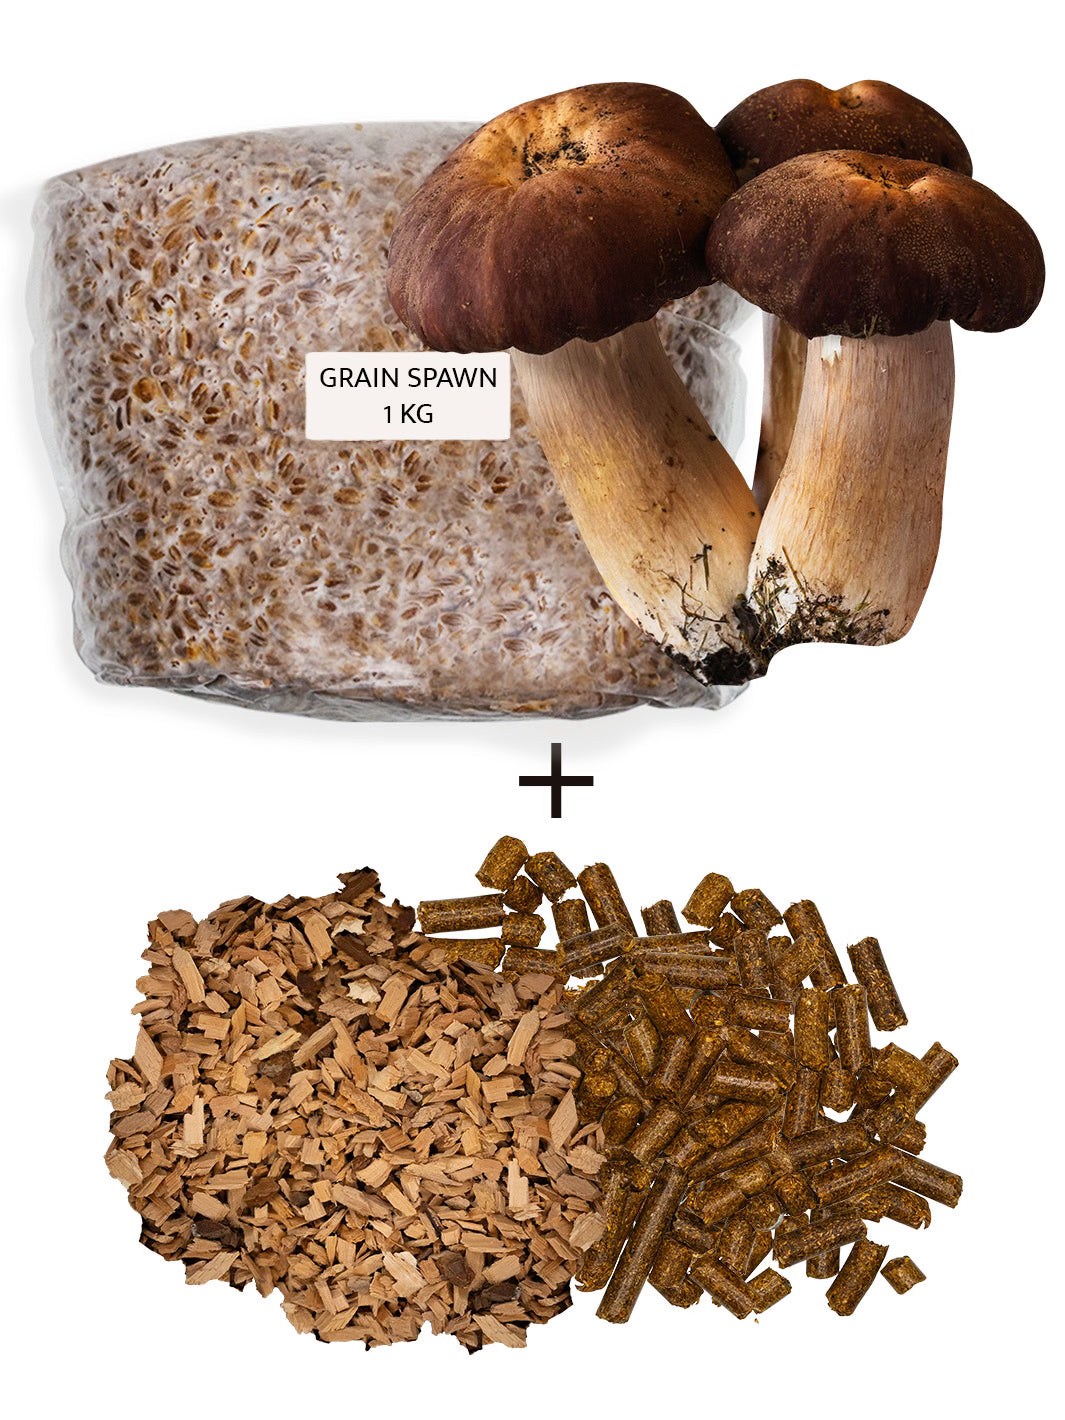
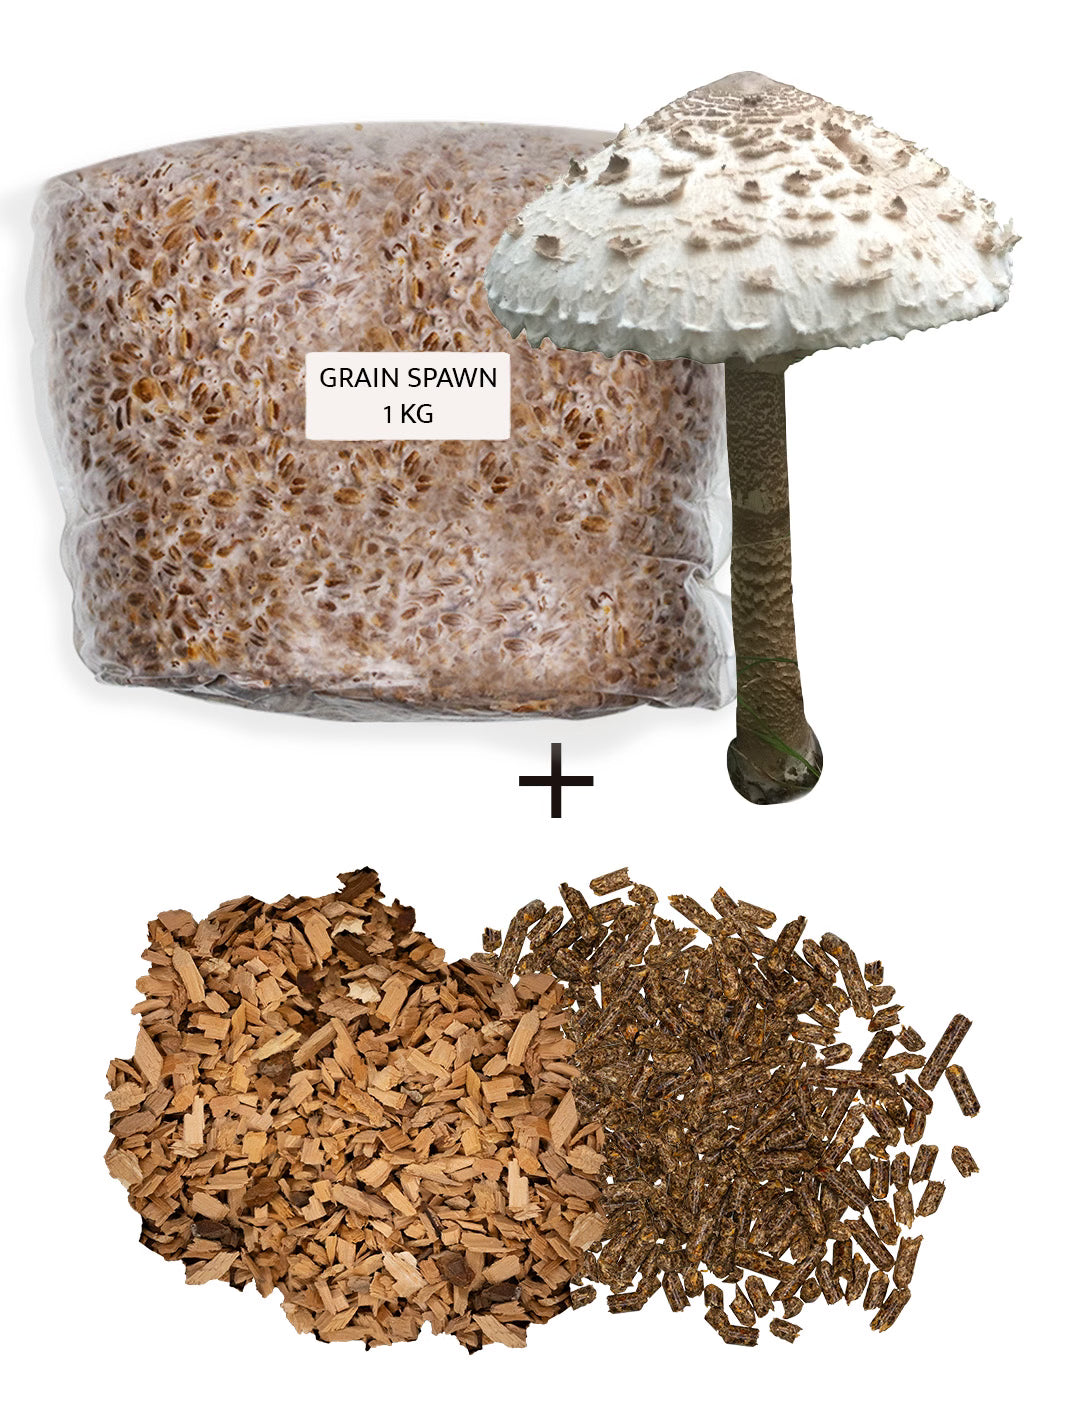
Grain spawn is mycelium grown on sterilized grain such as rye, wheat, millet, corn, etc.
Grain Spawn is used as a kind of starter culture to grow mycelium on bulk substrate which can consist of, for example, enriched sawdust, straw, and coconut fibers.
It is only in the bulk substrate that fruiting usually takes place.
Grain spawn is rarely fruited as grain contains high nutritional values, which easily results in contamination entering the opening made to trigger fruiting.
In addition, grain retains moisture very poorly and dries out easily if you make a cut in the bag before fruiting.
Bulk substrate holds moisture significantly better and is also less likely to become contaminated.
Grain spawn is used to inoculate bulk substrates such as straw pellets, oak pellets, coconut fibers and the like.
Grain spawn is made by sterilizing grain in a grow bag or glass jar by pressure cooking at over 15psi, for at least 90 minutes.
The grain is then inoculated (inoculated) with mycelium. Either liquid mycelium, mycelium on an agar plate, or a so-called grain to grain transfer where the mycelium from previously colonized grain is transferred to a new bag of non-colonized grain. This is usually done in a clean room in front of a fume hood with clean air. For the home grower who does not own a lab, this step is often done in a so-called still air box.
Handling grain increases the risk of contamination as grain contains a lot of readily available nutrients that not only mycelium appreciates, but also mold and bacteria. It is therefore extremely important to work as sterile as possible when handling grain spawn.
Grain spawn is mycelium grown on grain.
Fast-growing mycelium is mycelium grown on enriched sawdust .
The advantages of grain spawn are that grains such as rye contain very fast and compact nutrients that can be easily consumed by the mycelium and in a short time produce a strong, viable mycelium.
This can then be added to bulk substrate for further colonization, which can then set fruit. The disadvantage of grain spawn is that, due to its high and readily available nutrient content, there is a high risk of contamination if you do not work very sterile.
The advantage of fast-growing mycelium on sawdust is a lower risk of contamination because the sawdust on which the mycelium grows has more difficult-to-access nutrients for mold and bacteria.
Mycel releases nutrients from sawdust more easily than many other competitors, and therefore does not have to compete for the nutrients.
Nevertheless, mycelium on sawdust is better for fruiting as sawdust holds moisture very well.
The disadvantage of fast-growing mycelium is that it is somewhat poorer in nutrients than grain. Or rather, it takes longer for the mycelium to break down and absorb the nutrients in sawdust than in grain.
So how do you make fast growing mycelium so colonization is fast?
1. Sterilized grain such as rye is inoculated with liquid mycelium or mycelium on an agar plate.
2. The grain must be fully colonized by the mycelium.
3. You take the grain and pour it into sterilized or pasteurized sawdust. Usually 10-15% of the dry weight of the sawdust.
4. You wait until all the sawdust in the growing bag has been fully colonized.
5. The fast-growing mycelium is now ready to be used as desired.
You need bulk substrate such as straw pellets, oak pellets or wood chips. You also need grow bags that everything will grow in.
You also need access to water that you use for the bulk substrate. It's also good if you can work in a relatively clean environment, if you don't have access to a fume cupboard or similar. The best and cheapest way is if you make your own still air box from a large transparent plastic box. Write to us and we can tell you how to make one.
Simply explained, you do as below.
Everyone has their different techniques, and of course we at the Mushroom House have our very own methods that make our grain spawn extra potent. We hold the recipe close to our hearts and are refined methods developed after hundreds of kilos have passed through our hands to create optimal grain spawn.
1.
To make your own grain spawn, you first of all need a pressure cooker that can build a pressure of at least 15psi.
2.
Next, you need some kind of cereal. For example rye, wheat or millet. The grain needs to be whole, and not pounded, steamed or ground.
3.
You need to soak the grain, boil it and finally dry it so that the grains are filled with water inside but dry on the outside. Then fill grow bags or glass jars with lids. Sterilize this in your pressure cooker for 90-120 minutes at a minimum of 15psi.
4.
Wait until the pressure in your pressure cooker is at zero and wait further until the pressure cooker has cooled down. The contents of the pressure cooker should now be sterilized and as long as you do not open the pressure cooker there is basically no risk of contamination reaching the contents. When the pressure cooker has cooled and thus its contents, it is time to take out and inoculate the contents with mycelium.
5.
Take out the cultivation bags or glass jars you used and disinfect them before placing them in a fume cupboard or a still air box.
Wash your hands thoroughly and use plastic gloves.
If you take your hands out of the hood or your still air box, you need to spray your hands again before putting them back in.
6.
Once inside the fume cupboard/still air box, you take the selected mycelium you want to inoculate the now sterilized grain with. Suggested liquid mycelium of the species you want to grow.
There are three commonly used methods of inoculating grain with liquid mycelium.
a) Either you open the top of the bag of cereal that you previously sprayed the outside of.
squeeze out 3-15cc (ml) of liquid mycelium per kg of grain. If you take more, colonization goes faster, if you take less, it goes slower. Seal the bag with plastic weld or tape. Nothing must be open.
b) You use our culture bags with injection port and insert the needle of the syringe with the liquid mycelium and push out 3-15cc (ml) of liquid mycelium. Seal the top of the bag with plastic welding or by taping. Nothing must be open. By using our grow bags that include an injection port , you reduce the risk of contamination enormously.
c) You attach the included needle to the syringe with liquid mycelium and spray one side on the outside of the bag. Then you insert the needle and push out 3-15cc (ml) of liquid mycelium. Then you take out the needle and tape the hole. Seal the top of the bag with plastic welding or by taping. Nothing must be open.
Wait for 1-4 weeks depending on the species, then you have your own grain spawn ready to use!
ready growing blocks
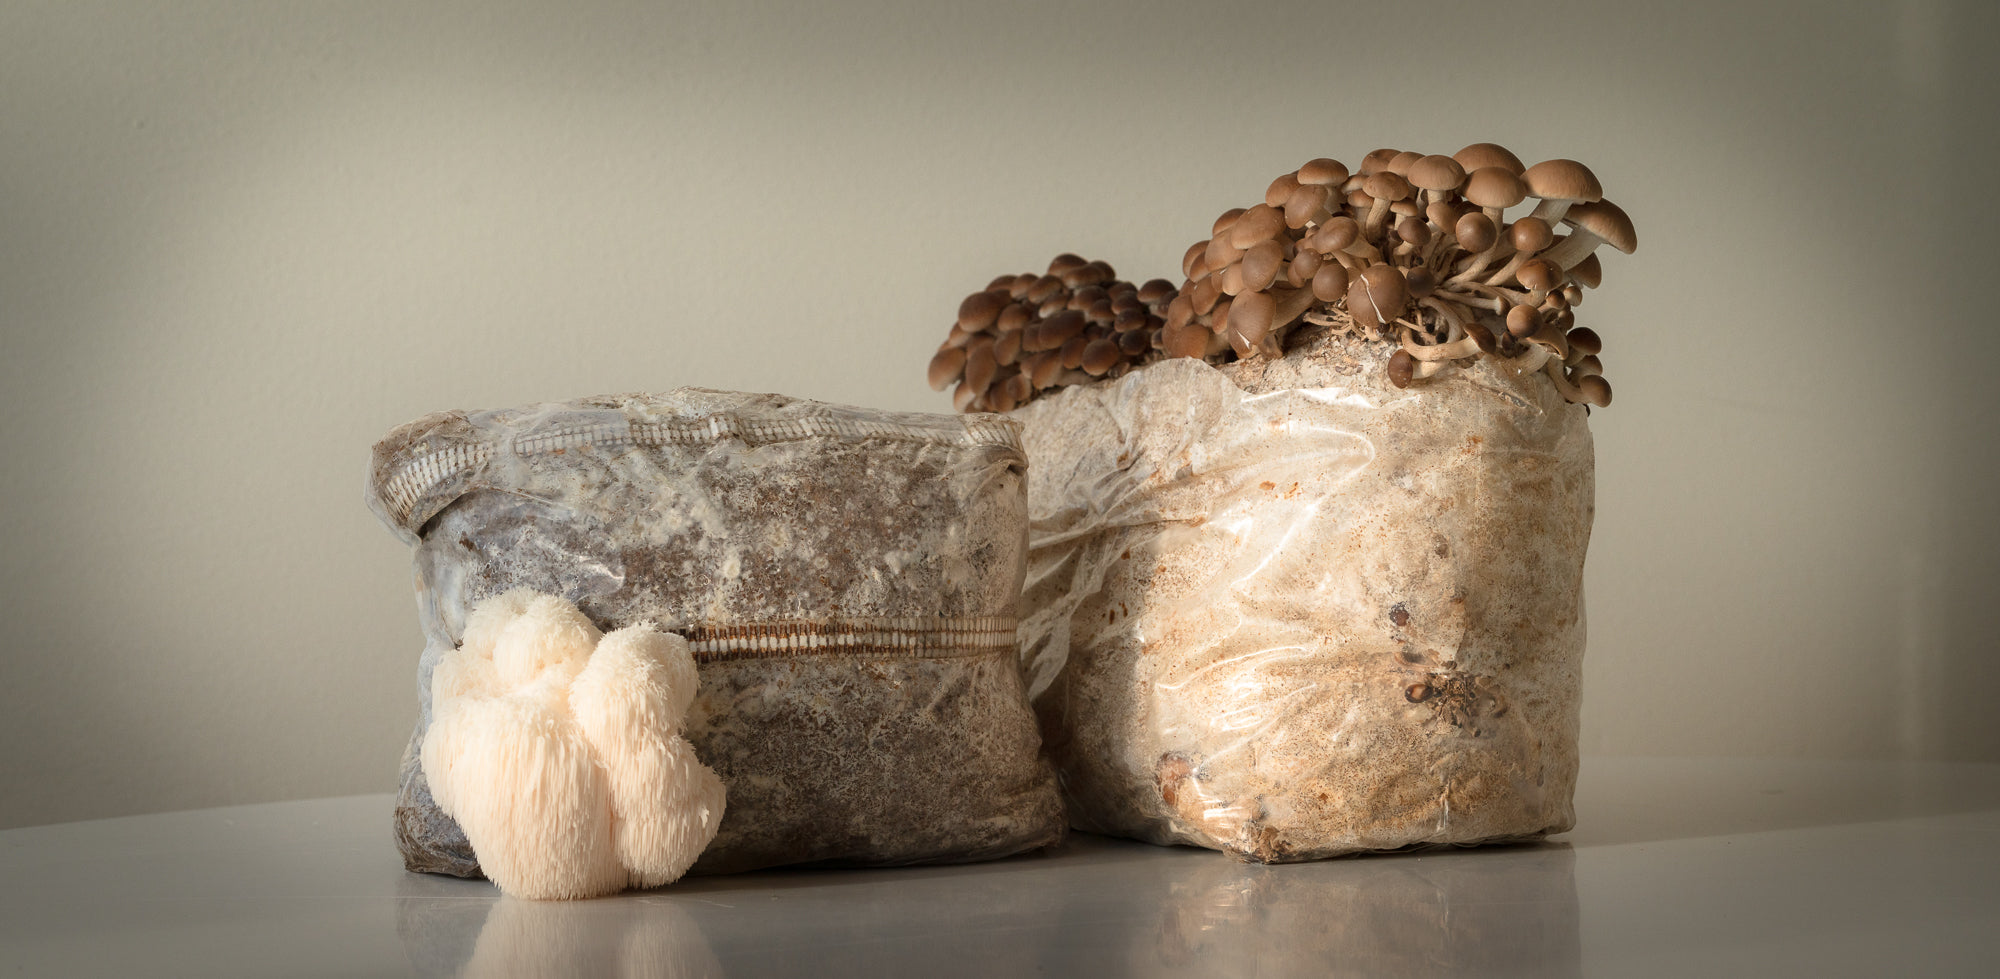
A culture block is a fully colonized culture bag containing bulk substrate.
The bulk substrate is usually enriched sawdust from hardwoods such as oak, birch, alder etc. Different species prefer different types of trees. Straw pellets are also a common bulk substrate. The substrate is consumed by the mycelium, which then becomes ready to set fruit.
Depending on the species, it can be done in different ways when using ready-made cultivation blocks.
The most common way is to cut the plastic on the growing block on 1-2 sides upon delivery. each cut is cut in a cross where each cut is about 5 cm.
This method works for pretty much all of our species that we sell. When you make a cut, the mycelium gets access to more fresh oxygen and within a few weeks, depending on the species, will develop primordia which will then turn into pins (small fruit bodies).
After a few more days, the pistil develops into fully developed fruiting bodies.
It is important to water several times a day with a spray bottle where you made the cut so that the mycelium does not dry out.
You can also open the entire top of the grow bag. This is common when growing, for example, Pioppino. However, you need a very high humidity constantly around the growing block when you do this, otherwise the substrate dries out.
This is not something we recommend for the beginner.
A third way is to completely remove the plastic from the growing block. This is very common for Shiitake in particular, which likes to fruit a little everywhere on the block as individual mushroom bodies and not in clusters like oyster slices. To grow shiitake and minimize the fruit bodies drying out, you can take a look below.
To optimize the conditions in which your finished grow blocks grow, follow the steps below.
Build your own fruit chamber
Obtain a 50L + transparent plastic box with a lid. Drill 5 small holes at the top of both short sides of the box where the diameter of each hole is 0.5cm.
These holes should be drilled with three holes that are approximately 1.5 cm apart.
Below these three holes, drill the remaining two holes that also have 1.5cm gaps, which are 1.5cm below the first three holes you drilled. Then drill three holes approx. 8 cm up from the bottom edge of the box in the same size as the first holes. Do this on both long sides. There should be 10cm between each hole, and depending on the size of the plastic box approx. 5-8cm from each edge.
This is a fruit chamber for your grow blocks or Mushroom Houses. It will give a good constant exchange of oxygen and carbon dioxide. Mycelium breathes in oxygen and breathes out carbon dioxide just like humans. Too high levels of carbon dioxide cause the growing block to create smaller or misshapen fruiting bodies.
Fill the bottom of your new fruit chamber with a layer of perlite or vermkulite of about 2-3cm. You pour water over this, but not so that it starts to float around. These two substrates are relatively resistant to mold and bacteria and retain moisture very well. We want as high humidity as we can, but still low carbon dioxide and high oxygen!
Place your growing blocks on which you cut incisions in the box, shower/spray thoroughly with water morning and evening on the incisions you made on the blocks, as well as on the sides of the box, and in the lid that you ALWAYS leave on. Within two to four weeks, depending on the species, primordia will form at the cuts, which then become pins (small fruit bodies).
Within a few days, the pins develop into large mushroom bodies that you can harvest.
You can also keep your Mushroom Houses in the box to increase harvest!
It depends entirely on the species you are growing and the external circumstances surrounding the growing block during fruiting. Under optimal growing conditions, you should be able to get up to 1.8 kg of mushrooms from a growing block.
Of course you can make your own growing blocks. This FAQ contains all the steps you need to know. Read more about making your own growing blocks under the heading Grain Spawn.
mushroom cultivation courses
We have ongoing cultivation courses, both for the beginner who is completely new to mushroom cultivation to the more advanced.
New places for courses are released via newsletter. First come first served.
If you want a private course, please contact us.
We have advanced mushroom cultivation courses.
Write to us and we can update you on when the next course in advanced techniques is released.
We also release such information via newsletter, first come, first serve.
Absolutely, we hold courses for associations, and also companies.
Feel free to write to us and we will try to book a date that suits us all. Please also write what previous experiences you have in mushroom cultivation so that we can prepare what type of course we will hold.
Ja, vi erbjuder svampkurser och föreläsningar för företag som vill lära sig mer om svampodling – både i teori och praktik. Våra företagsanpassade utbildningar täcker allt från odling av matsvamp (t.ex. ostronskivling och shiitake) till steriltekniik och hållbar svampproduktion.
Vi kan hålla kurserna på det sätt som passar er bäst:
- Online via digitala föreläsningar och workshops
- På plats hos ert företag
- Hos oss i Svamphusets egna lokaler.
Vi skräddarsyr innehållet efter ert företags behov – från introduktionskurser till fördjupande föreläsningar och kurser om svamparnas potential inom hållbarhet och matproduktion.
Med våra svampkurser för företag får ni både inspiration och praktiska verktyg för att komma igång med svampodling – perfekt för teambuilding, kompetensutveckling eller innovationsarbete inom hållbar matproduktion. För att inte glömma; det är otroligt roligt (och lite annorlunda!)
Klicka HÄR så kommer du till våran kontaktsida. Maila oss så hör vi av oss.
The mushroom house helps ongoing companies that want to get started with mushroom cultivation for commercial use.
The road from idea to reality to implement this is long, but we can always assist with knowledge, tips and products to simplify the process.
Reseller
Contact us at Retail@svamphuset.com or click here to get to the contact form.
We look forward to hearing from you.
As a retailer, you have the opportunity to bring in a wide range of mycel products.
Contact us with your specific requests and we'll take it from there.


