


Wine Cap Garden growing kit
- Free shipping on orders over SEK 1,500 (within Sweden)
- Störst i Sverige på svampodling
- Largest in Sweden for mushroom cultivation accessories
- Pay safely and easily with Klarna
Wine Cap Garden Kit – Harvest in as Little as 1–3 Months
The largest—and perhaps the tastiest—garden mushroom is also one of the easiest to grow.
With our complete Wine Cap Garden Kit, you can quickly establish a mushroom bed directly in your garden, greenhouse, around garden paths, beneath shrubs, or alongside vegetables and other plants. Your first harvest can arrive in as little as 1–3 months after planting.
✔ Harvest in as little as 1–3 months
✔ Produces mushrooms for up to 2 years
✔ Perfect for companion planting in gardens and vegetable beds
How to Grow Wine Cap Mushrooms
Getting started is simple:
- Mix the straw pellets, wood chips, and mushroom spawn.
- Water thoroughly once everything has been spread out (and continue watering during the first few days if there's no rain).
- Keep the bed moist and let nature do the rest.
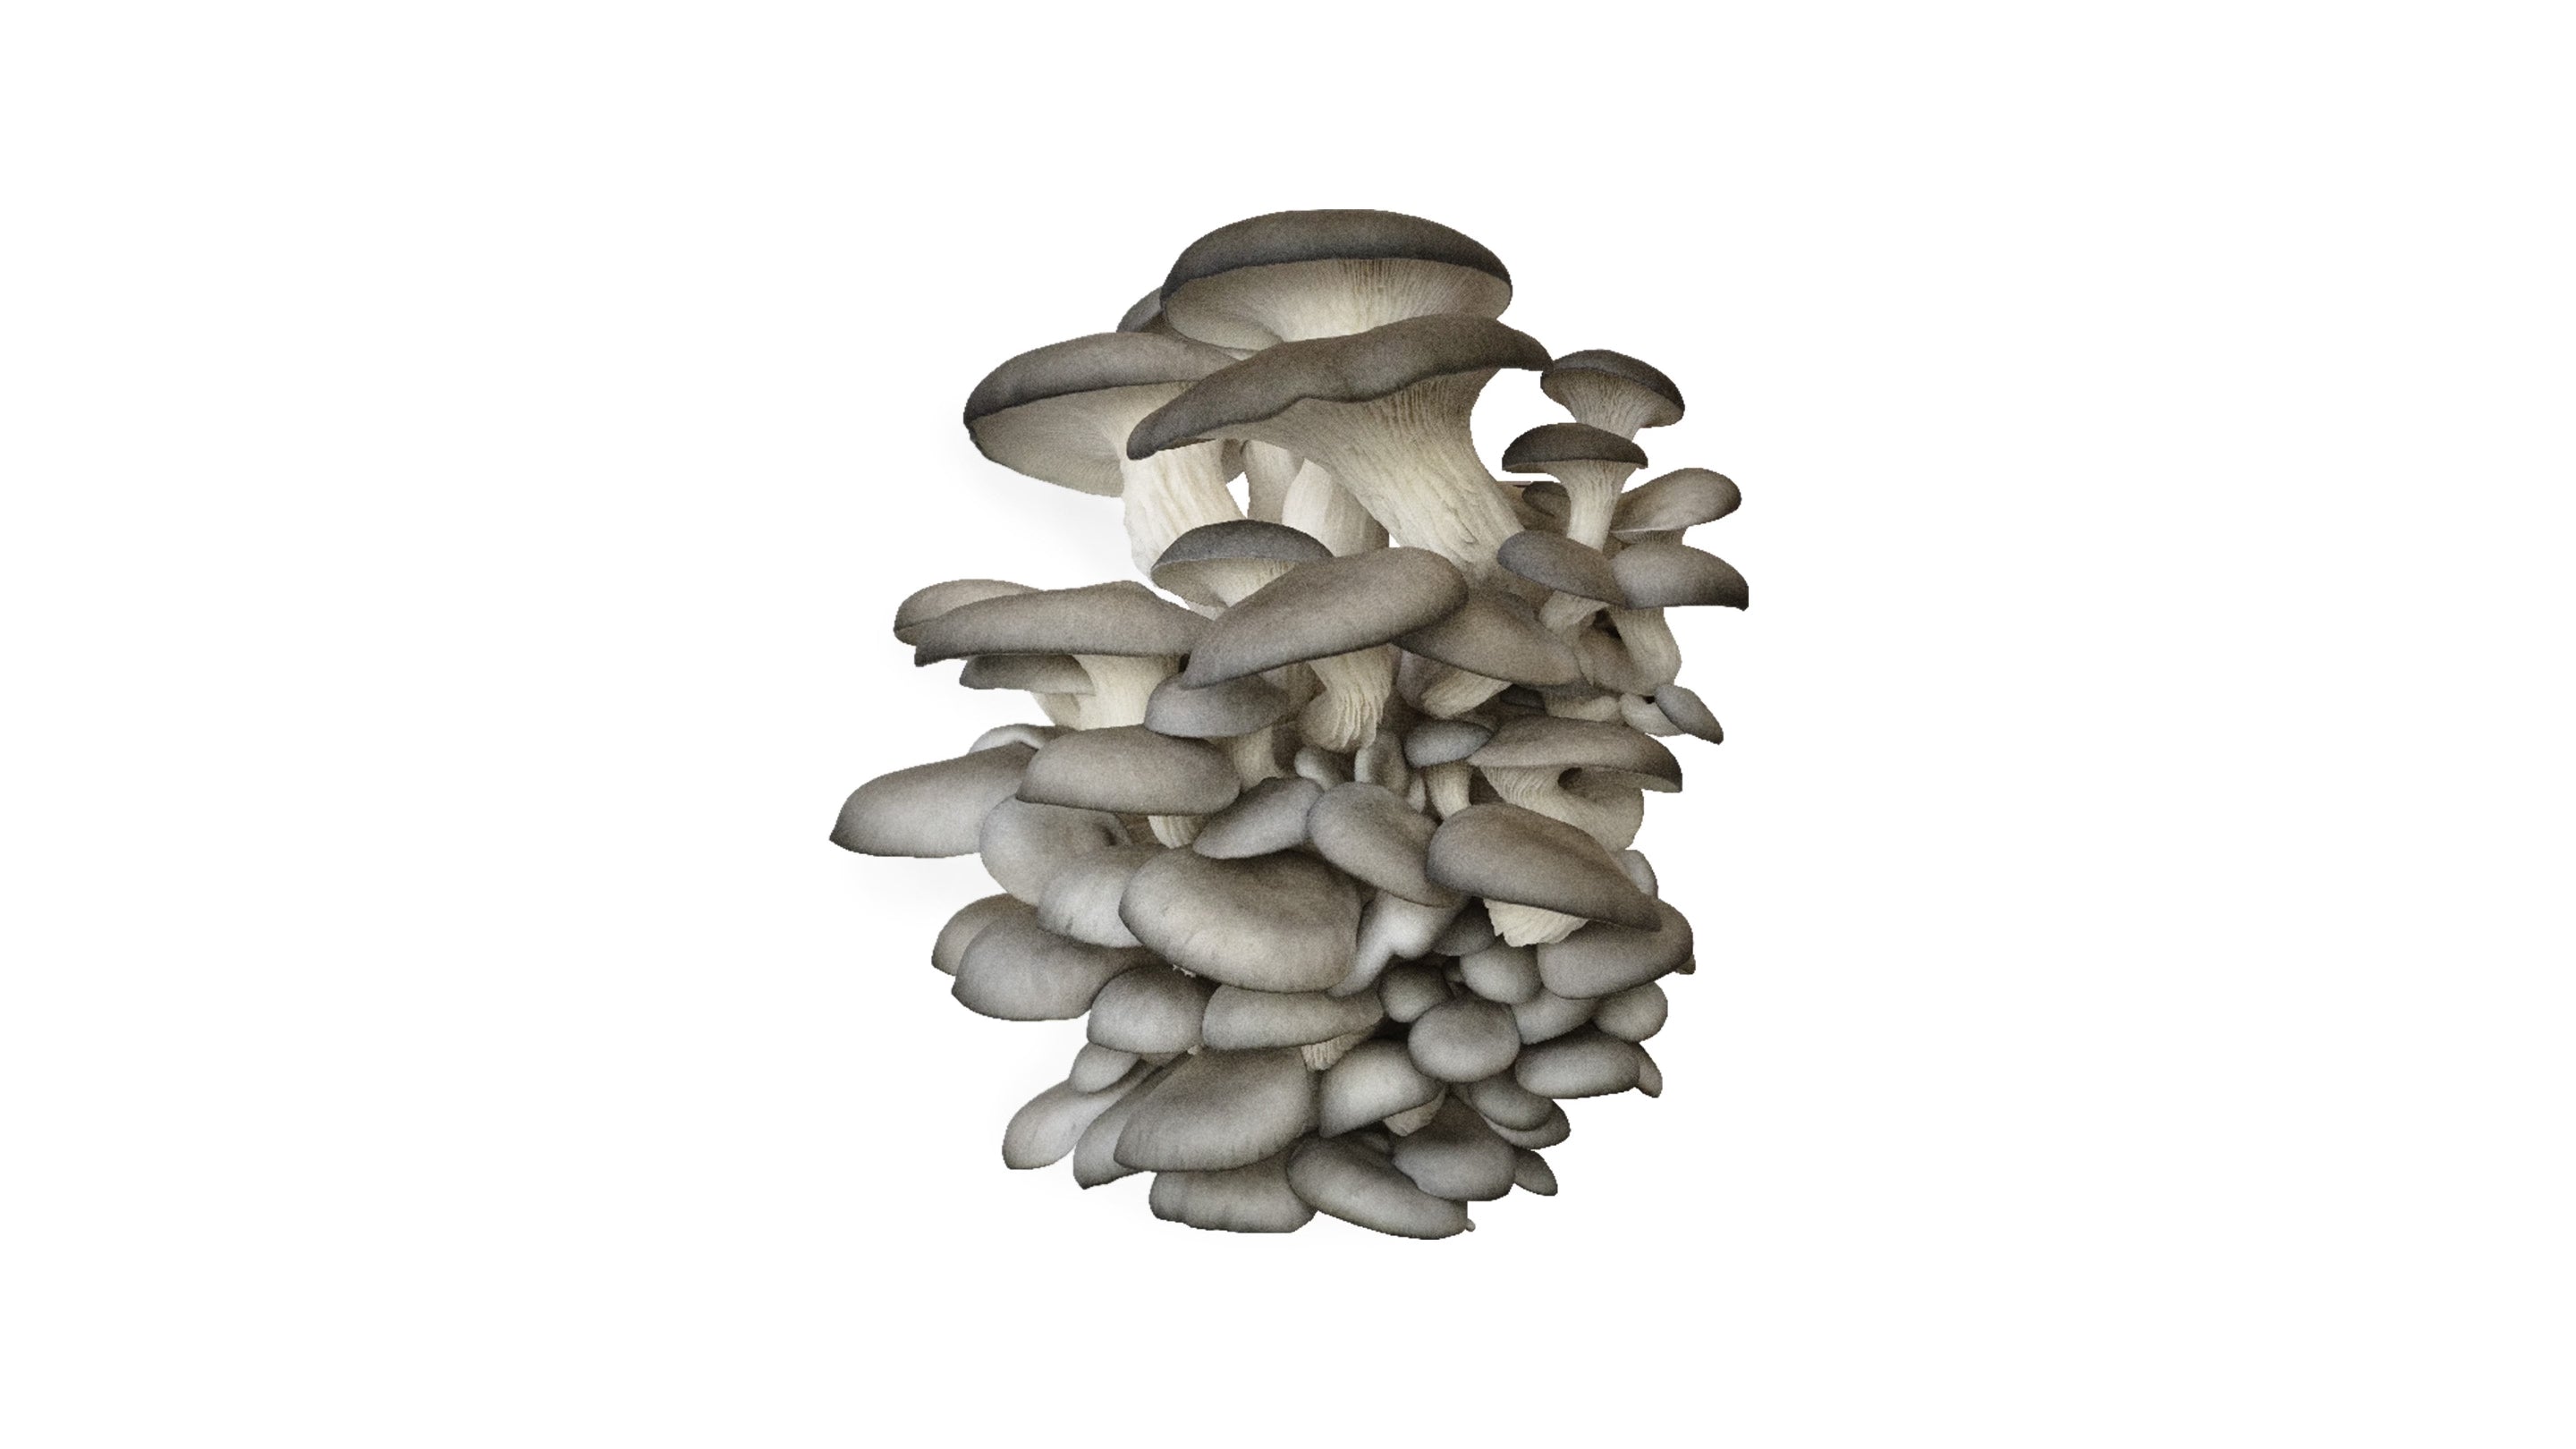
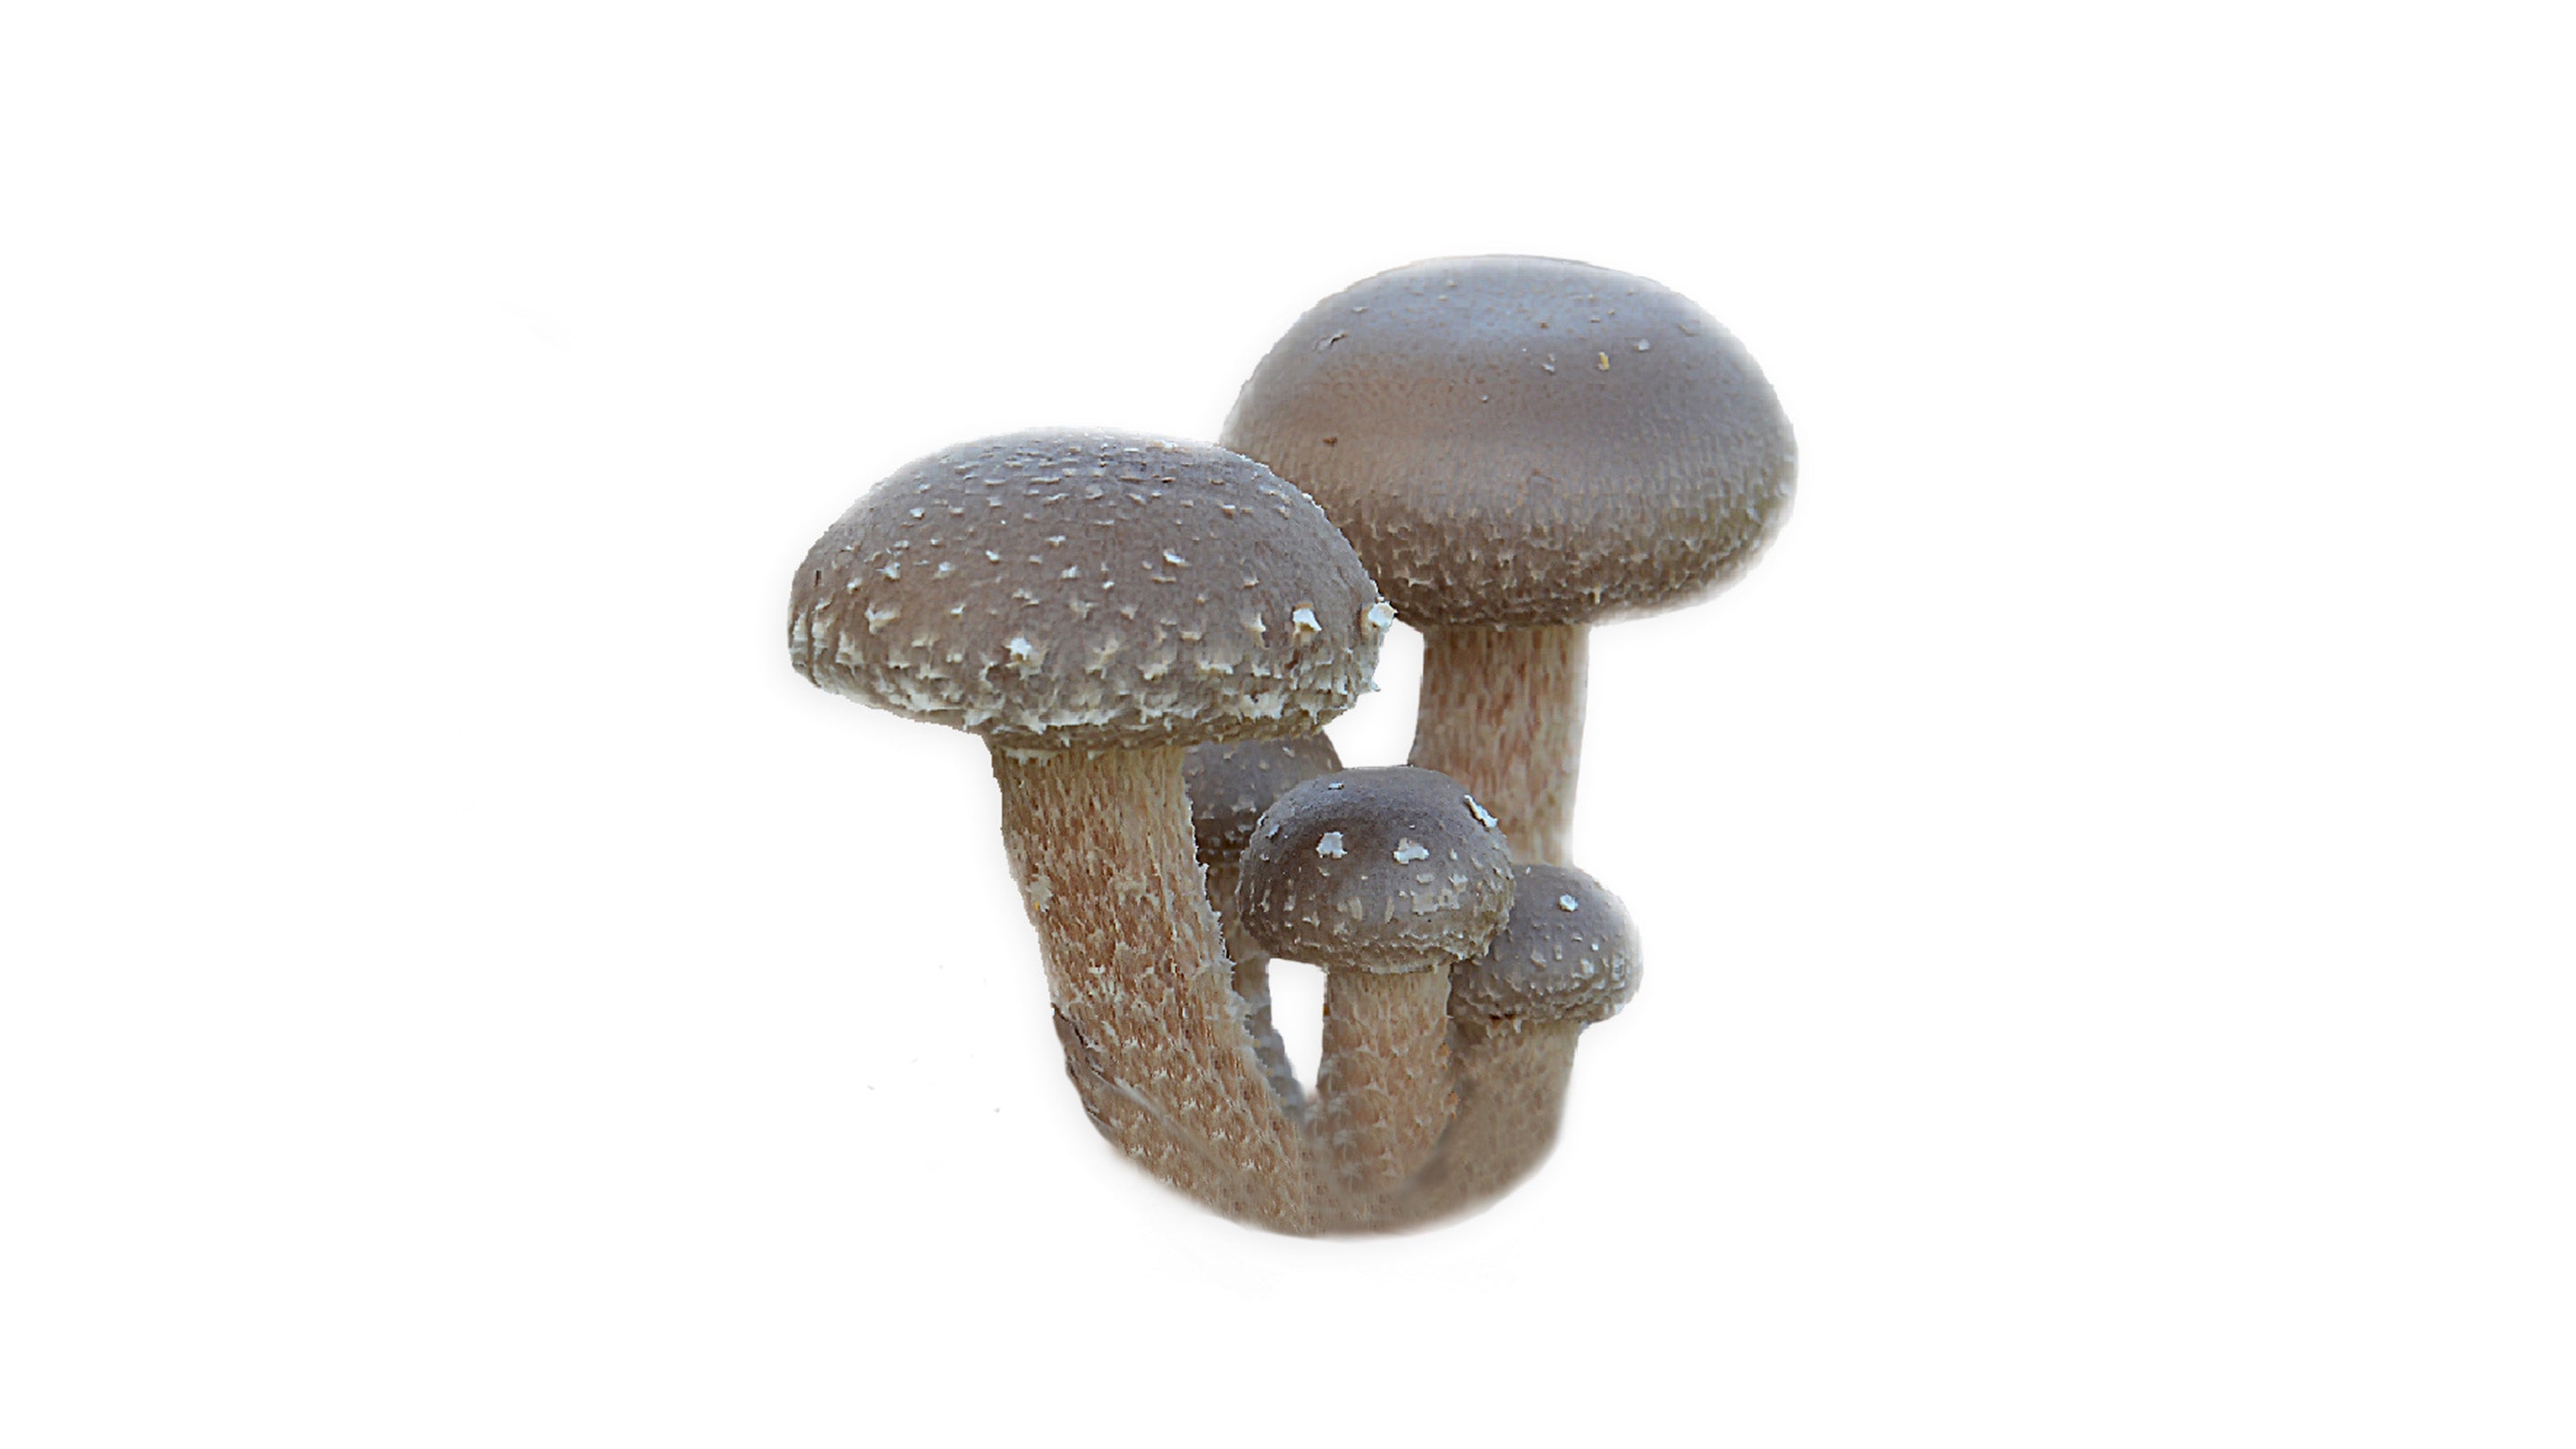
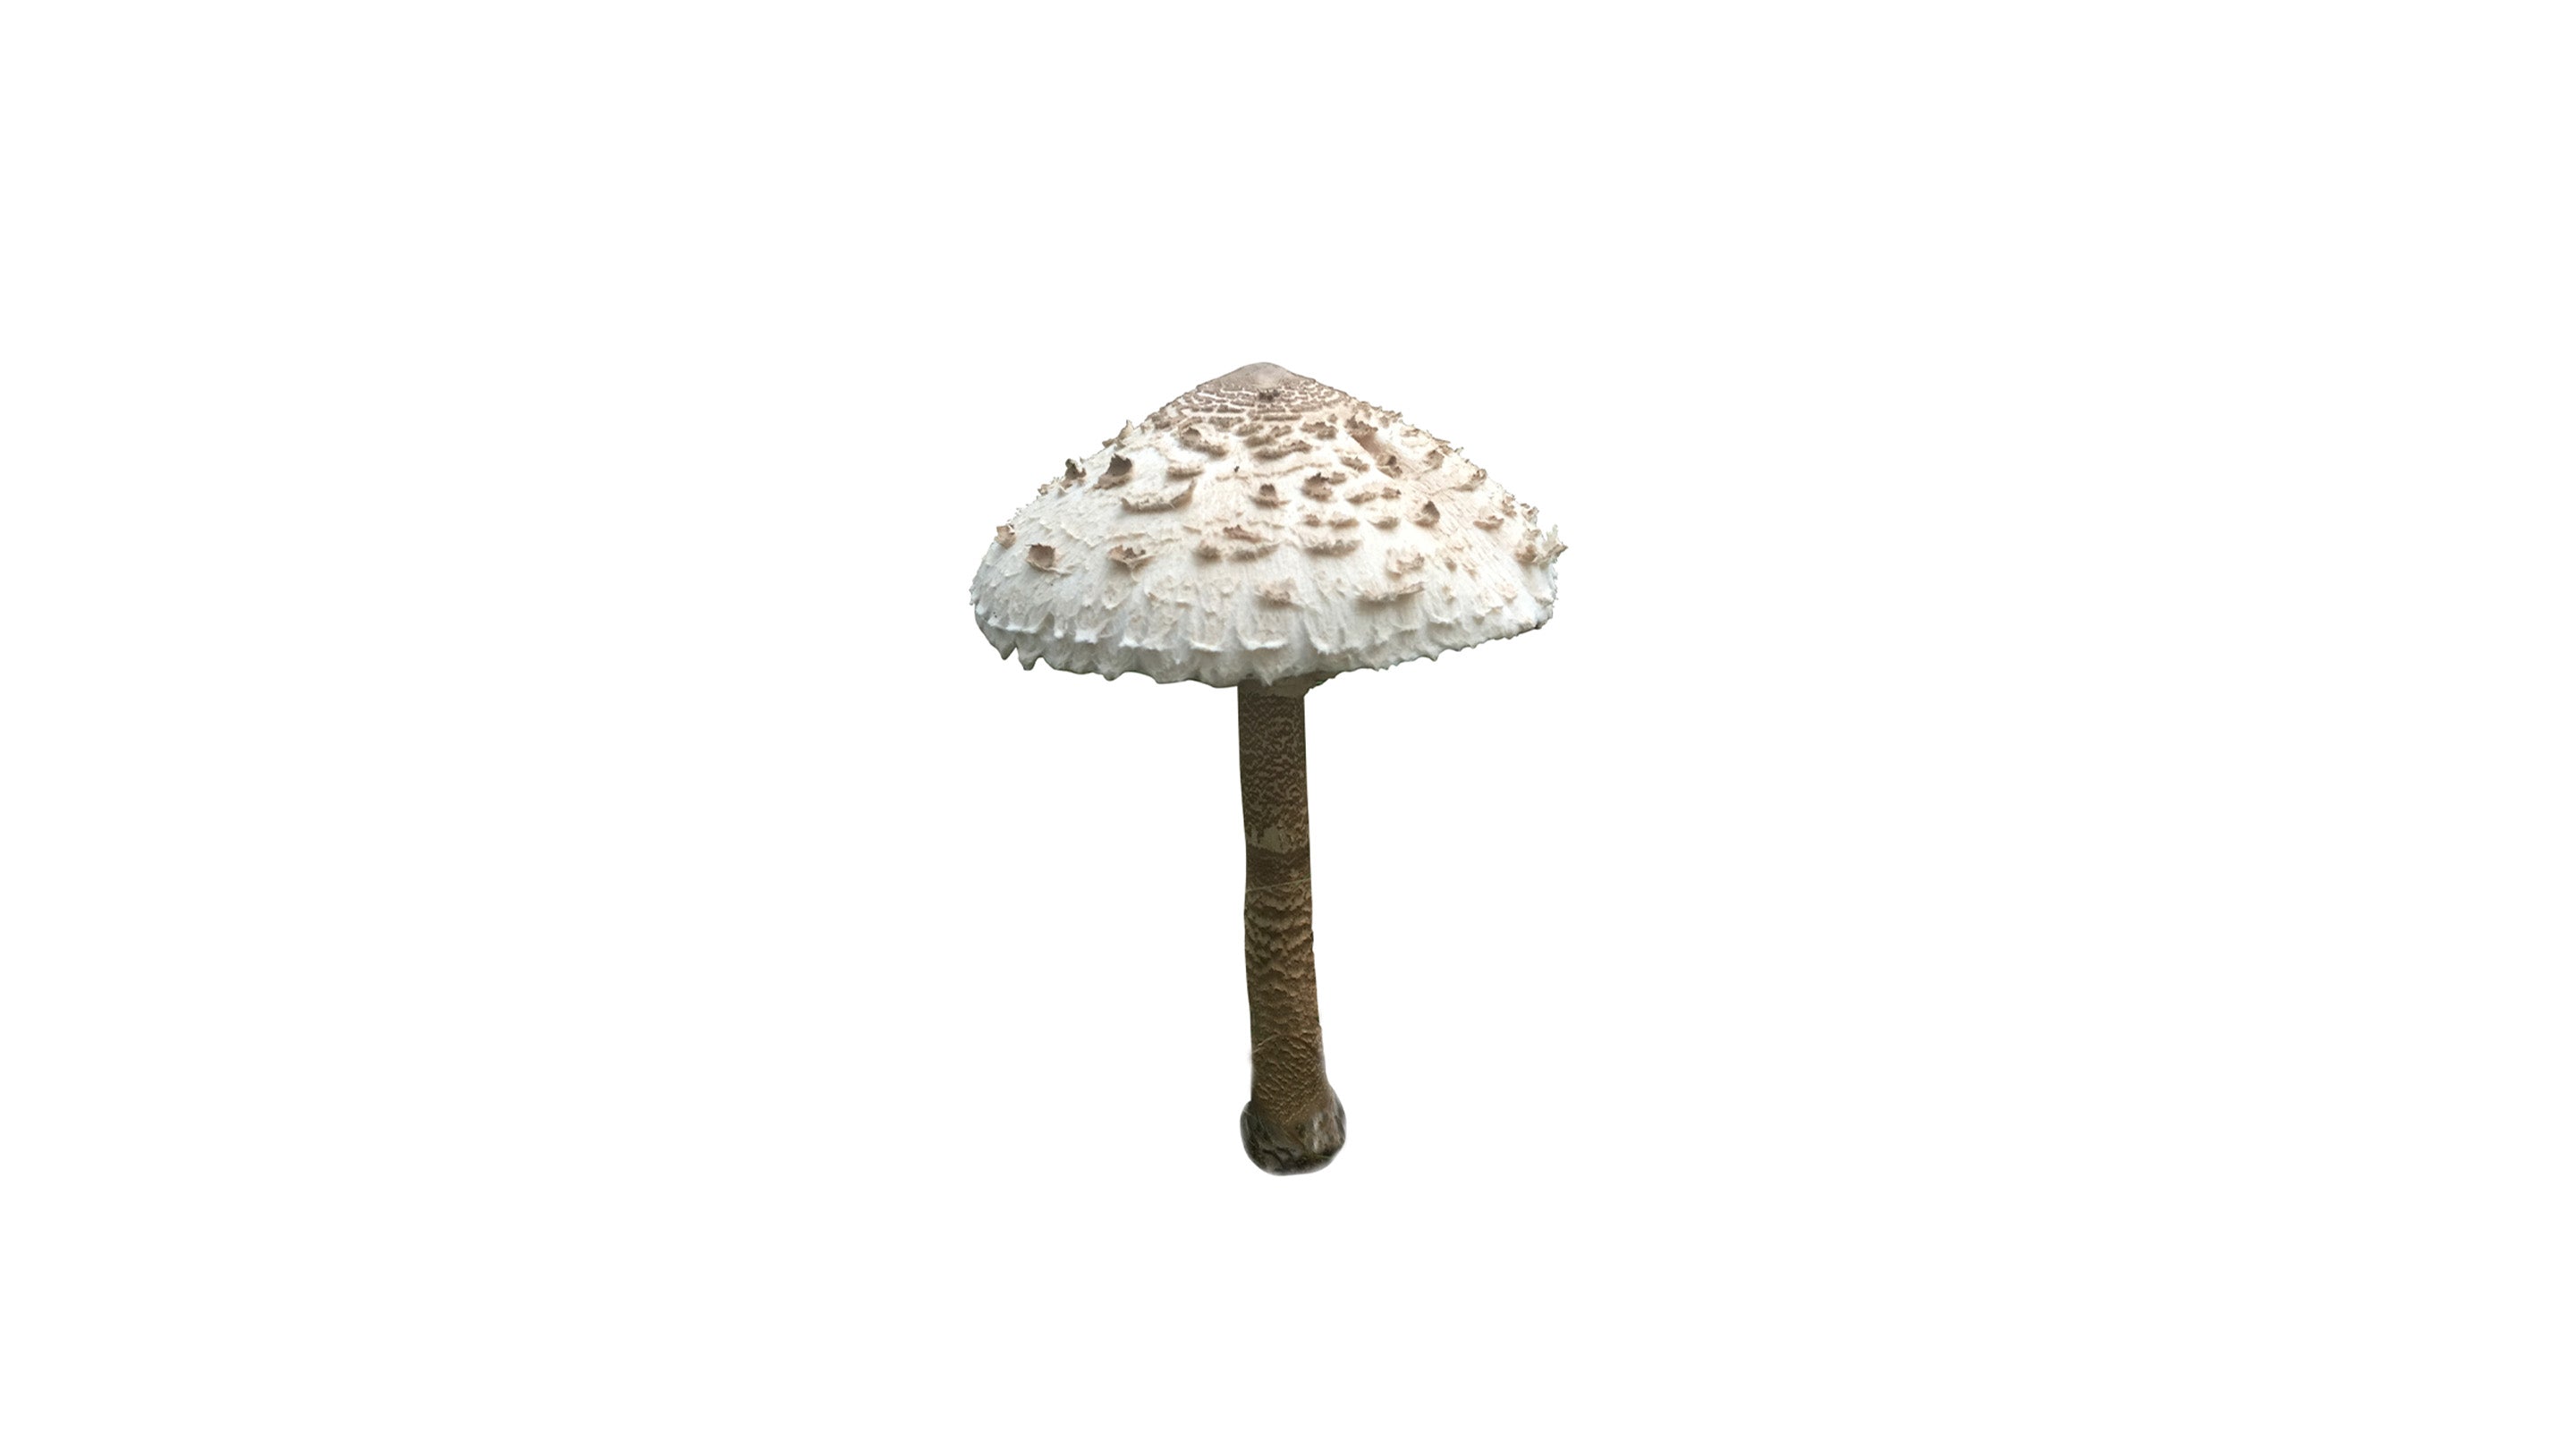
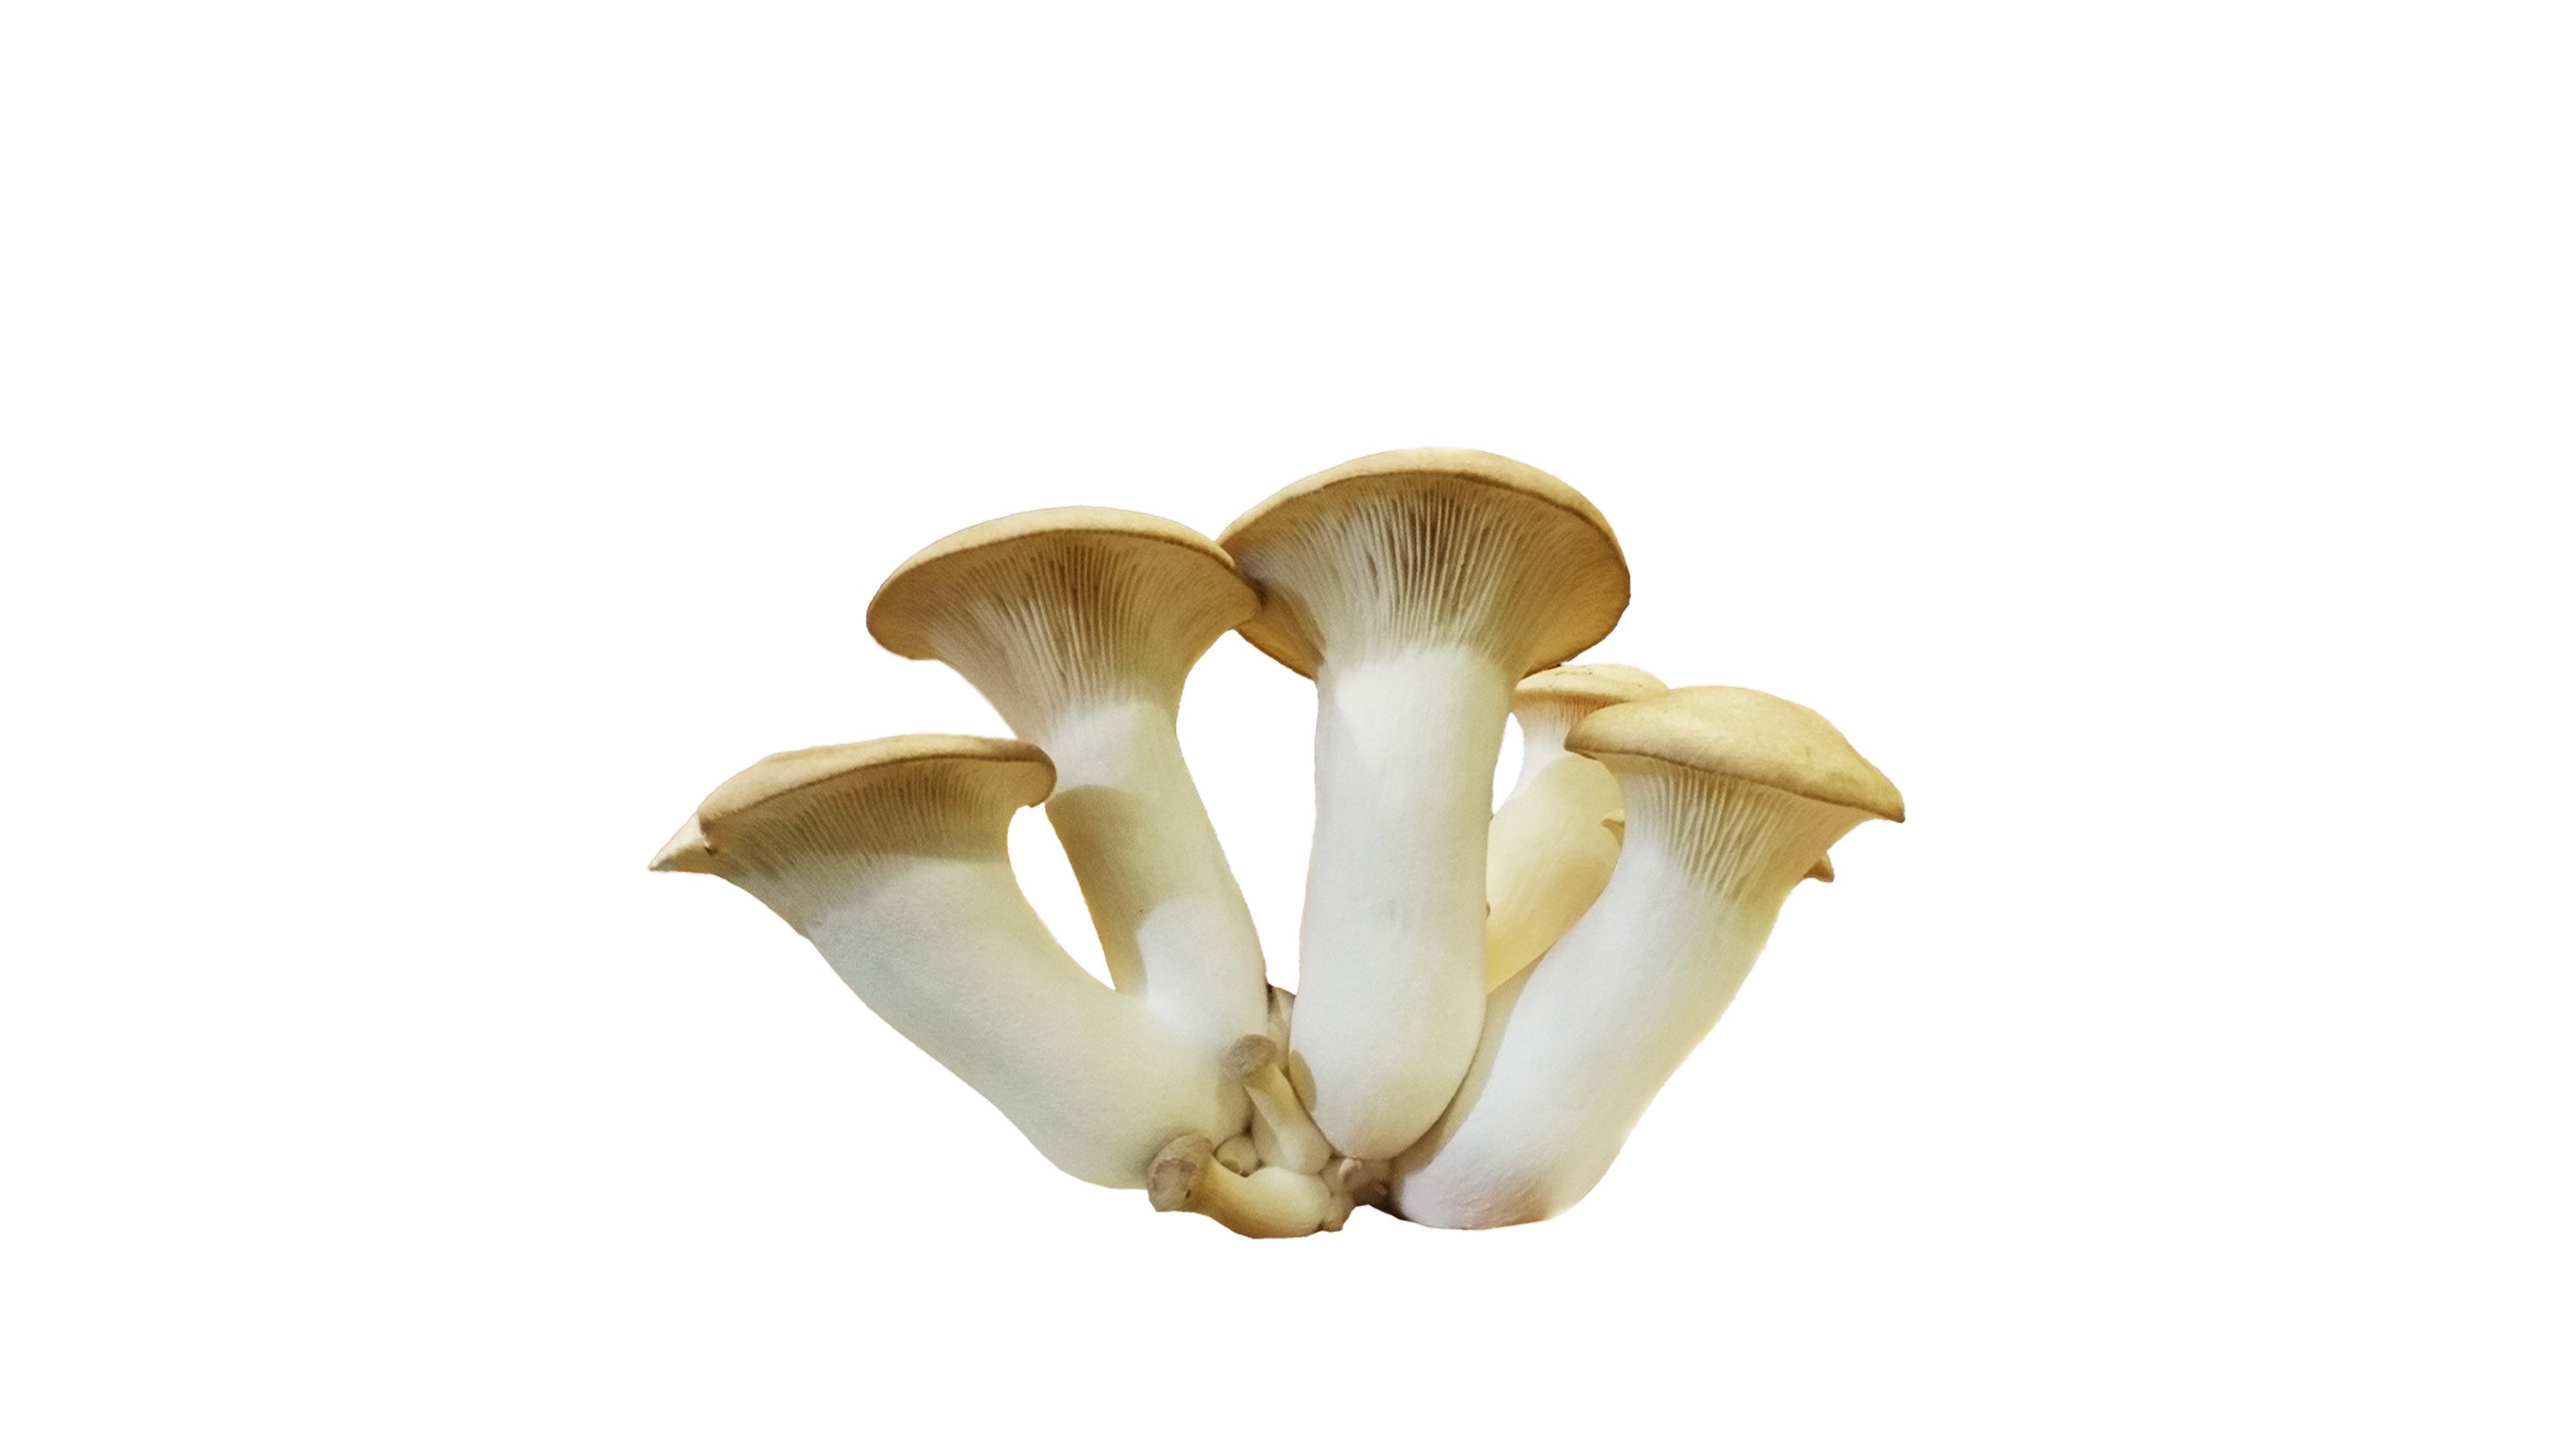
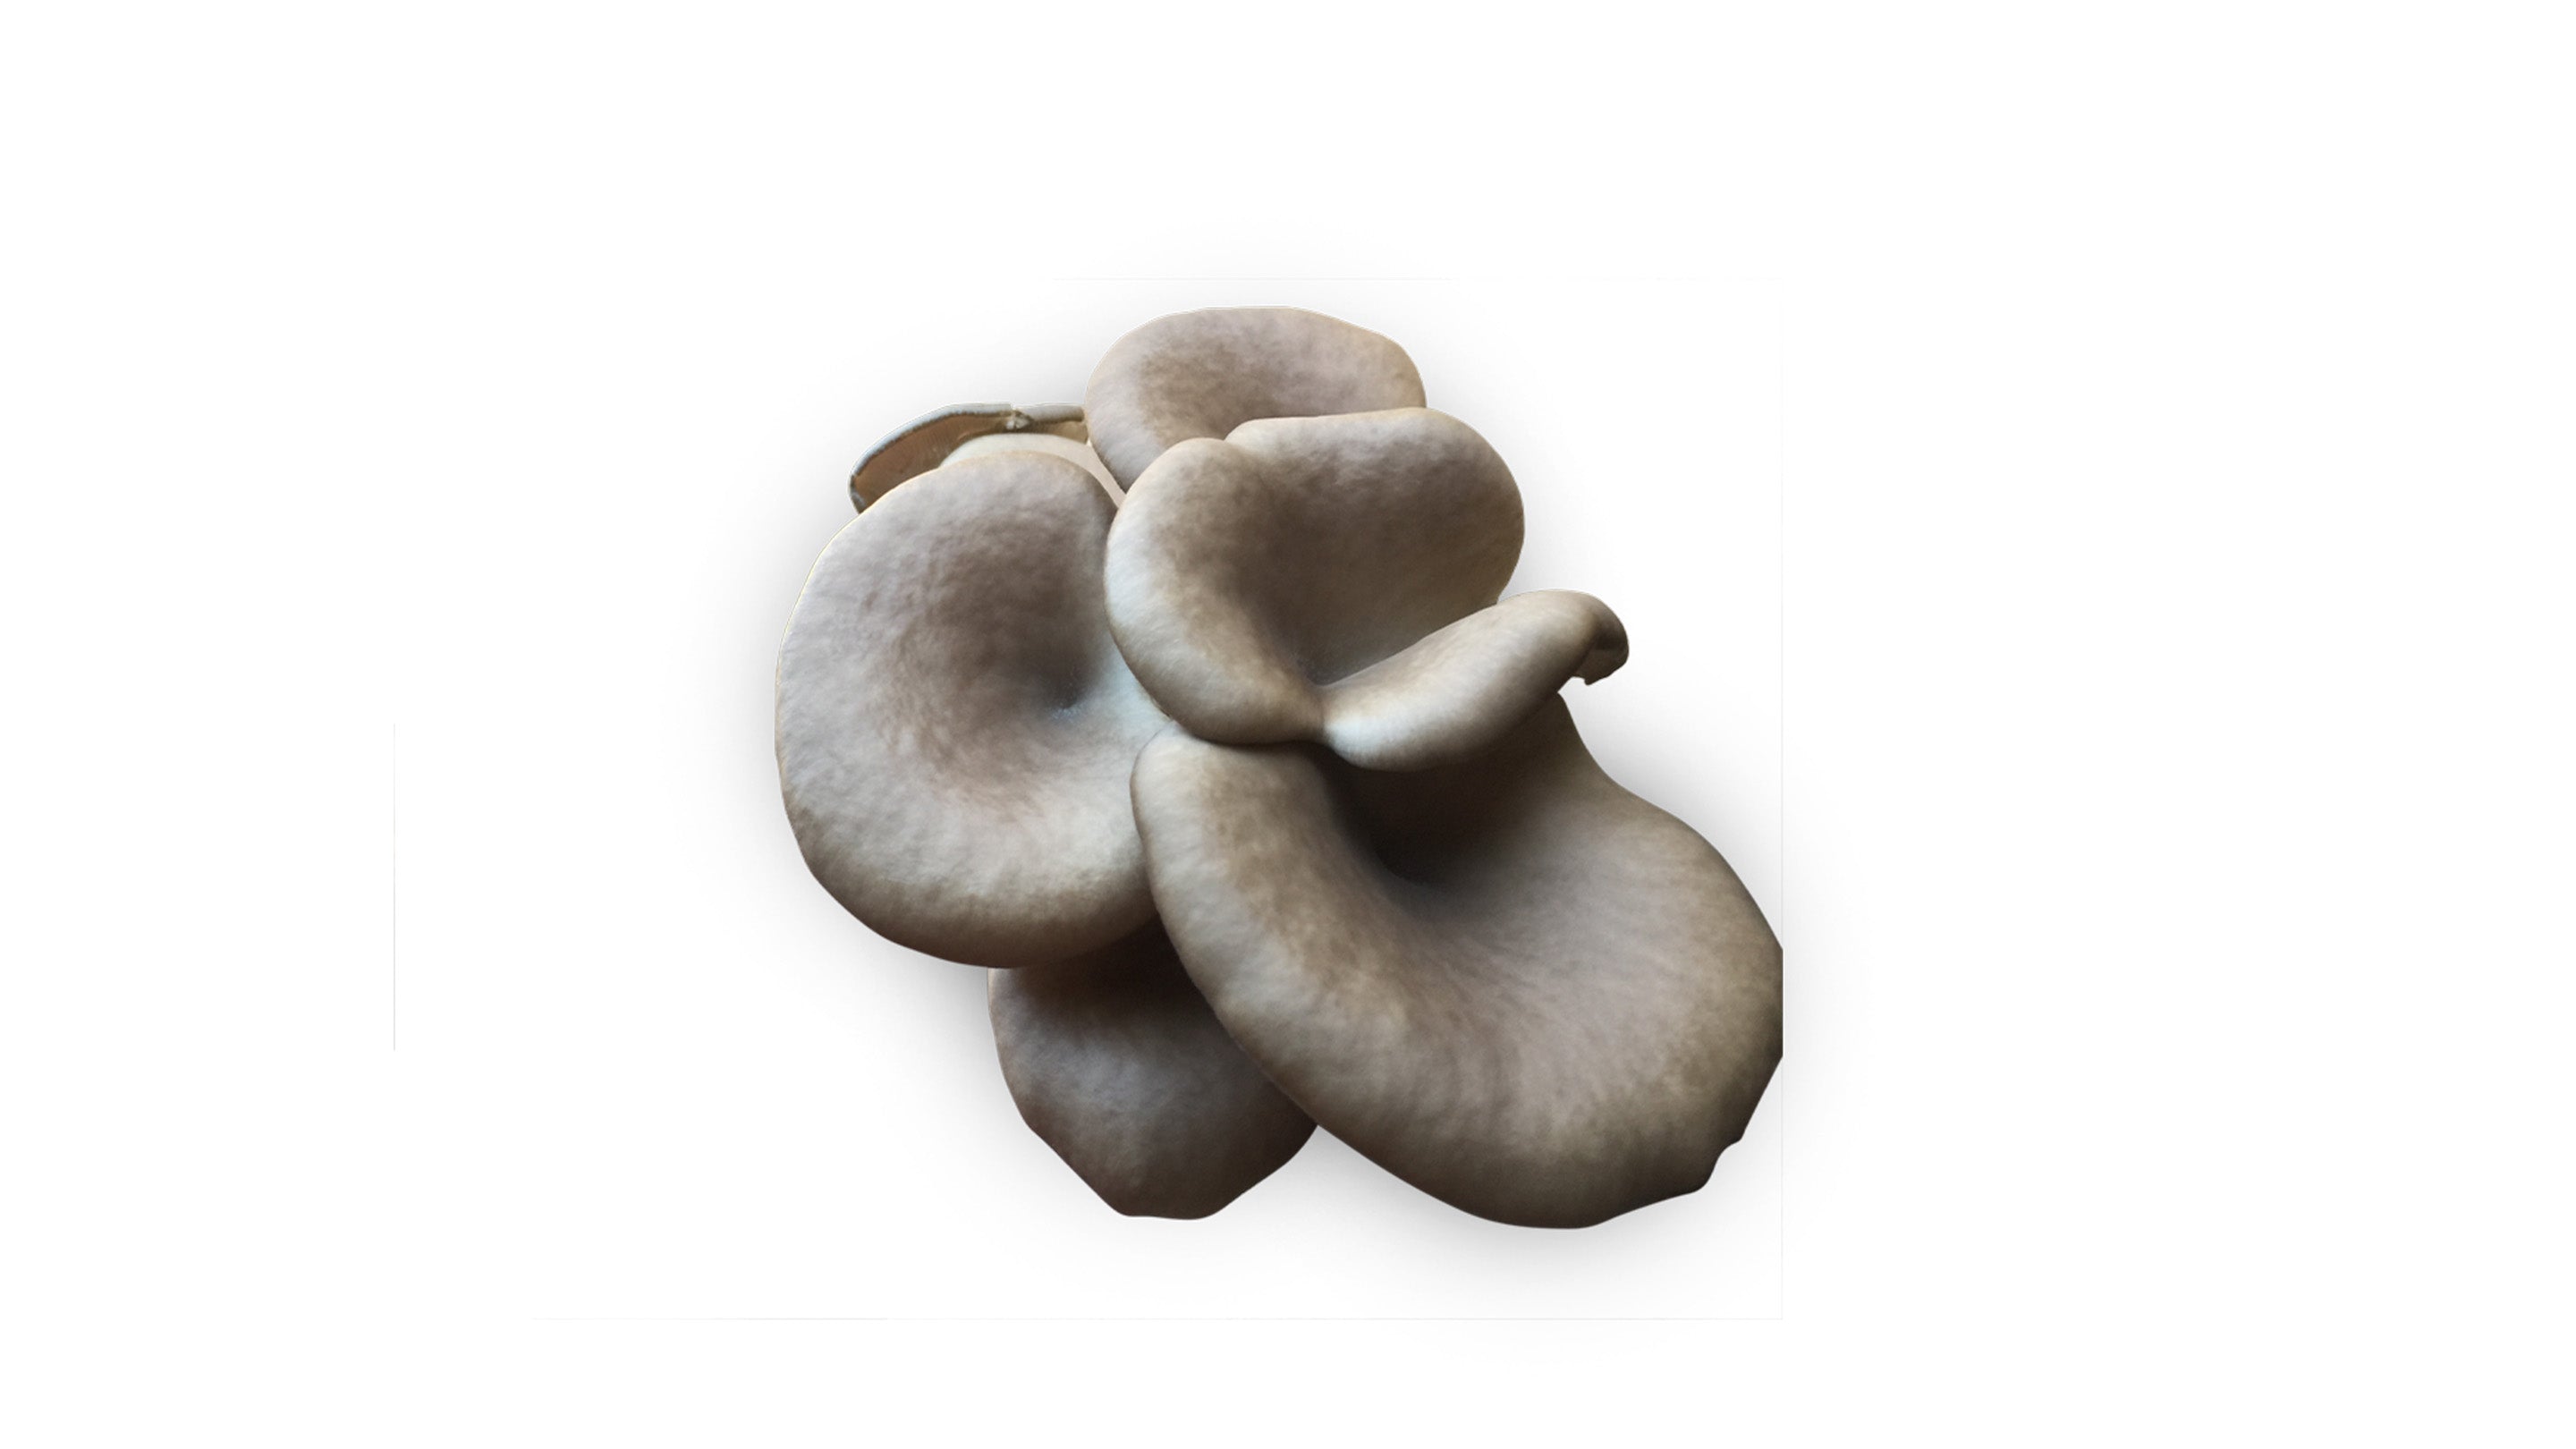
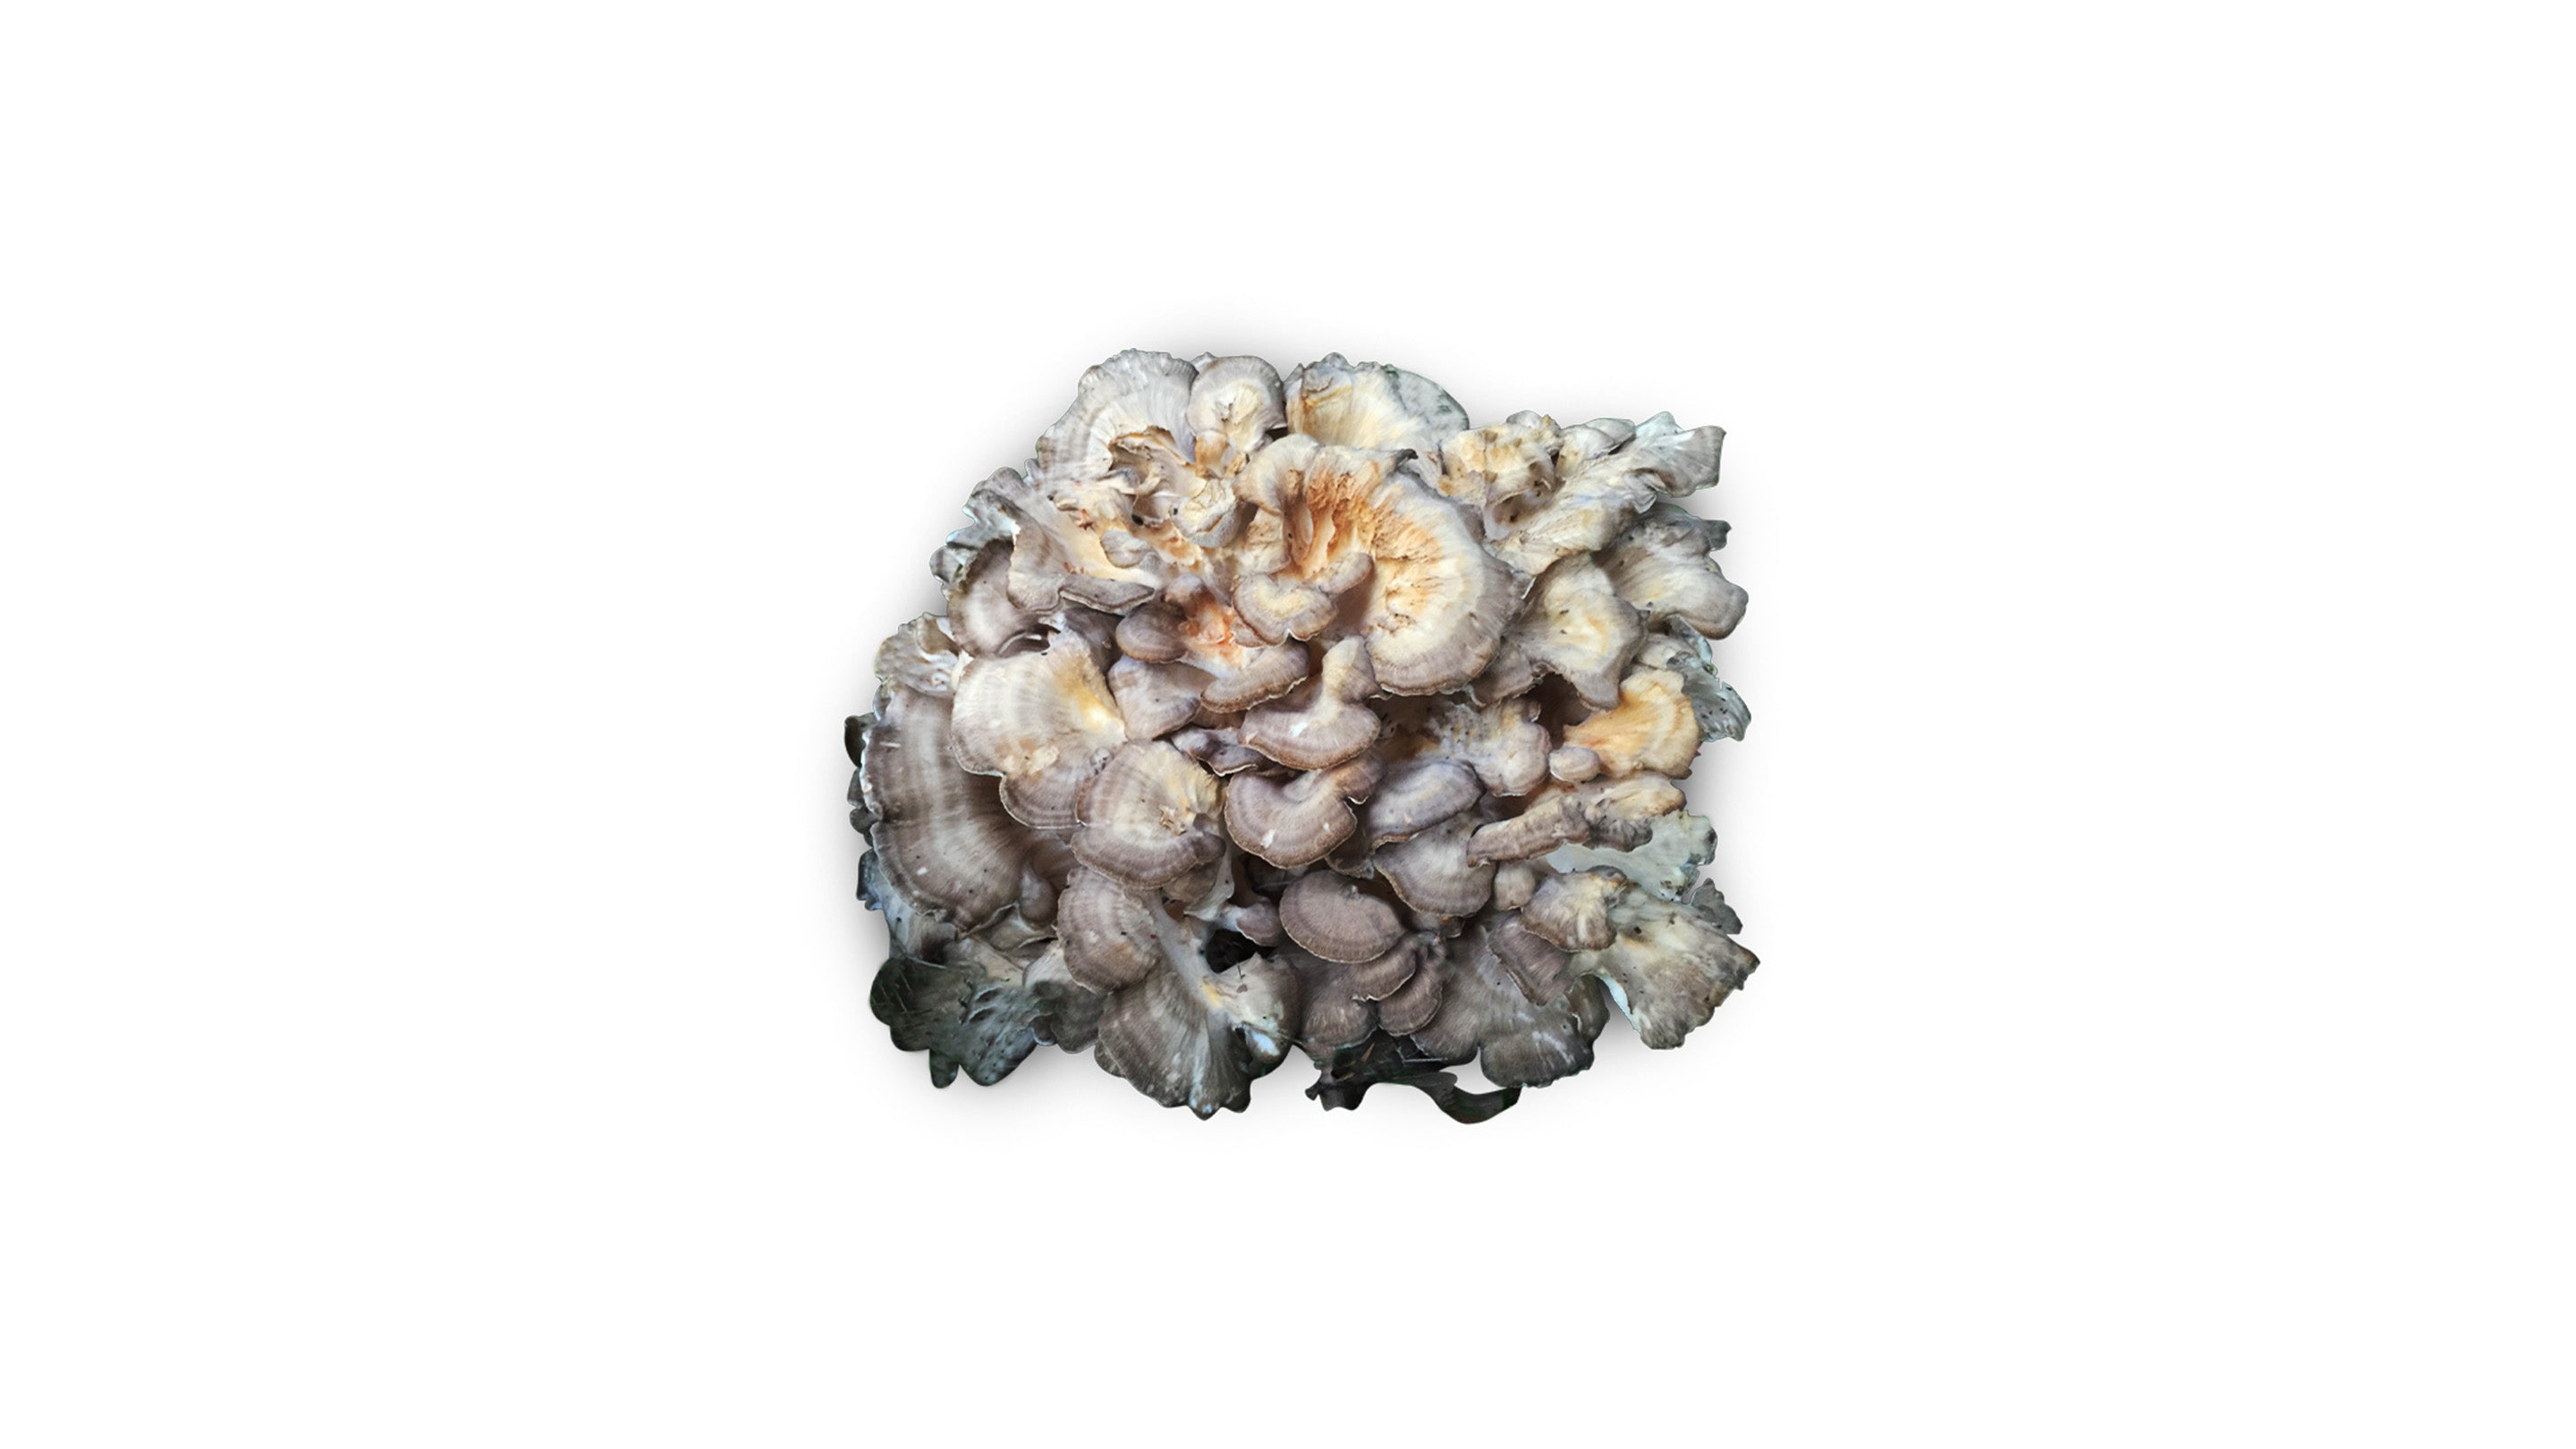
Wine Cap (Stropharia rugoso-annulata) is one of the easiest mushrooms to grow outdoors, making it perfect for both beginners and experienced gardeners.
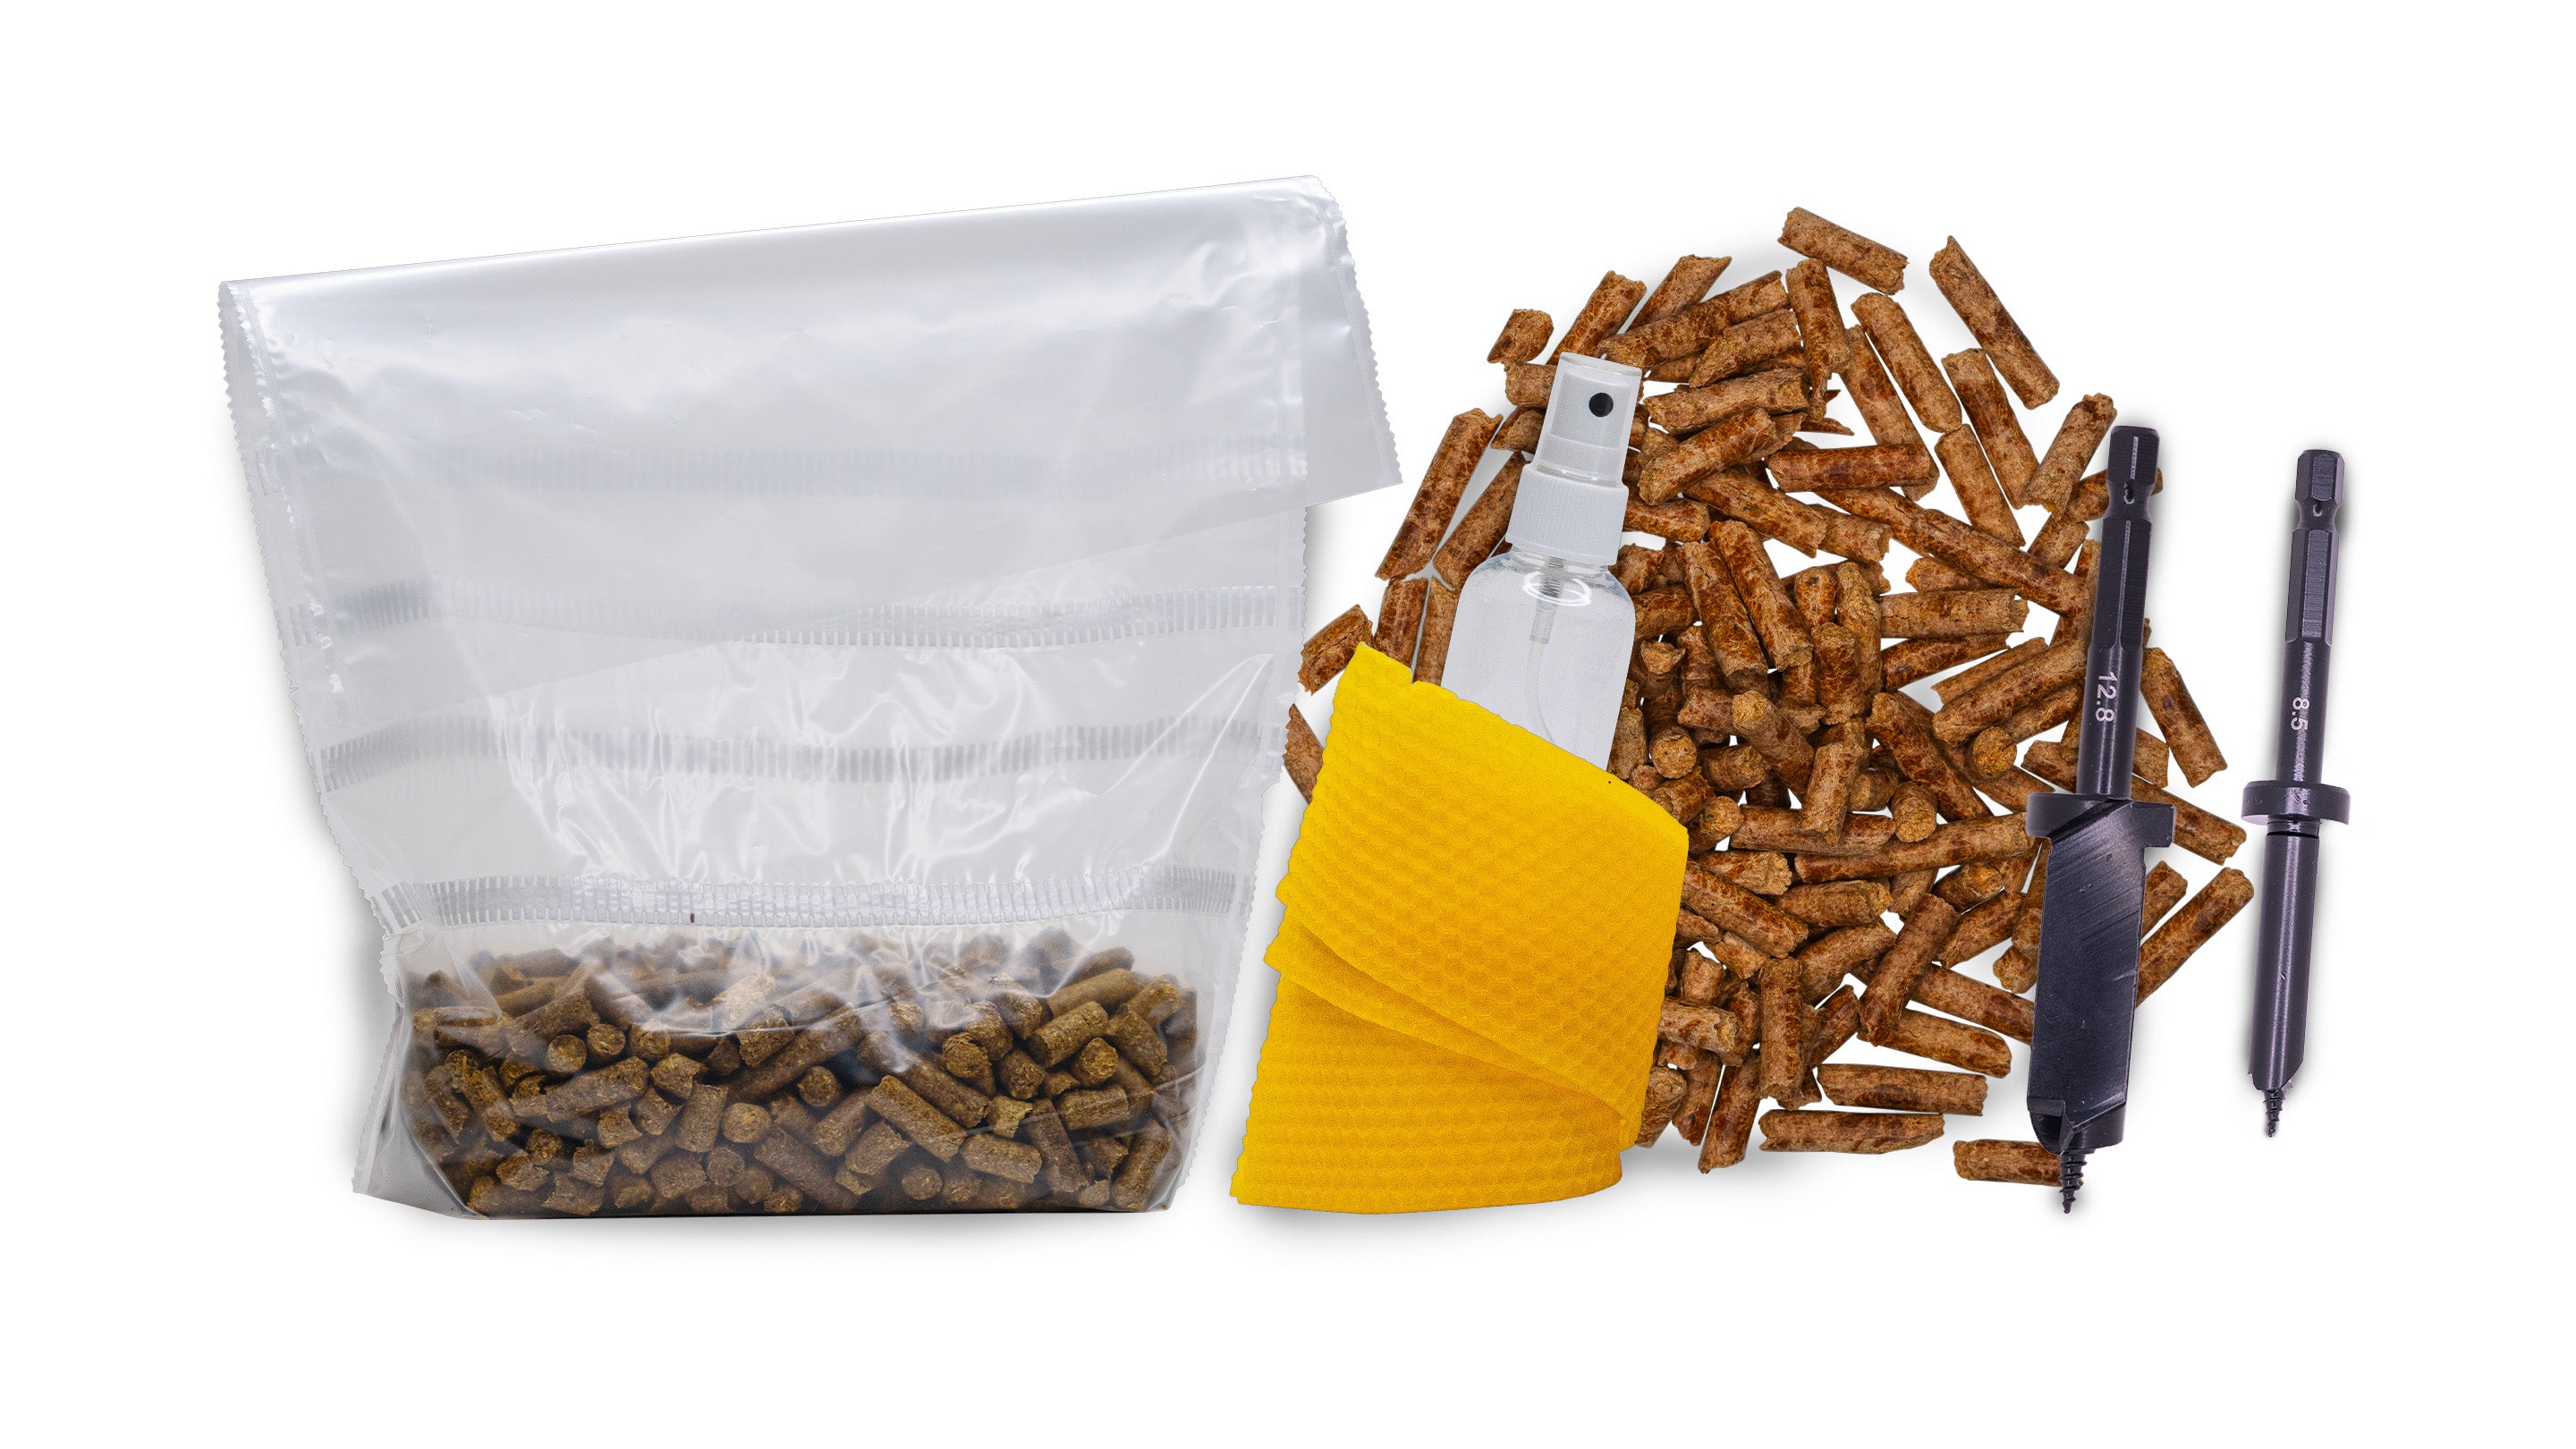
What's Included
- 5 L Wine Cap mushroom spawn
- 5 kg straw pellets
- 5 kg alder wood chips
- Detailed growing instructions
By purchasing the complete kit, you save €10 compared to buying all the components separately.
Fast Harvests, Long-Lasting Production
It's not uncommon to harvest your first Wine Cap mushrooms within just 1–2 months after planting outdoors. After that, you can expect continuous harvests throughout the growing season—from spring to autumn.
The kit typically produces mushrooms for around two years.
To extend the lifespan of your mushroom bed even further, simply add fresh organic material such as straw pellets, wood chips, grass clippings, or deciduous leaves during spring and autum
1 kg of mycelium is enough for 1.5 square meters. Per 1.5 square meter growing bed you need:
1. 10 kg wood chips. We recommend alder tree wood chips. You can find it in the shop under "Substrates". You can also use other types of wood, as long as you use larger chips from hardwoods. Do not use wood chips from spruce or pine.
2. 10 kg of straw pellets. You can find straw pellets in the shop under "Substrates". You can also use regular straw. If you use your own straw or wood chips, it is of the utmost importance that all the substrate is of the highest quality. Do not use old moisture-damaged material.
3. Newspaper or cardboard for ground cover.
Wine Cap Mushroom can be grown on planer shavings/chips of hardwood, straw or a mixture of straw and wood chips. It is not necessary to pasteurize the material when growing outdoors, but it is of great importance that all material is of the highest quality! Do not use old moisture-damaged material.
Memorize the "lasagna method". It is almost always used for outdoor mushroom cultivation. Briefly it means layer upon layer of different substrates. First you lay out a layer of Substrate, then a layer of Mycelium and on top of that a layer of substrate, etc. A mycelium-substrate-lasagna!
1. Dig a 20-30 cm deep drop of 1-1.5 square meters. Make sure the soil is well drained otherwise the growing bed may run the risk of becoming too wet if water collects at the bottom. In general, this is not usually a problem for most people if you have a relatively normal soil.
2. Feel free to cover the bottom of the bed with a couple of cm thick layer of newspaper and/or cardboard to protect against weeds.
3. Fill the bed with a 2 cm deep layer of your chosen substrate, i.e. wood chips or straw pellets.
4. Water well so the material feels thoroughly moistened
5. Spread an approx. 0.5-1cm layer of mycelium evenly distributed over the entire surface.
6. Cover with another 2 cm of substrate and water.
7. Continue in the same way as above until all the mycelium is used up. Be sure to finish with substrate to protect the mycelium from drying out.
8. Water abundantly with sprinklers during the first four days if it does not rain. The sprinkler is then turned on for half an hour in the morning and evening during drought.
9. From spring to autumn, you can continuously throw grass clippings from the lawn onto the bed. Feel free to add more substrate in early spring and late fall to add more nutrition, giving the mycelium the opportunity to continue expanding and producing fruiting bodies that you can harvest. You add substrate by simply placing it on top of the growing bed and then watering abundantly. You can have a growing bed for many years, as long as you add healthy substrate at least once a year.
A little pro tip: You can advantageously place logs around the edges of the cultivation bed to keep more moisture around the cultivation but also to create your own mushroom garden! You inoculate the logs with other mushrooms, for example a spring mushroom, summer mushroom and autumn mushroom, so you have fresh wonderful edible mushrooms almost all year round. If you want to give it a try you will need mycelium dowels or rapid mycelium, drills, beezwax and a wax applicator. You can find all this in the shop under their respective categories.
Orders placed before 11.00 a.m. are usually shipped the same day. We deliver with DHL and deliveries usually take 2-3 working days. Fungal mycelium is resistant but cannot withstand high temperatures. If the climate exceeds 25, we wait for cooler temperatures before sending the packages in order for your products to arrive to you in the best possible condition.
