How to build a fruit chamber/monotube for growing mushrooms indoors
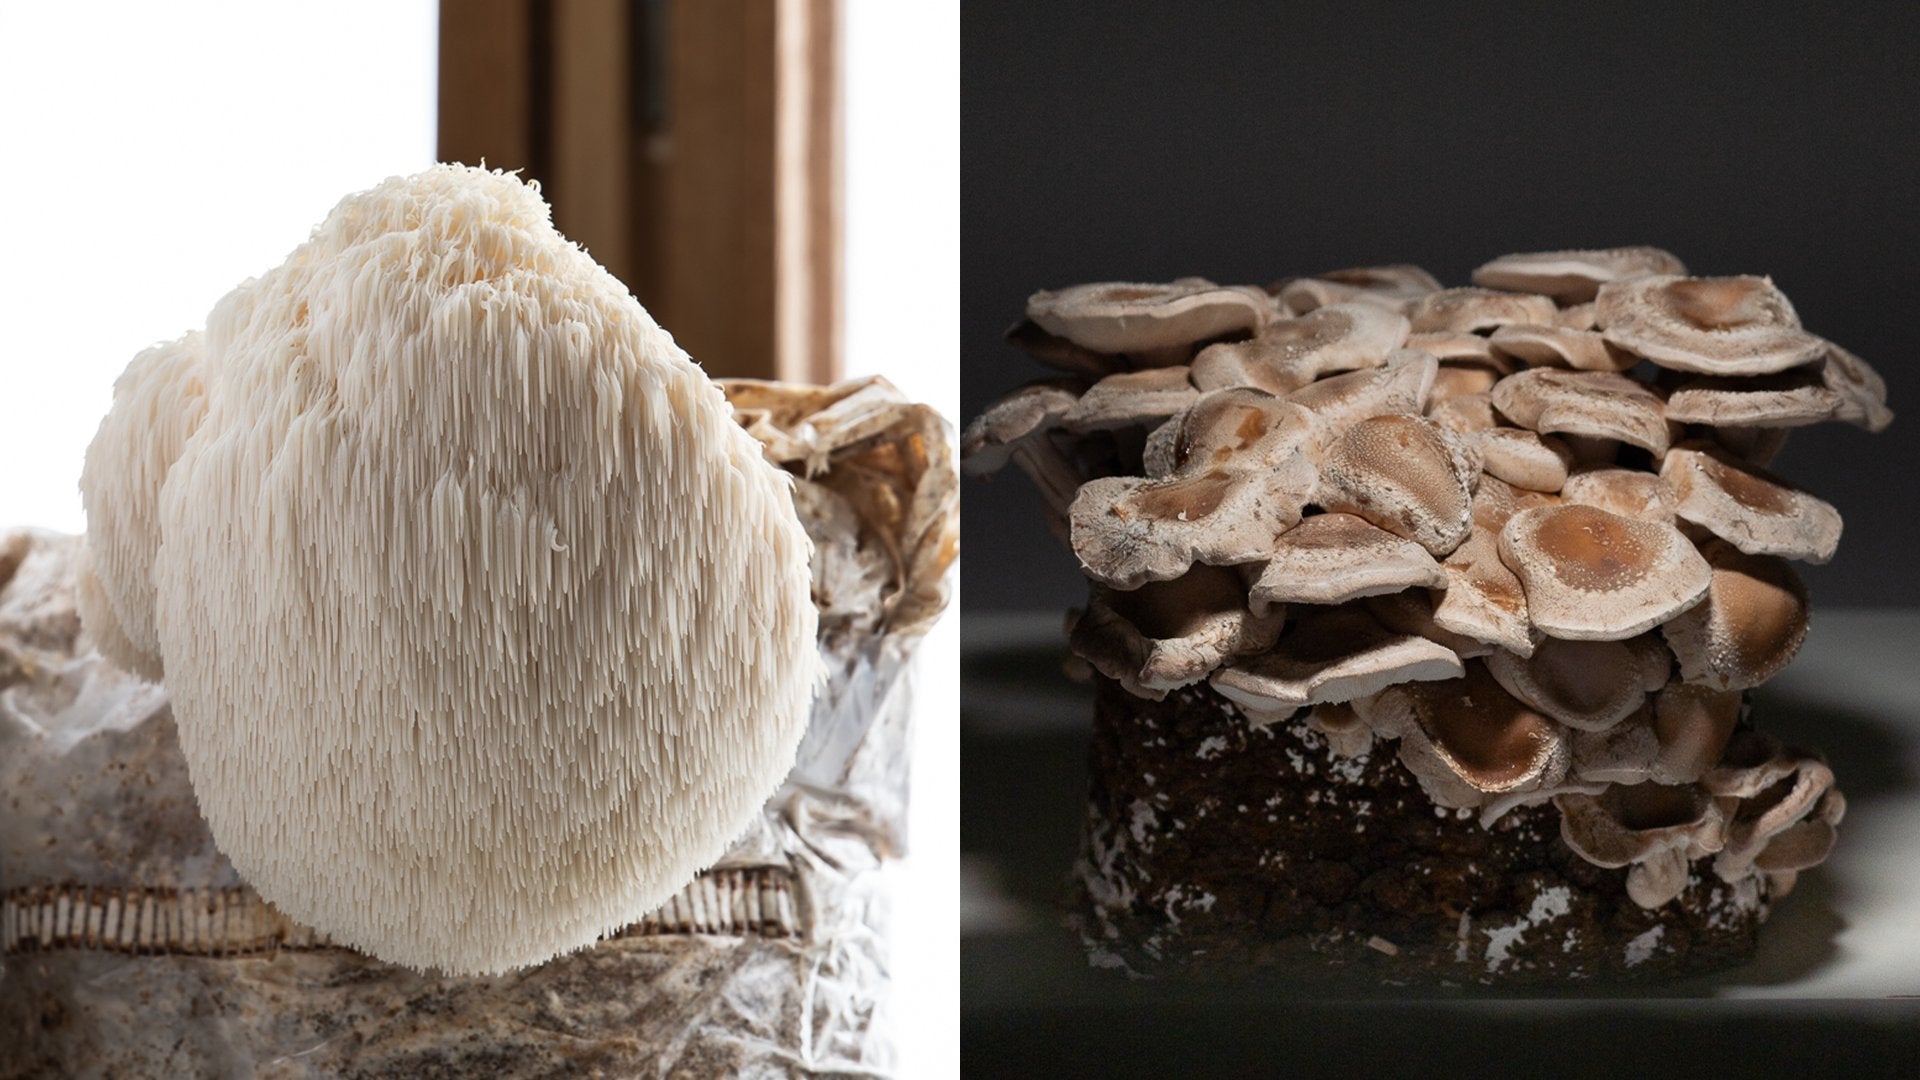
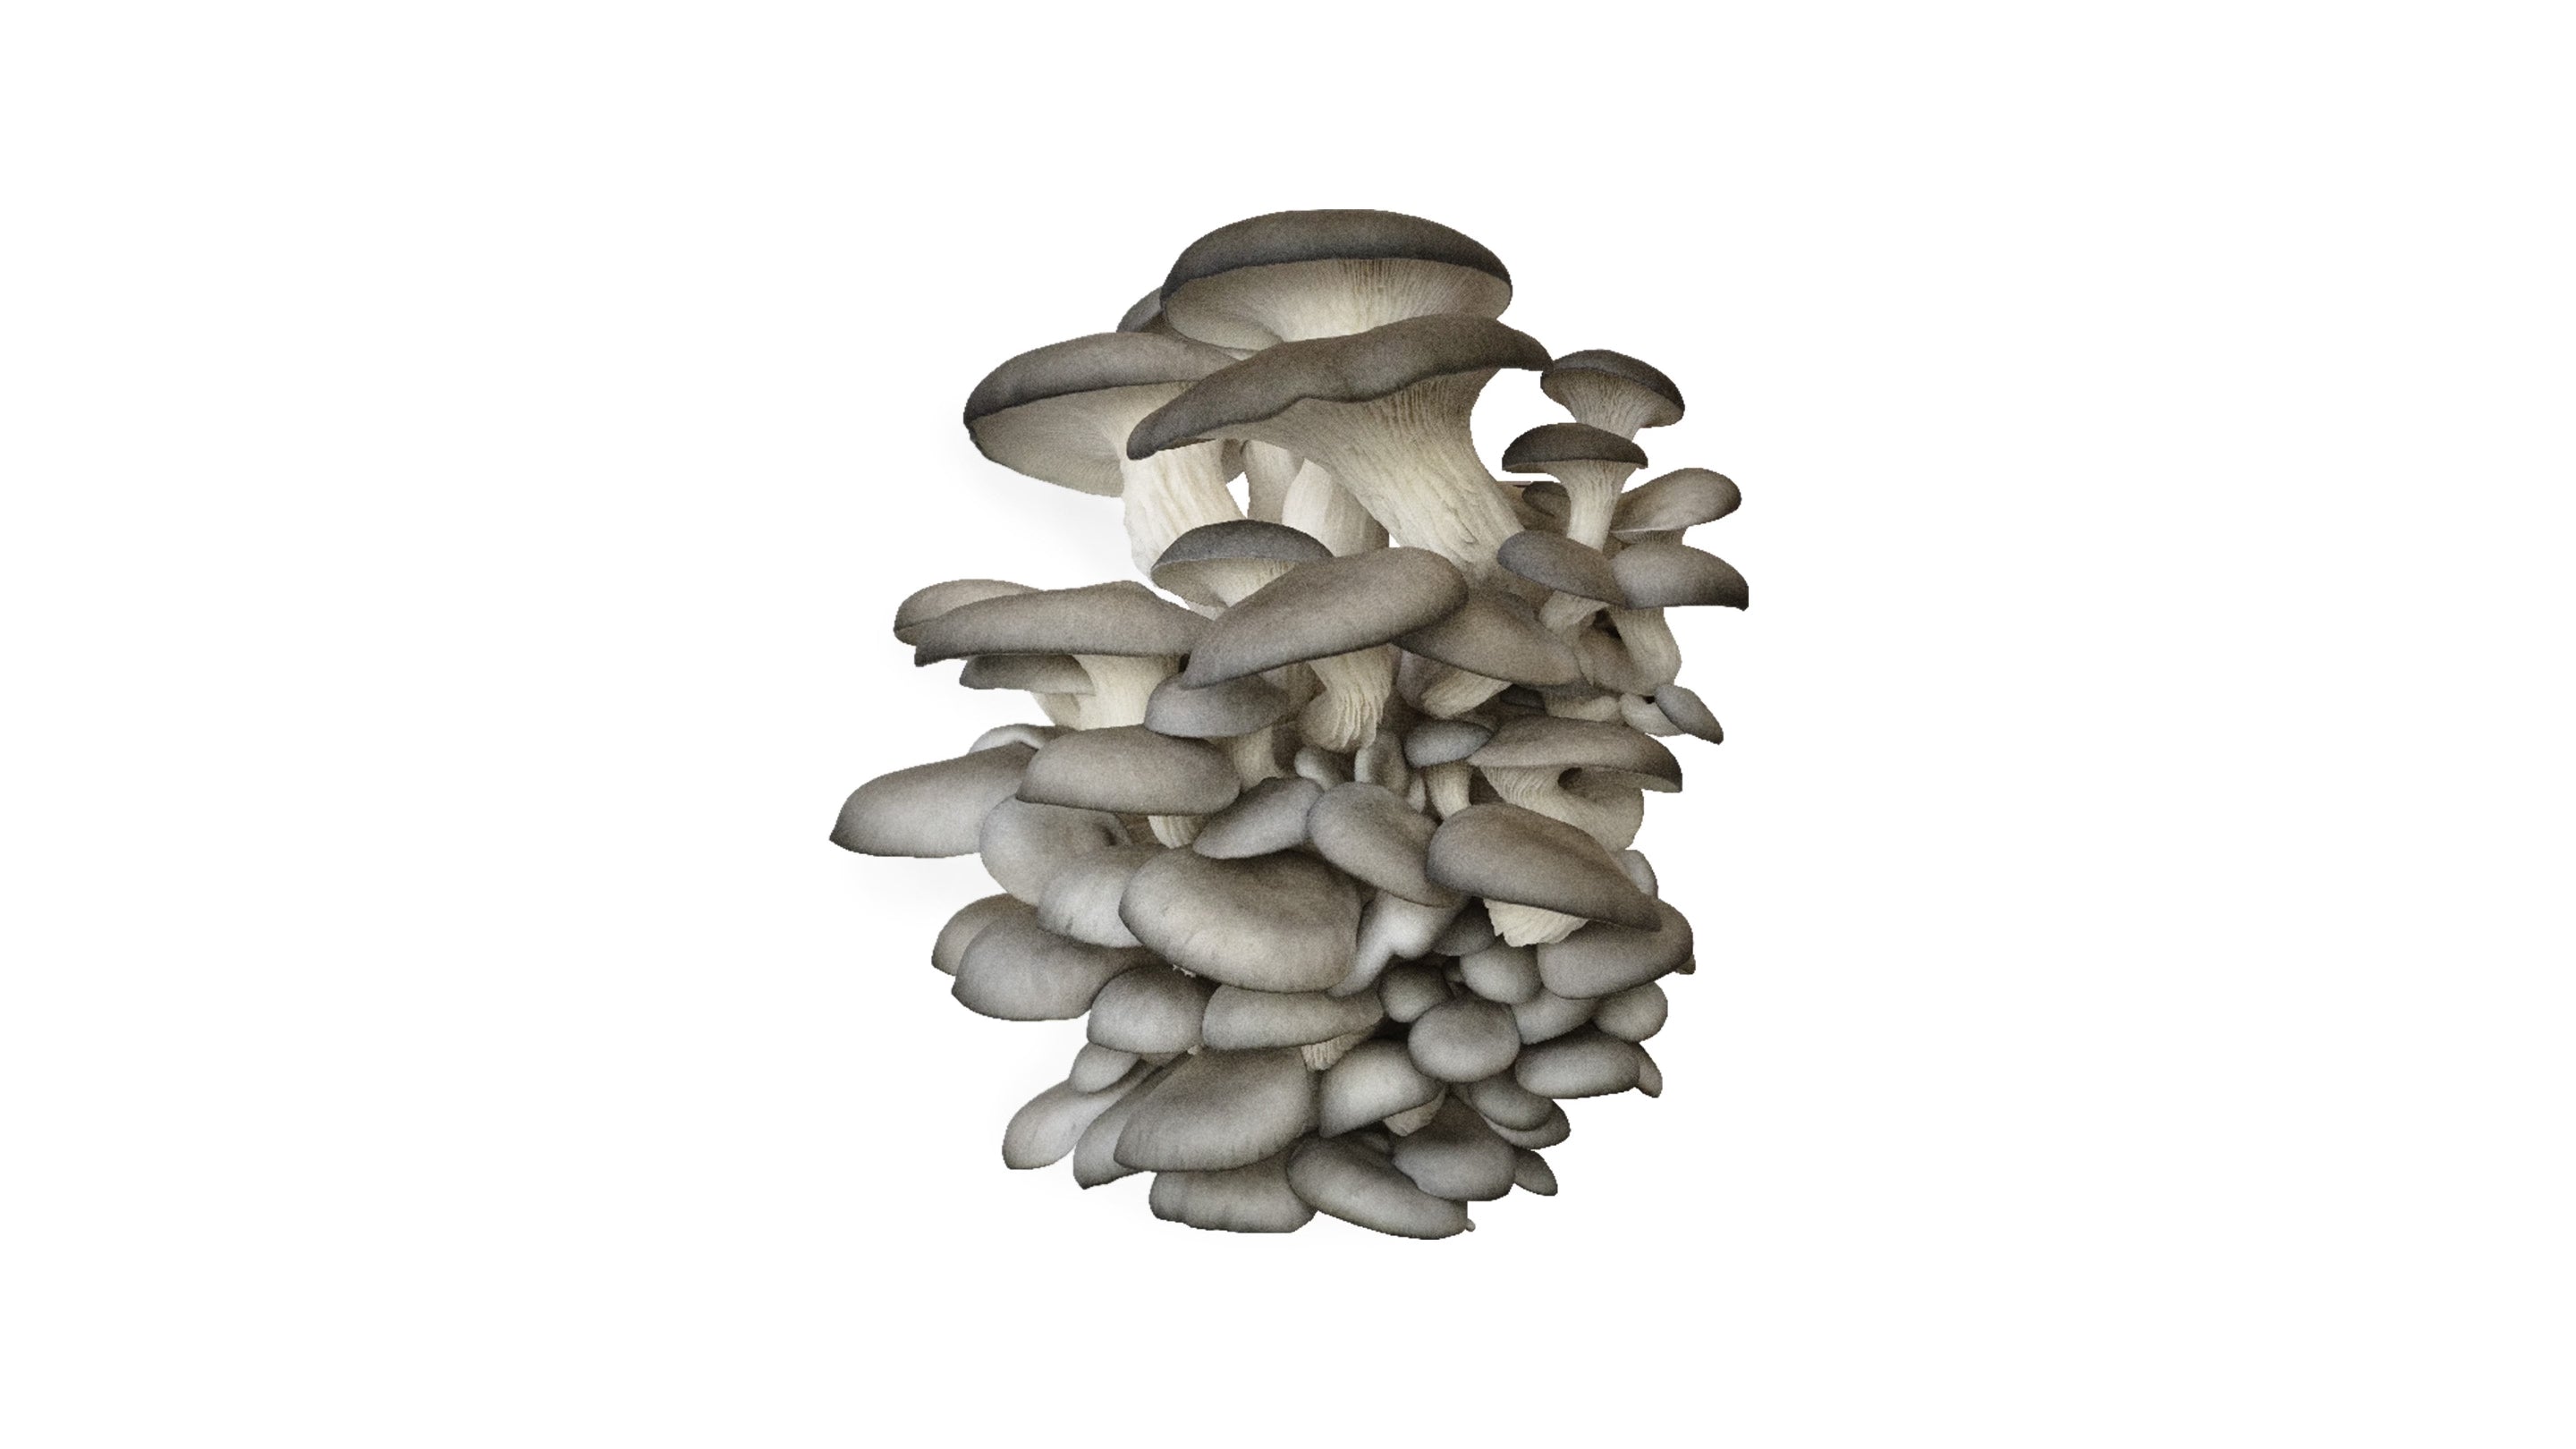
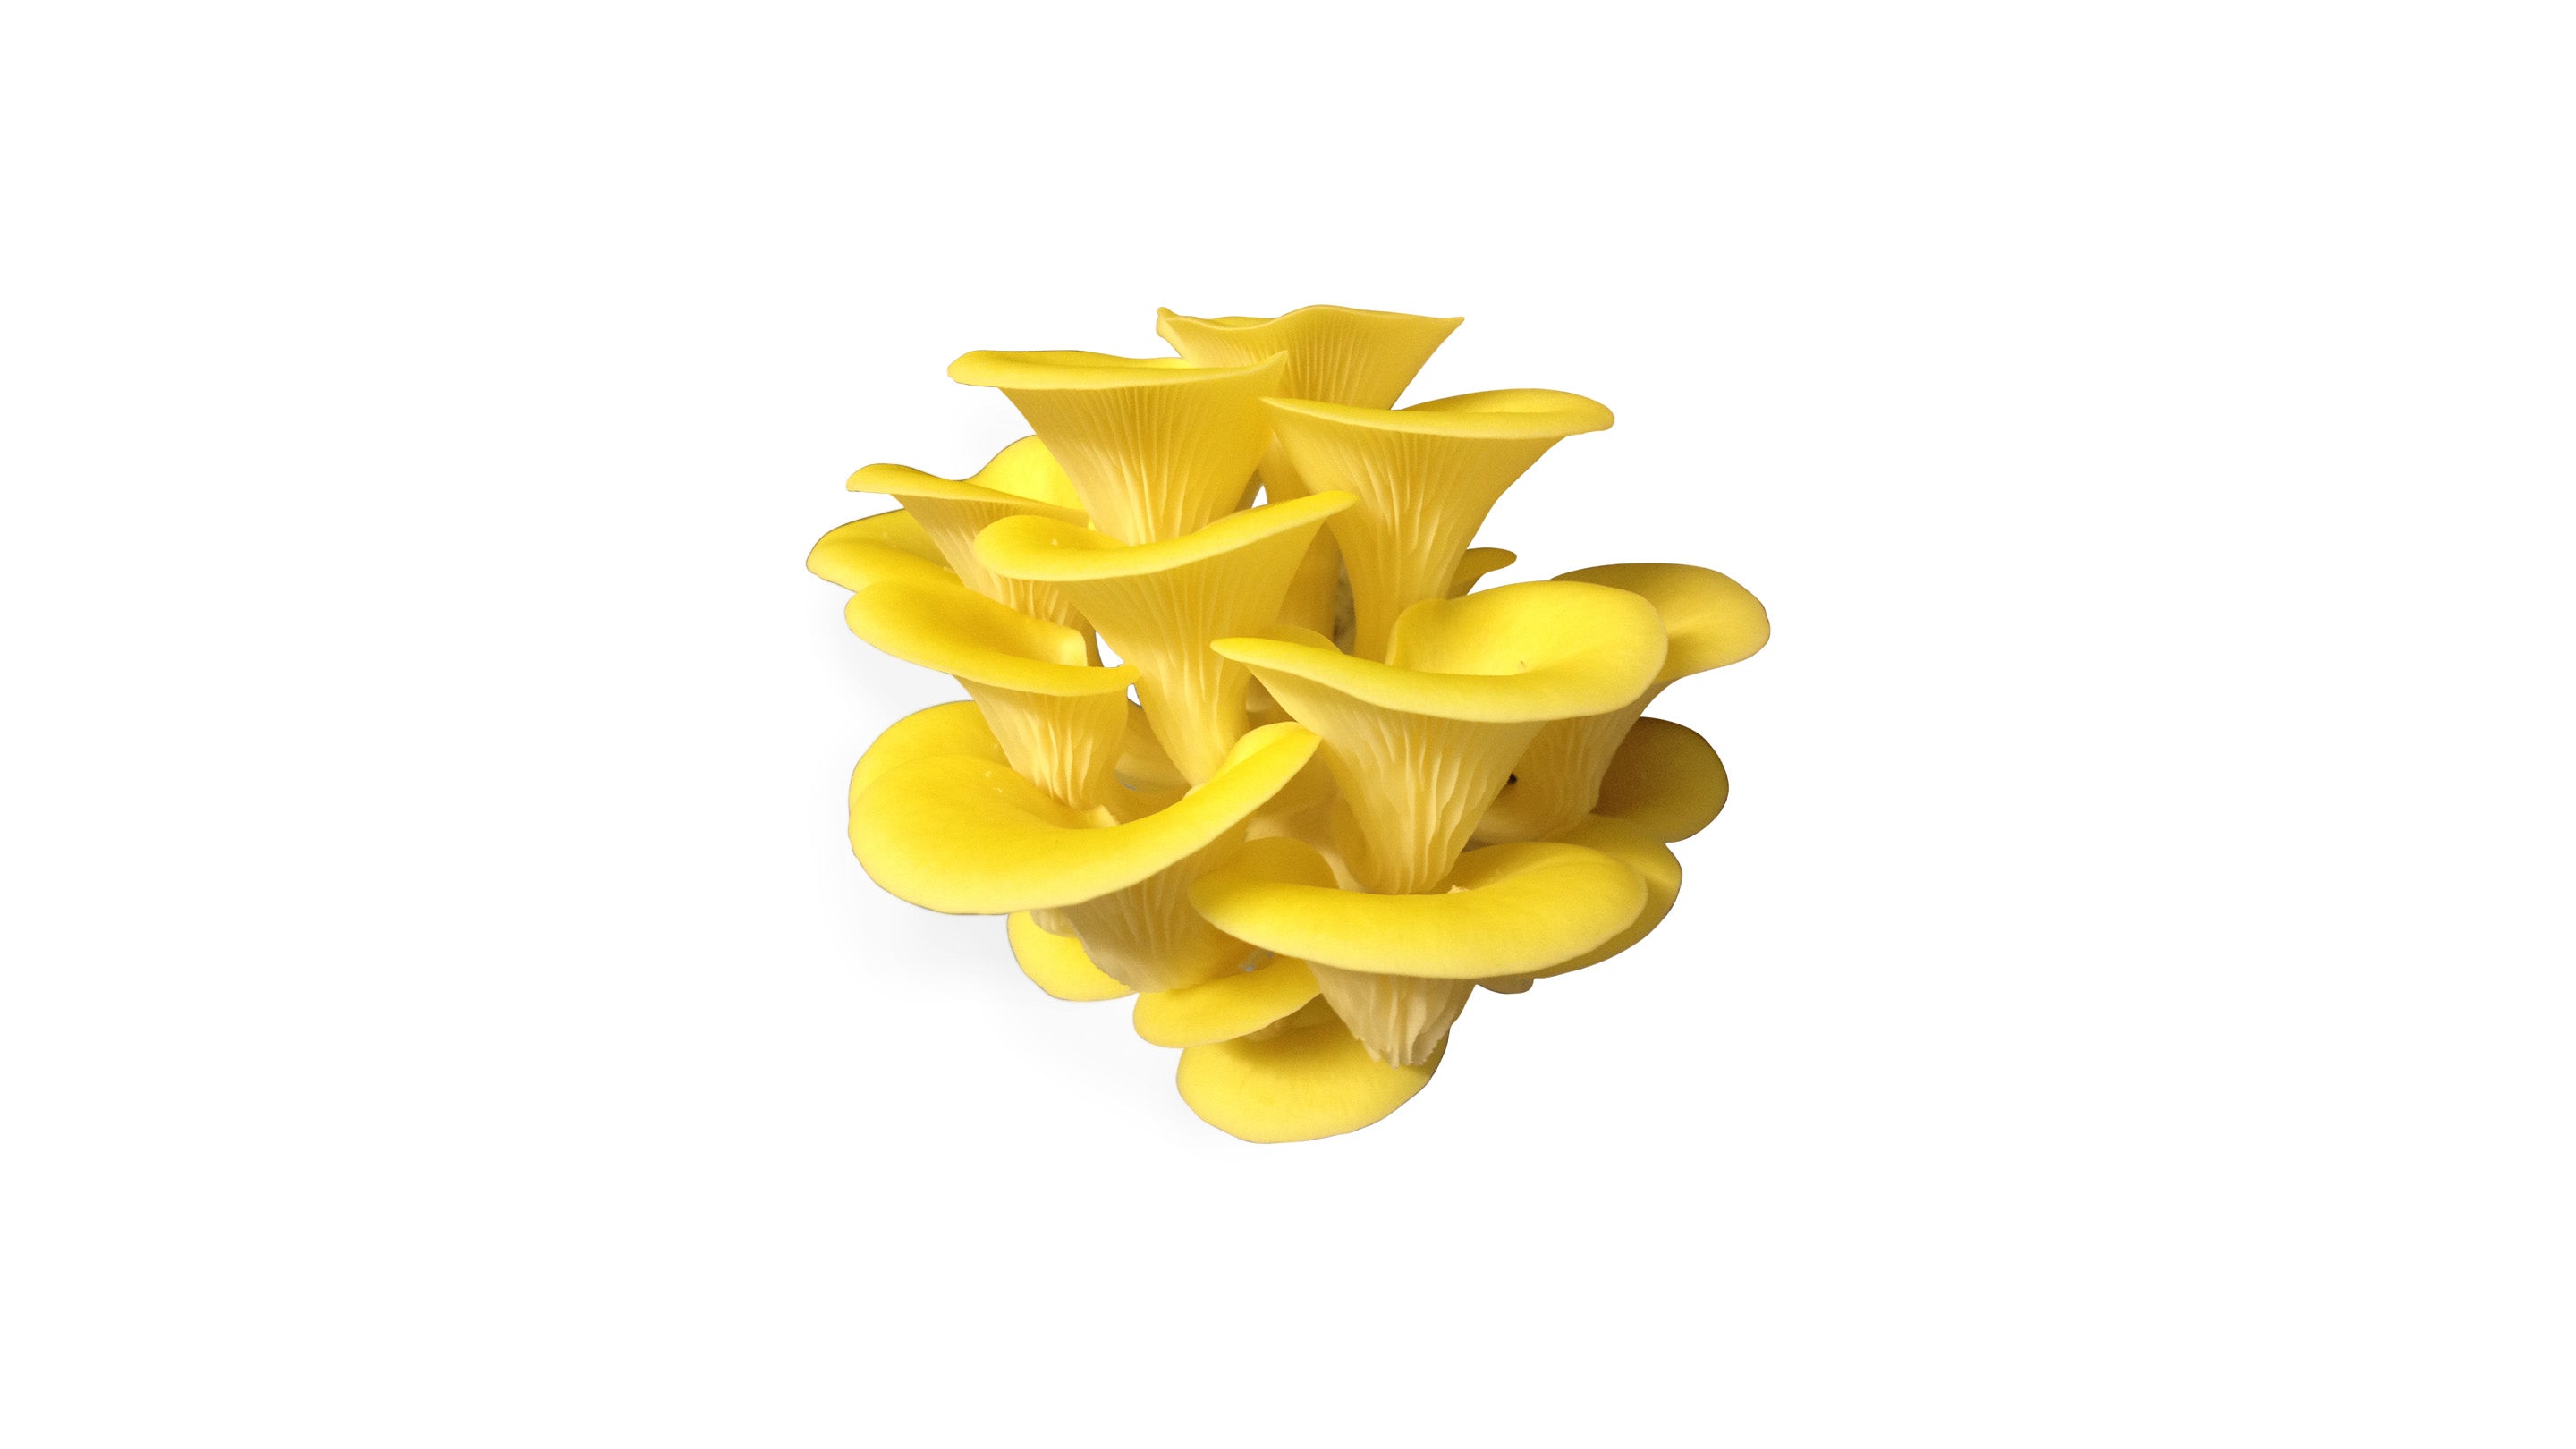
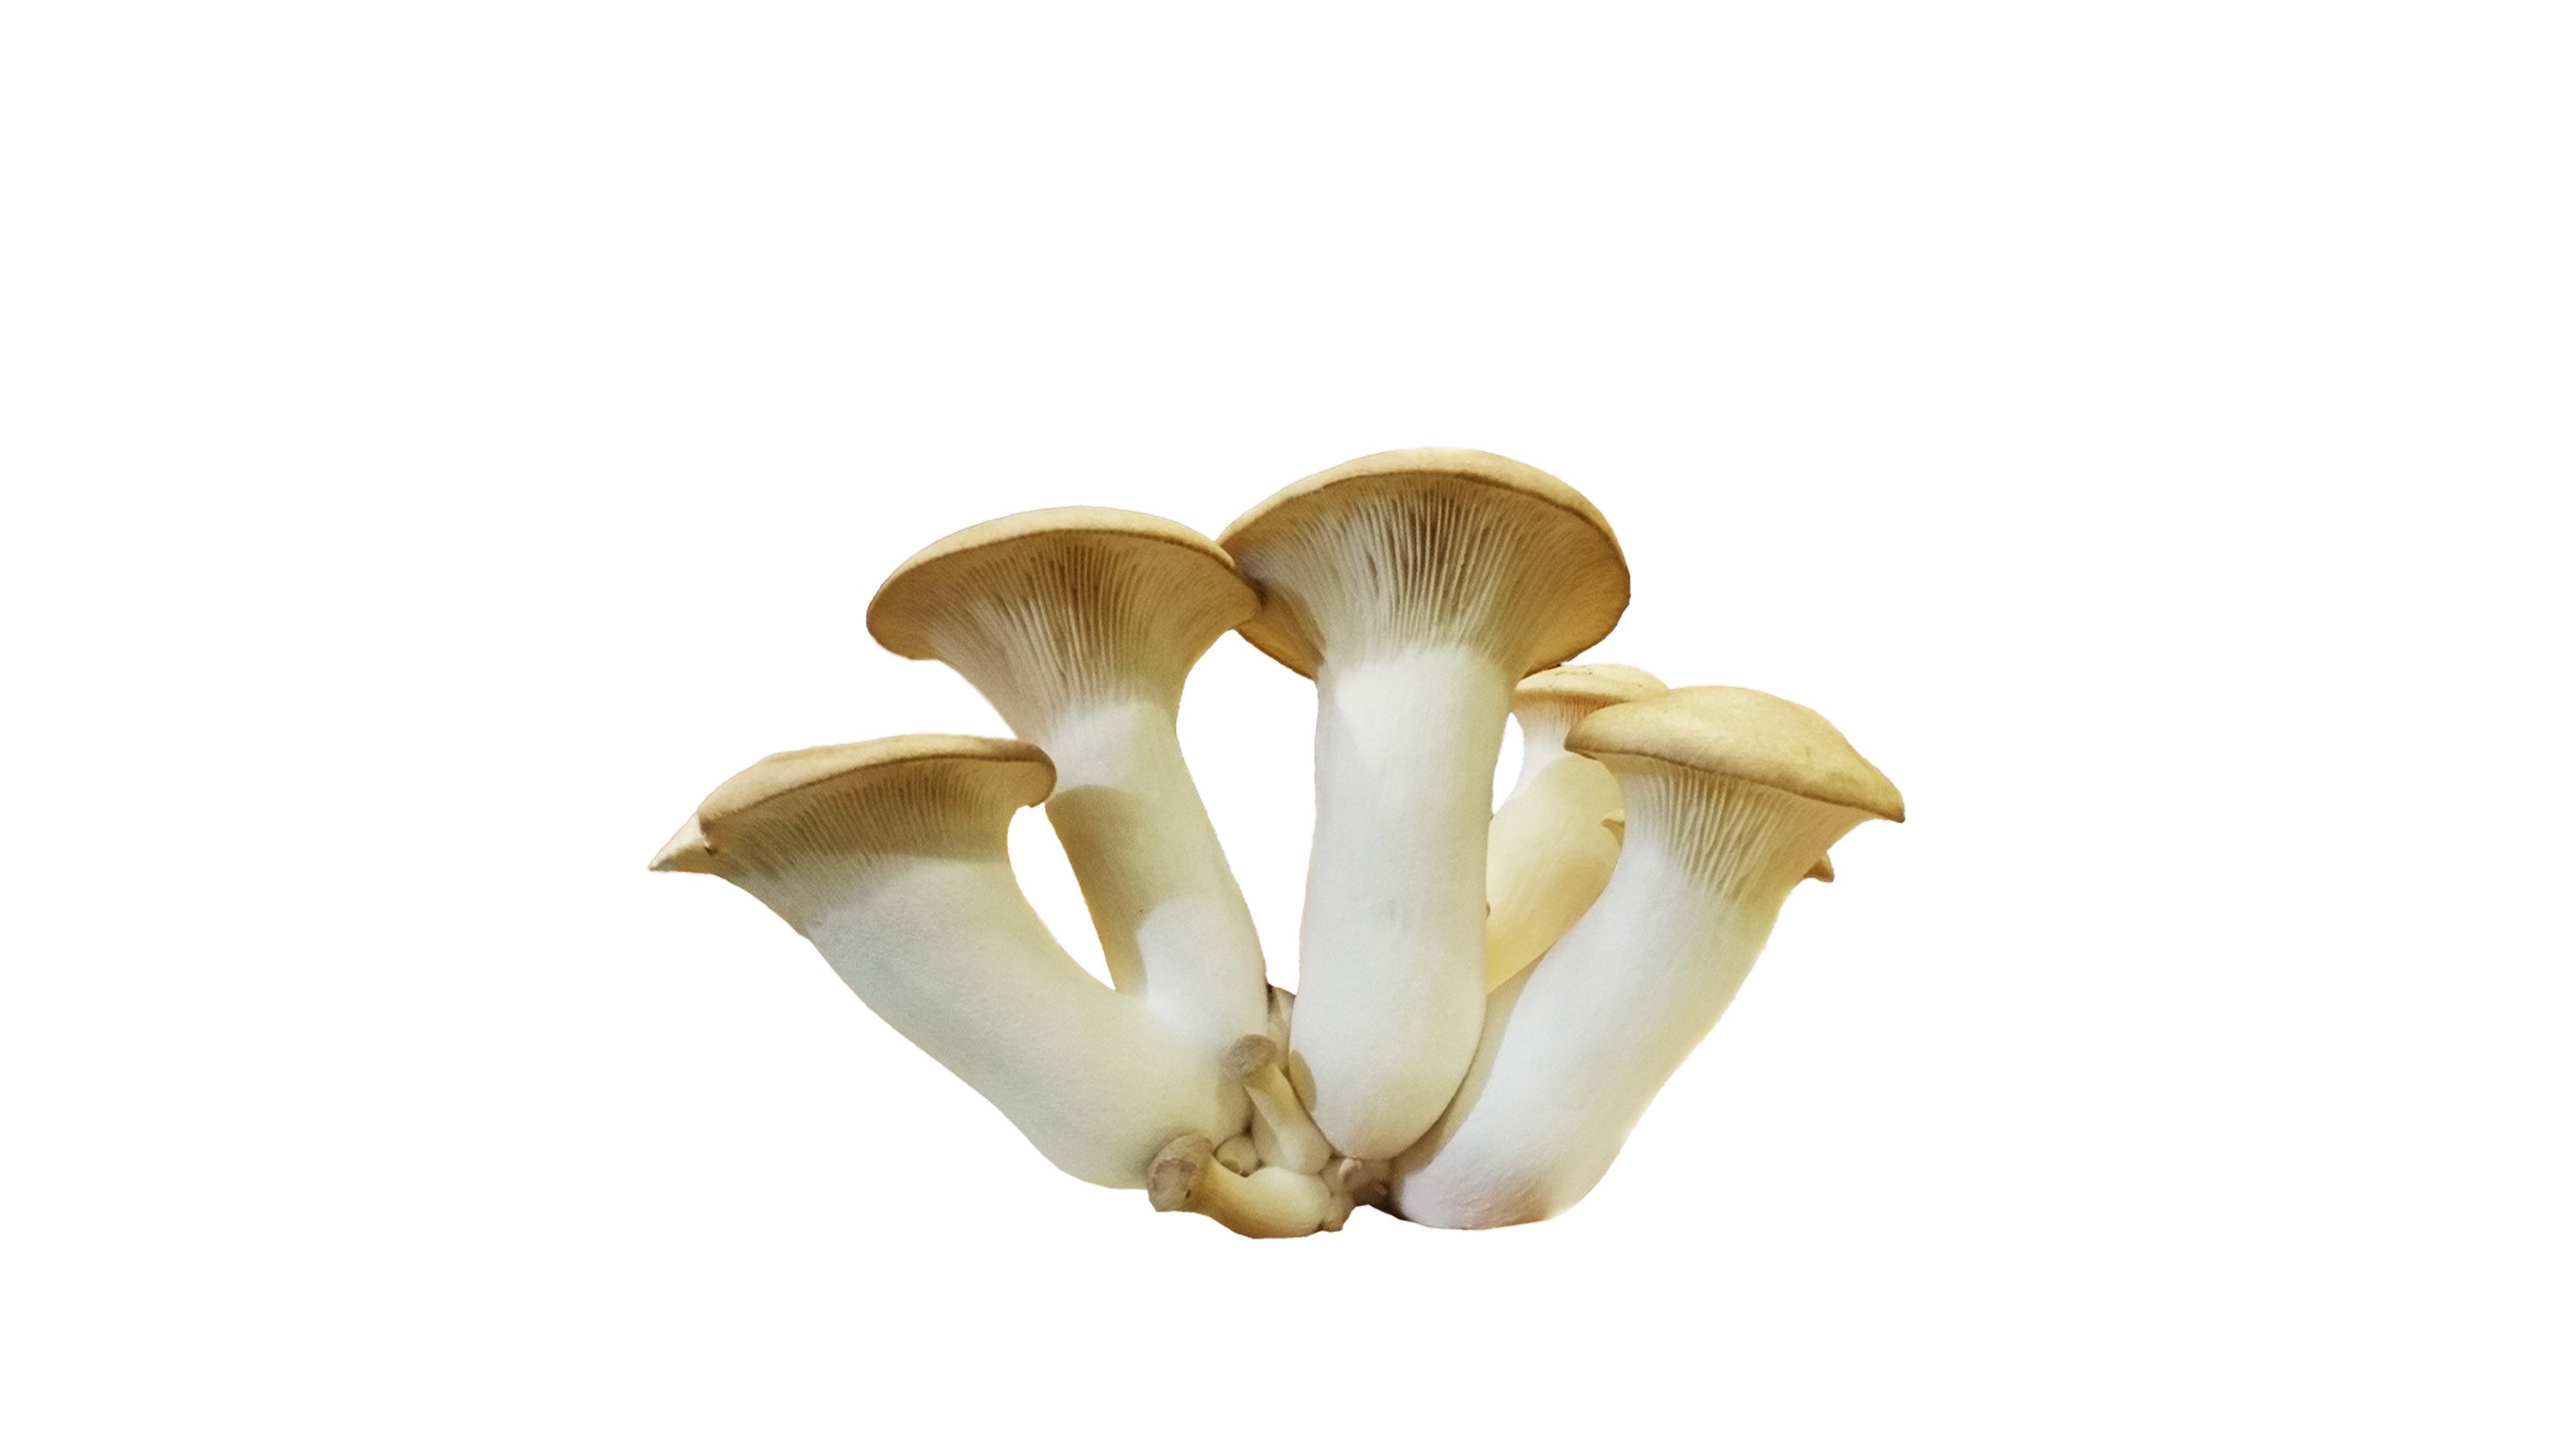
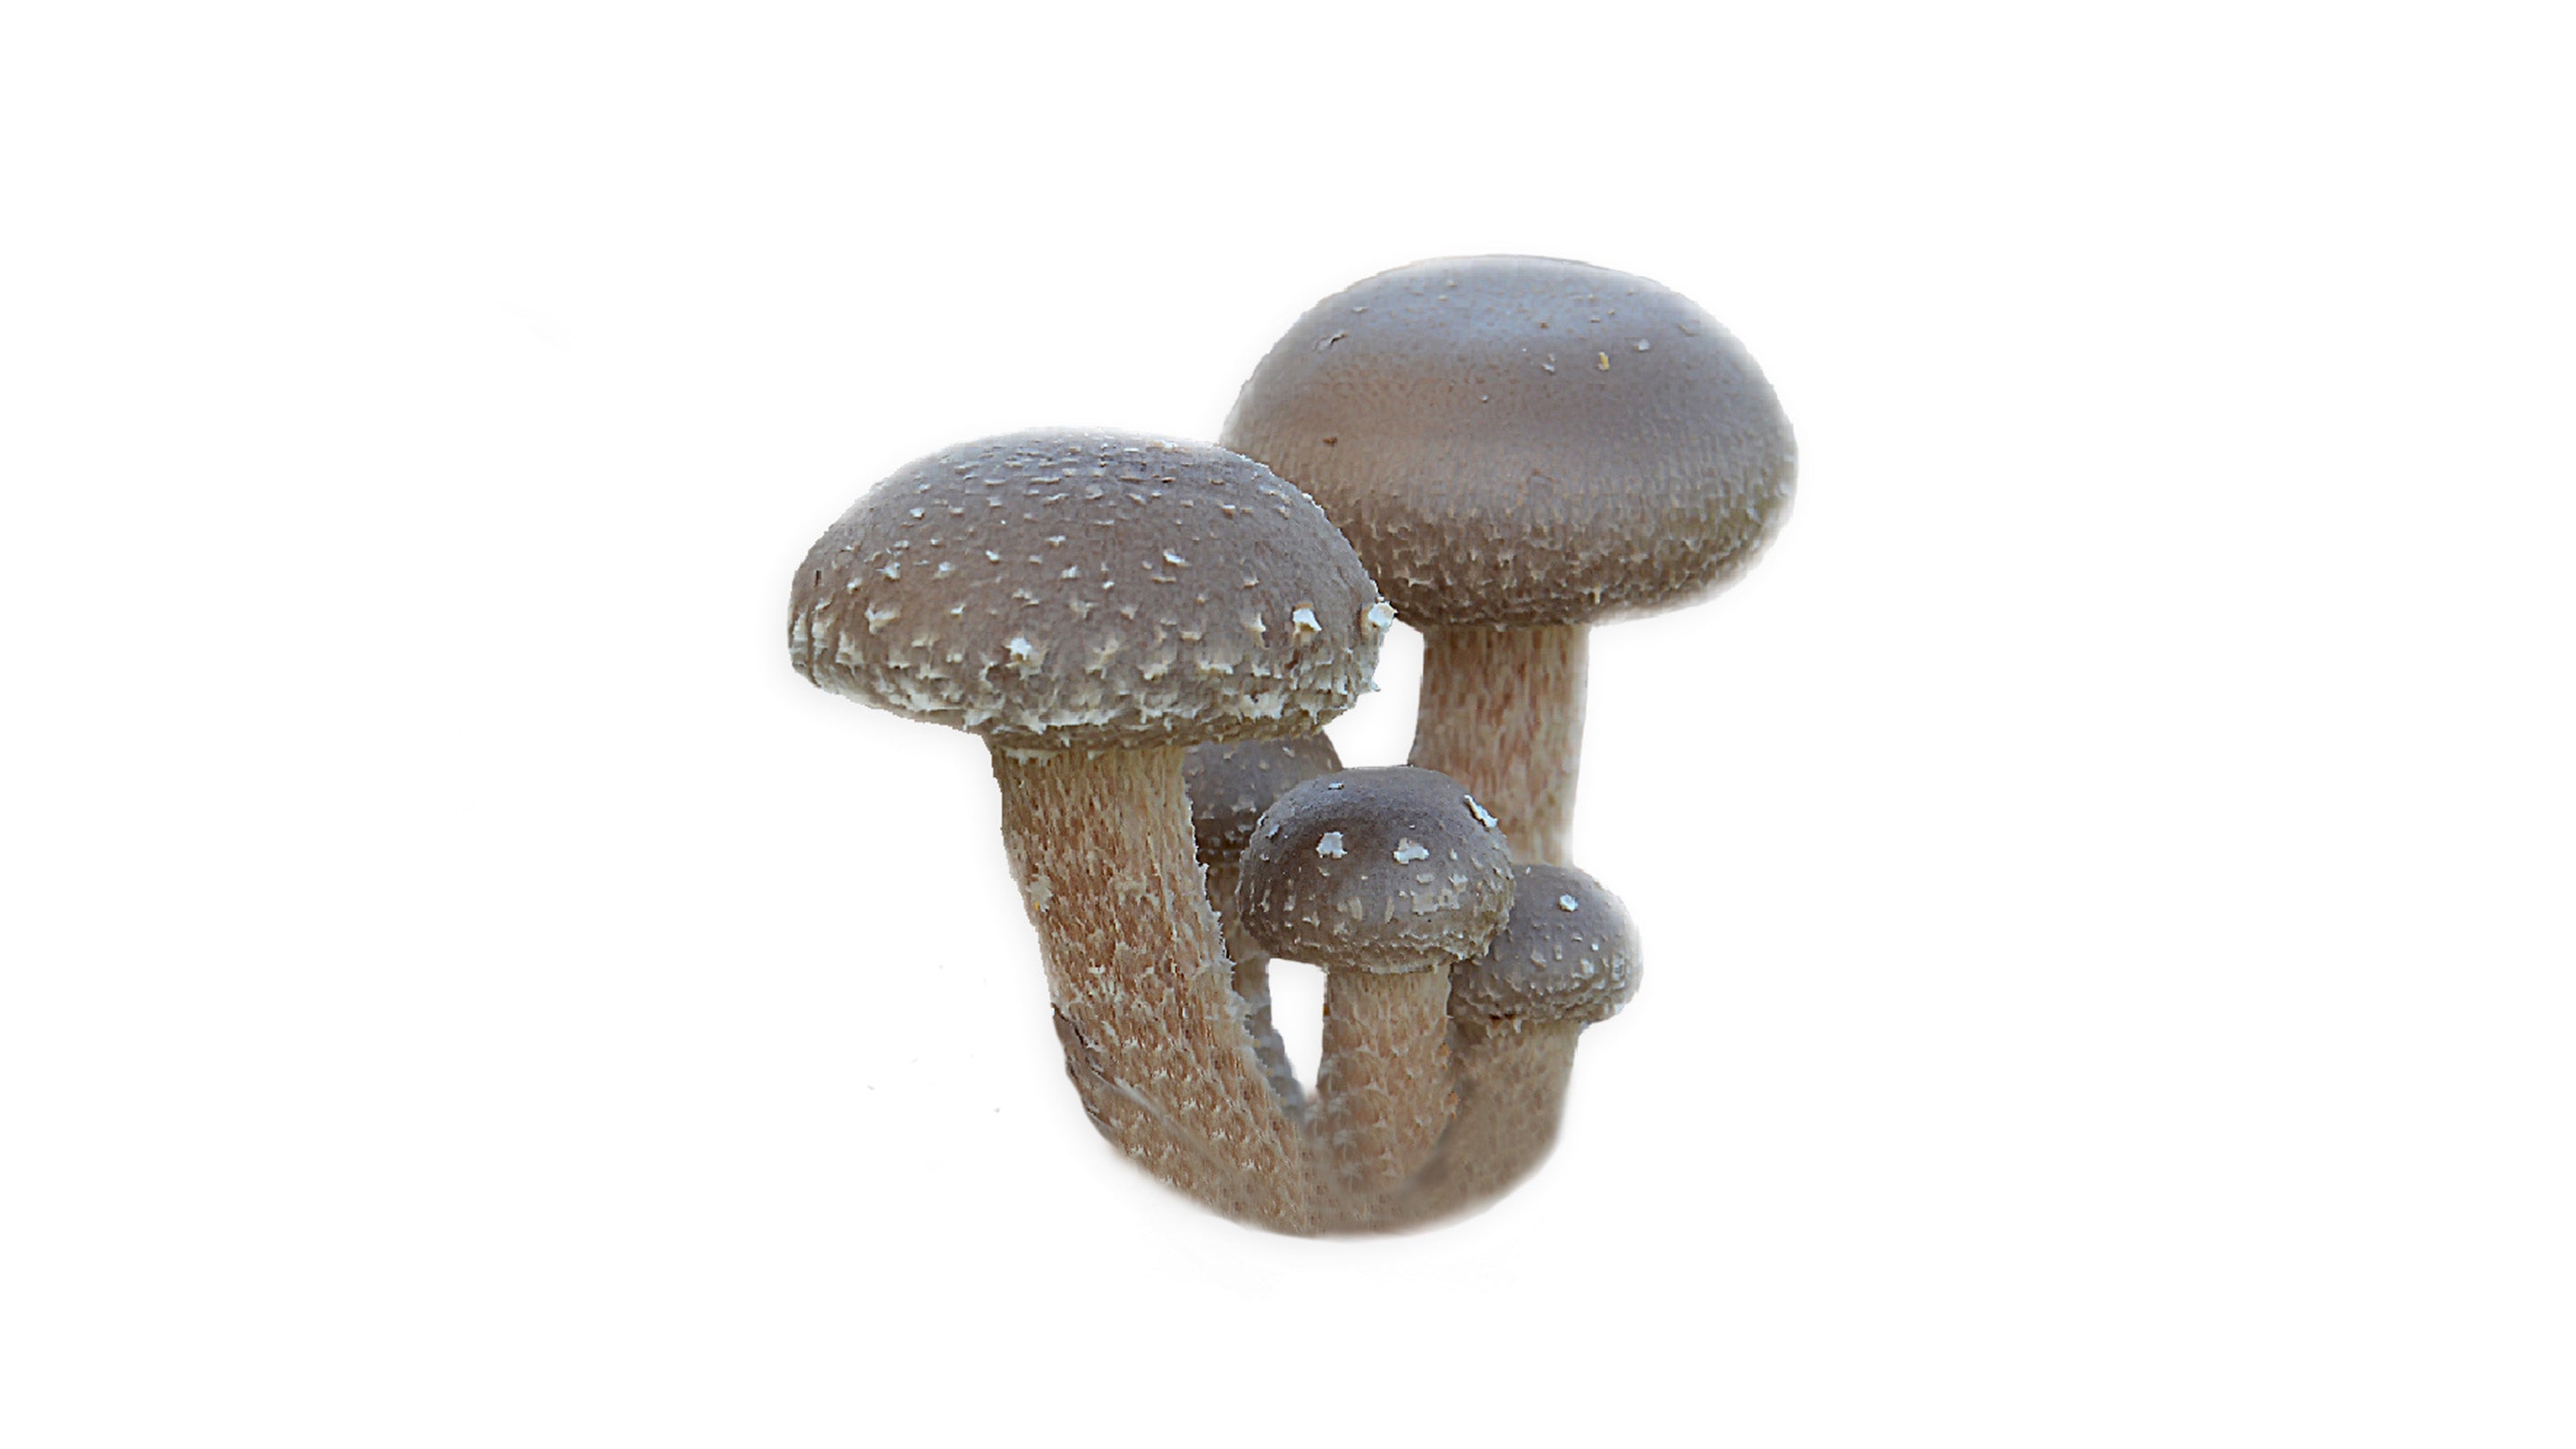
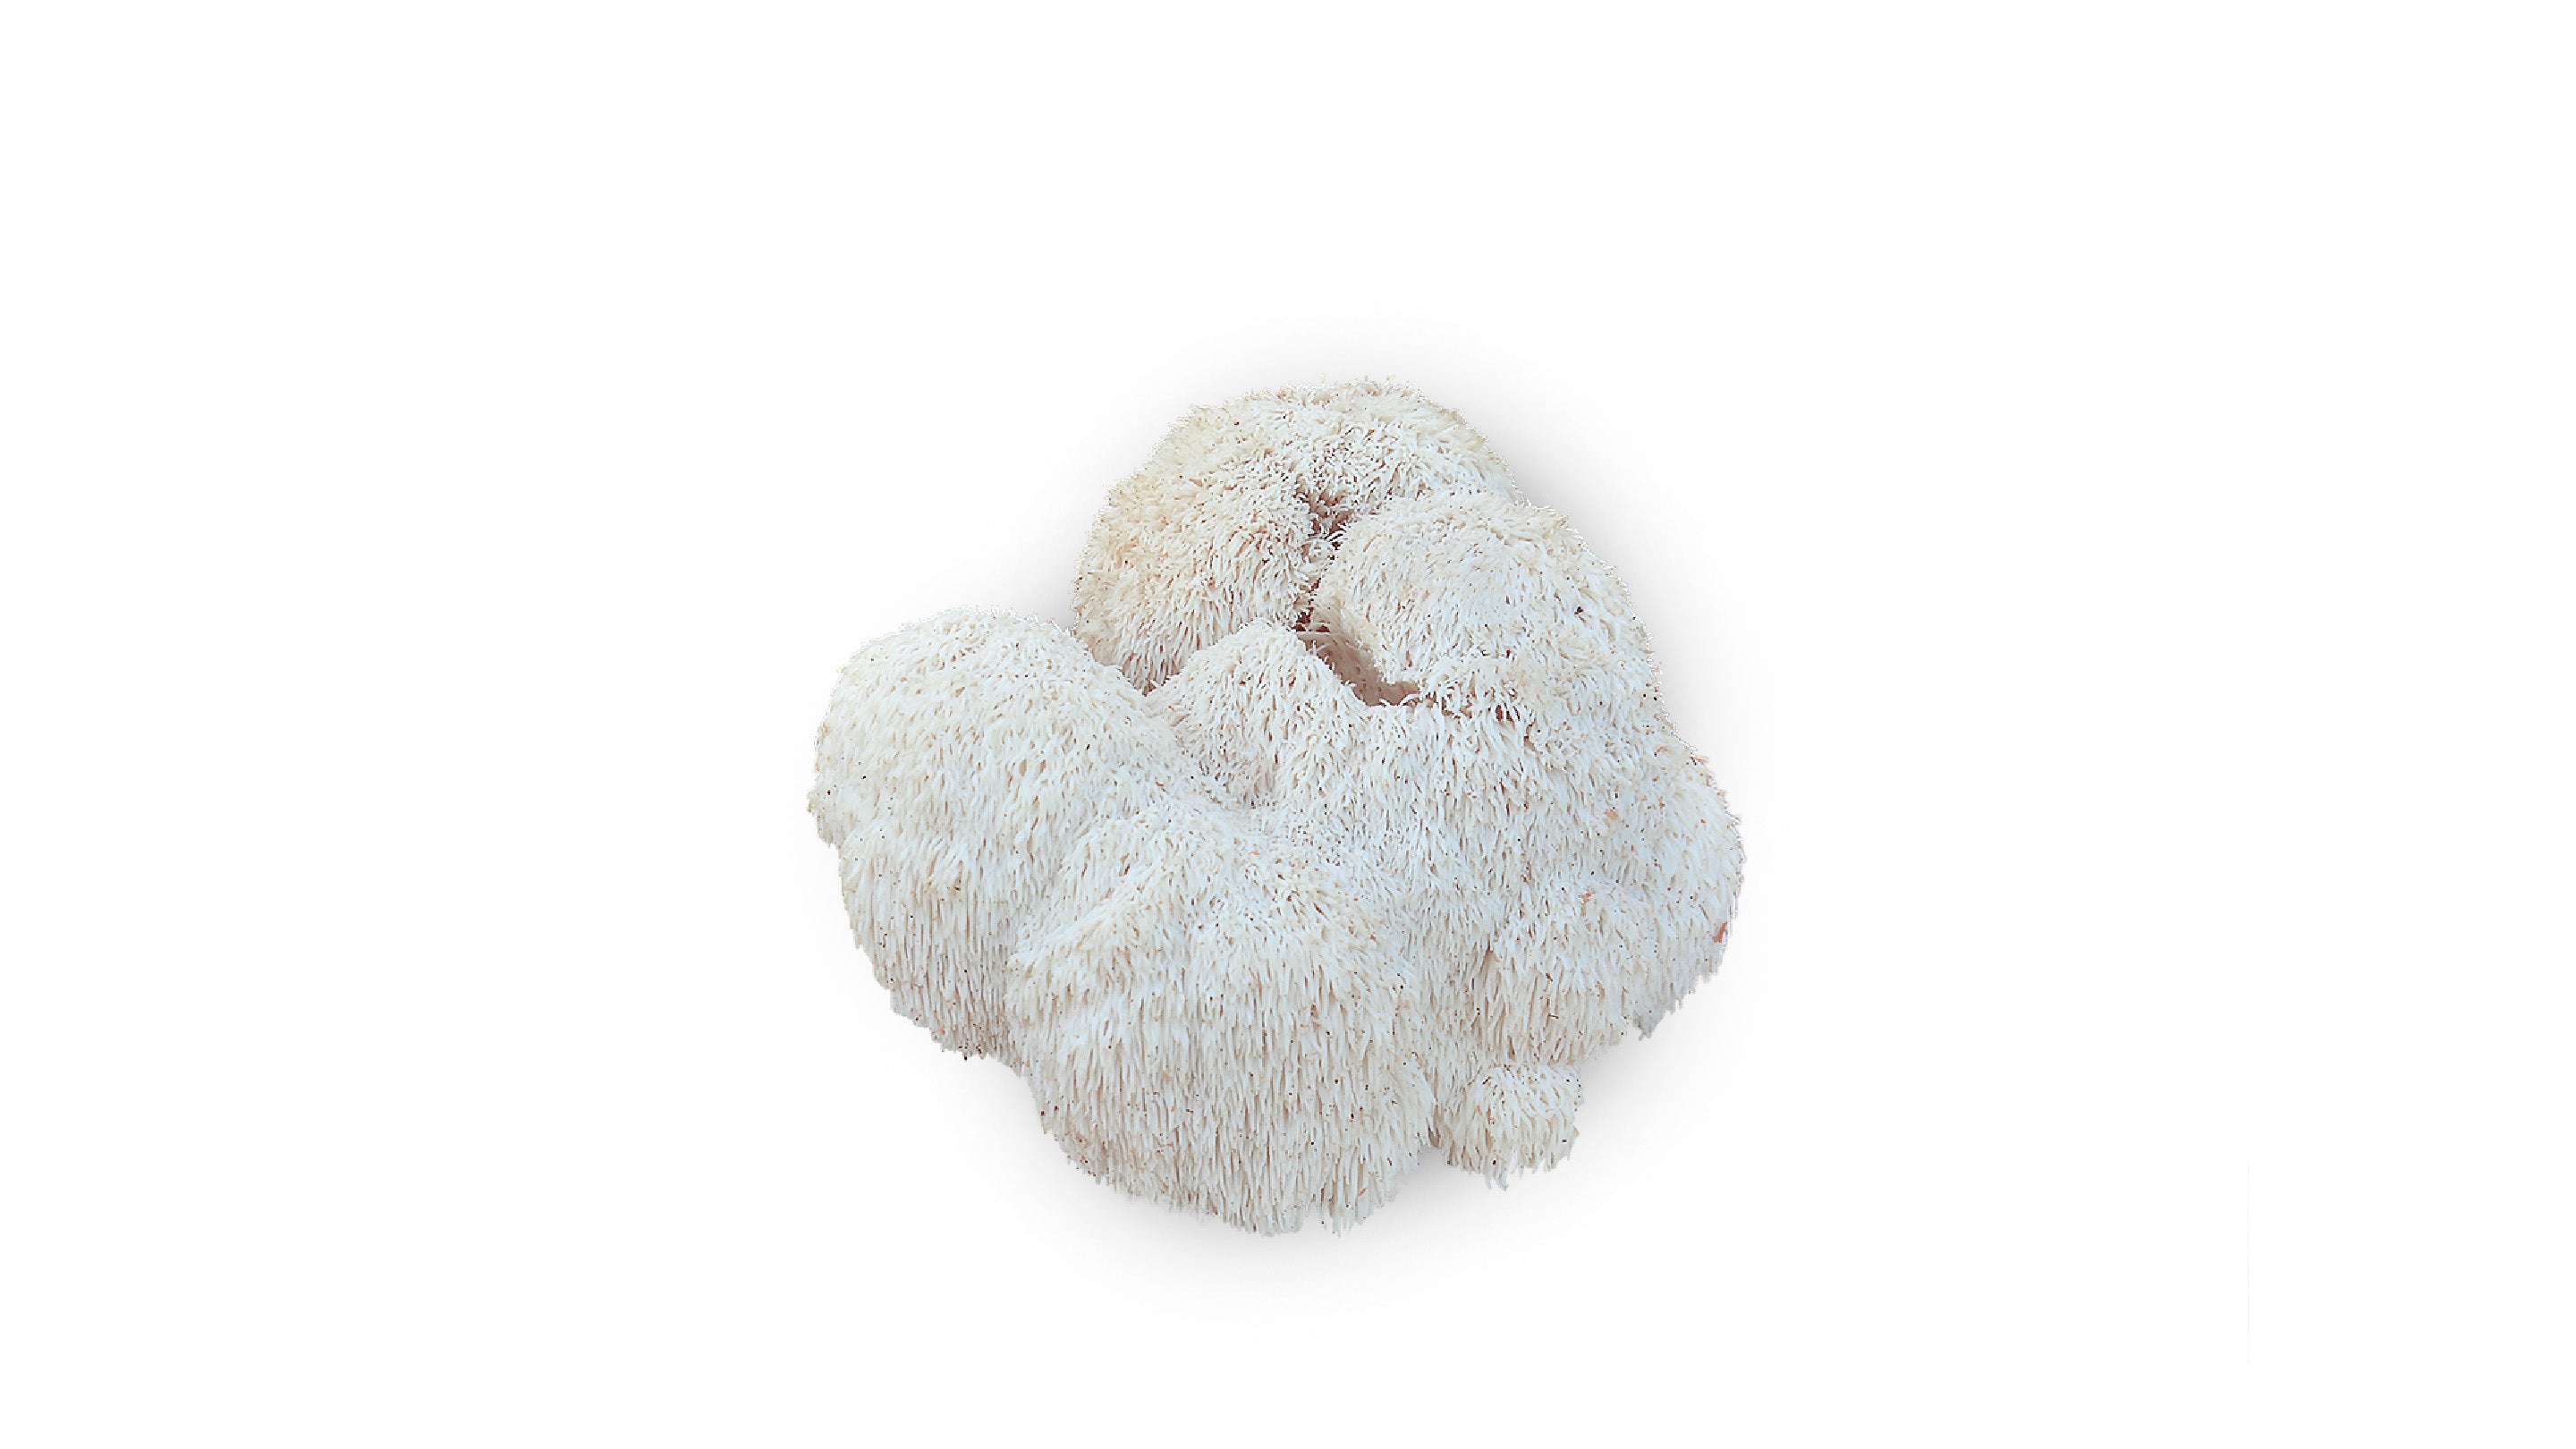
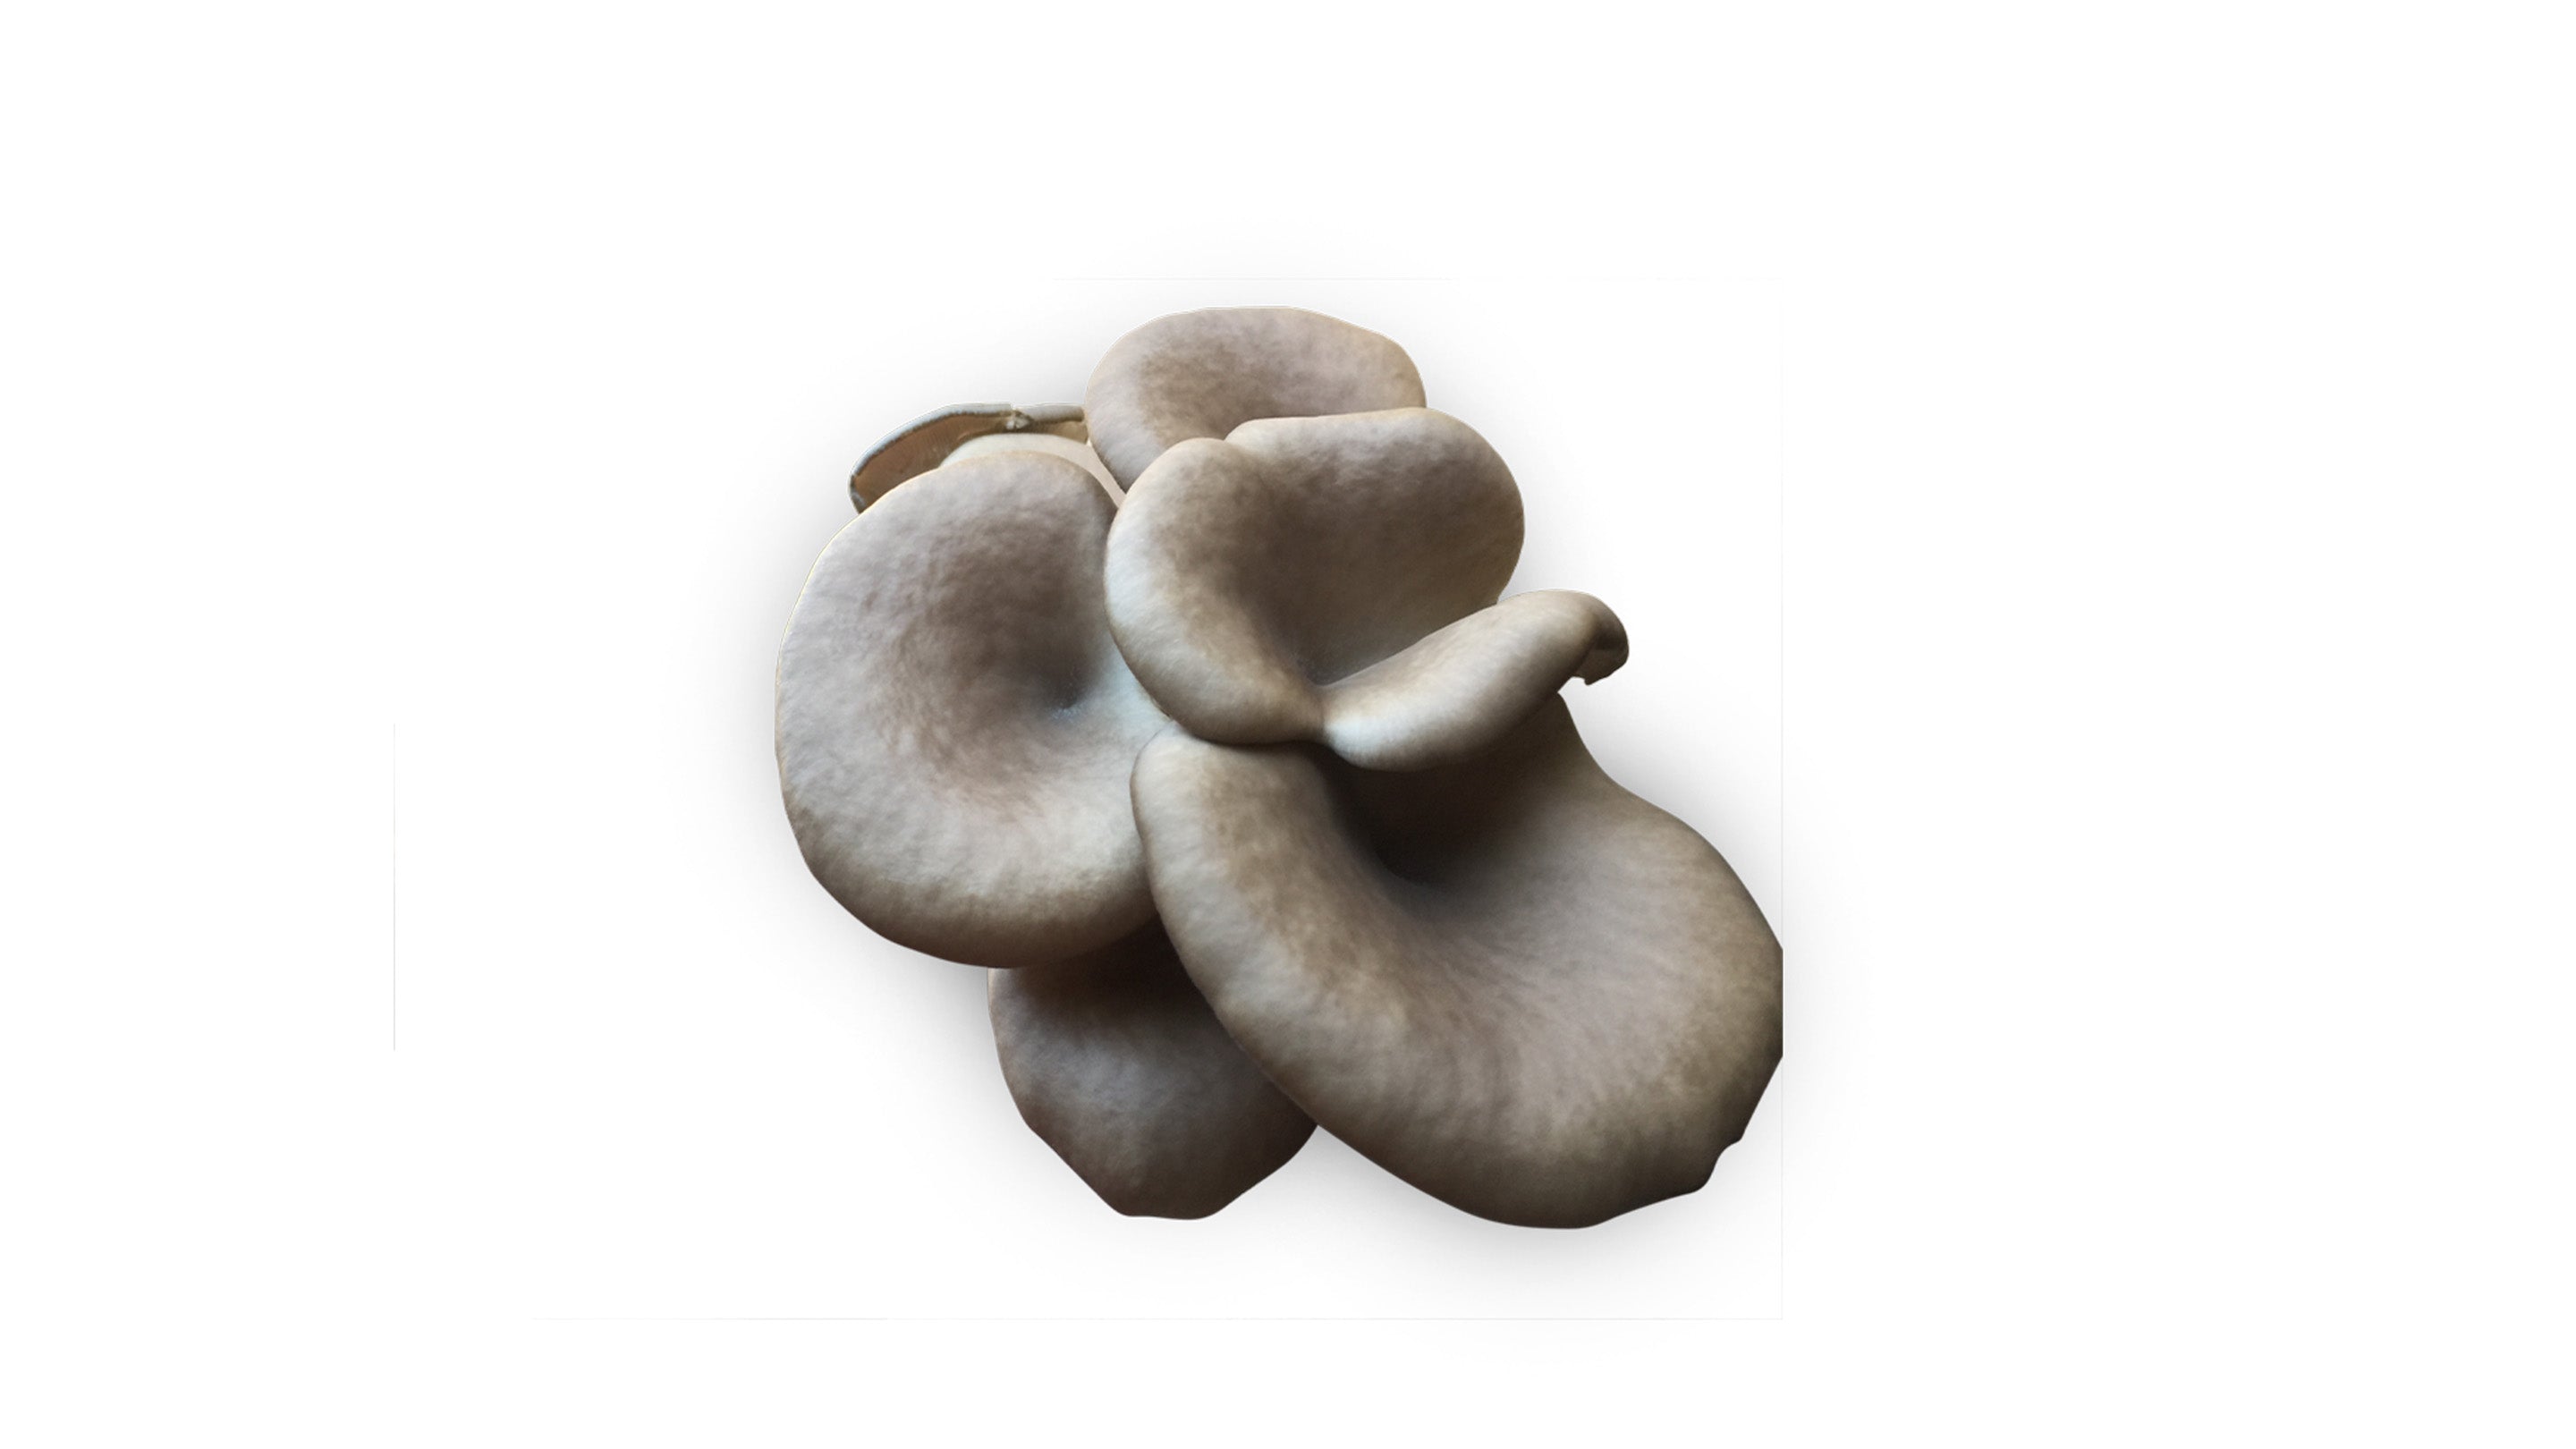
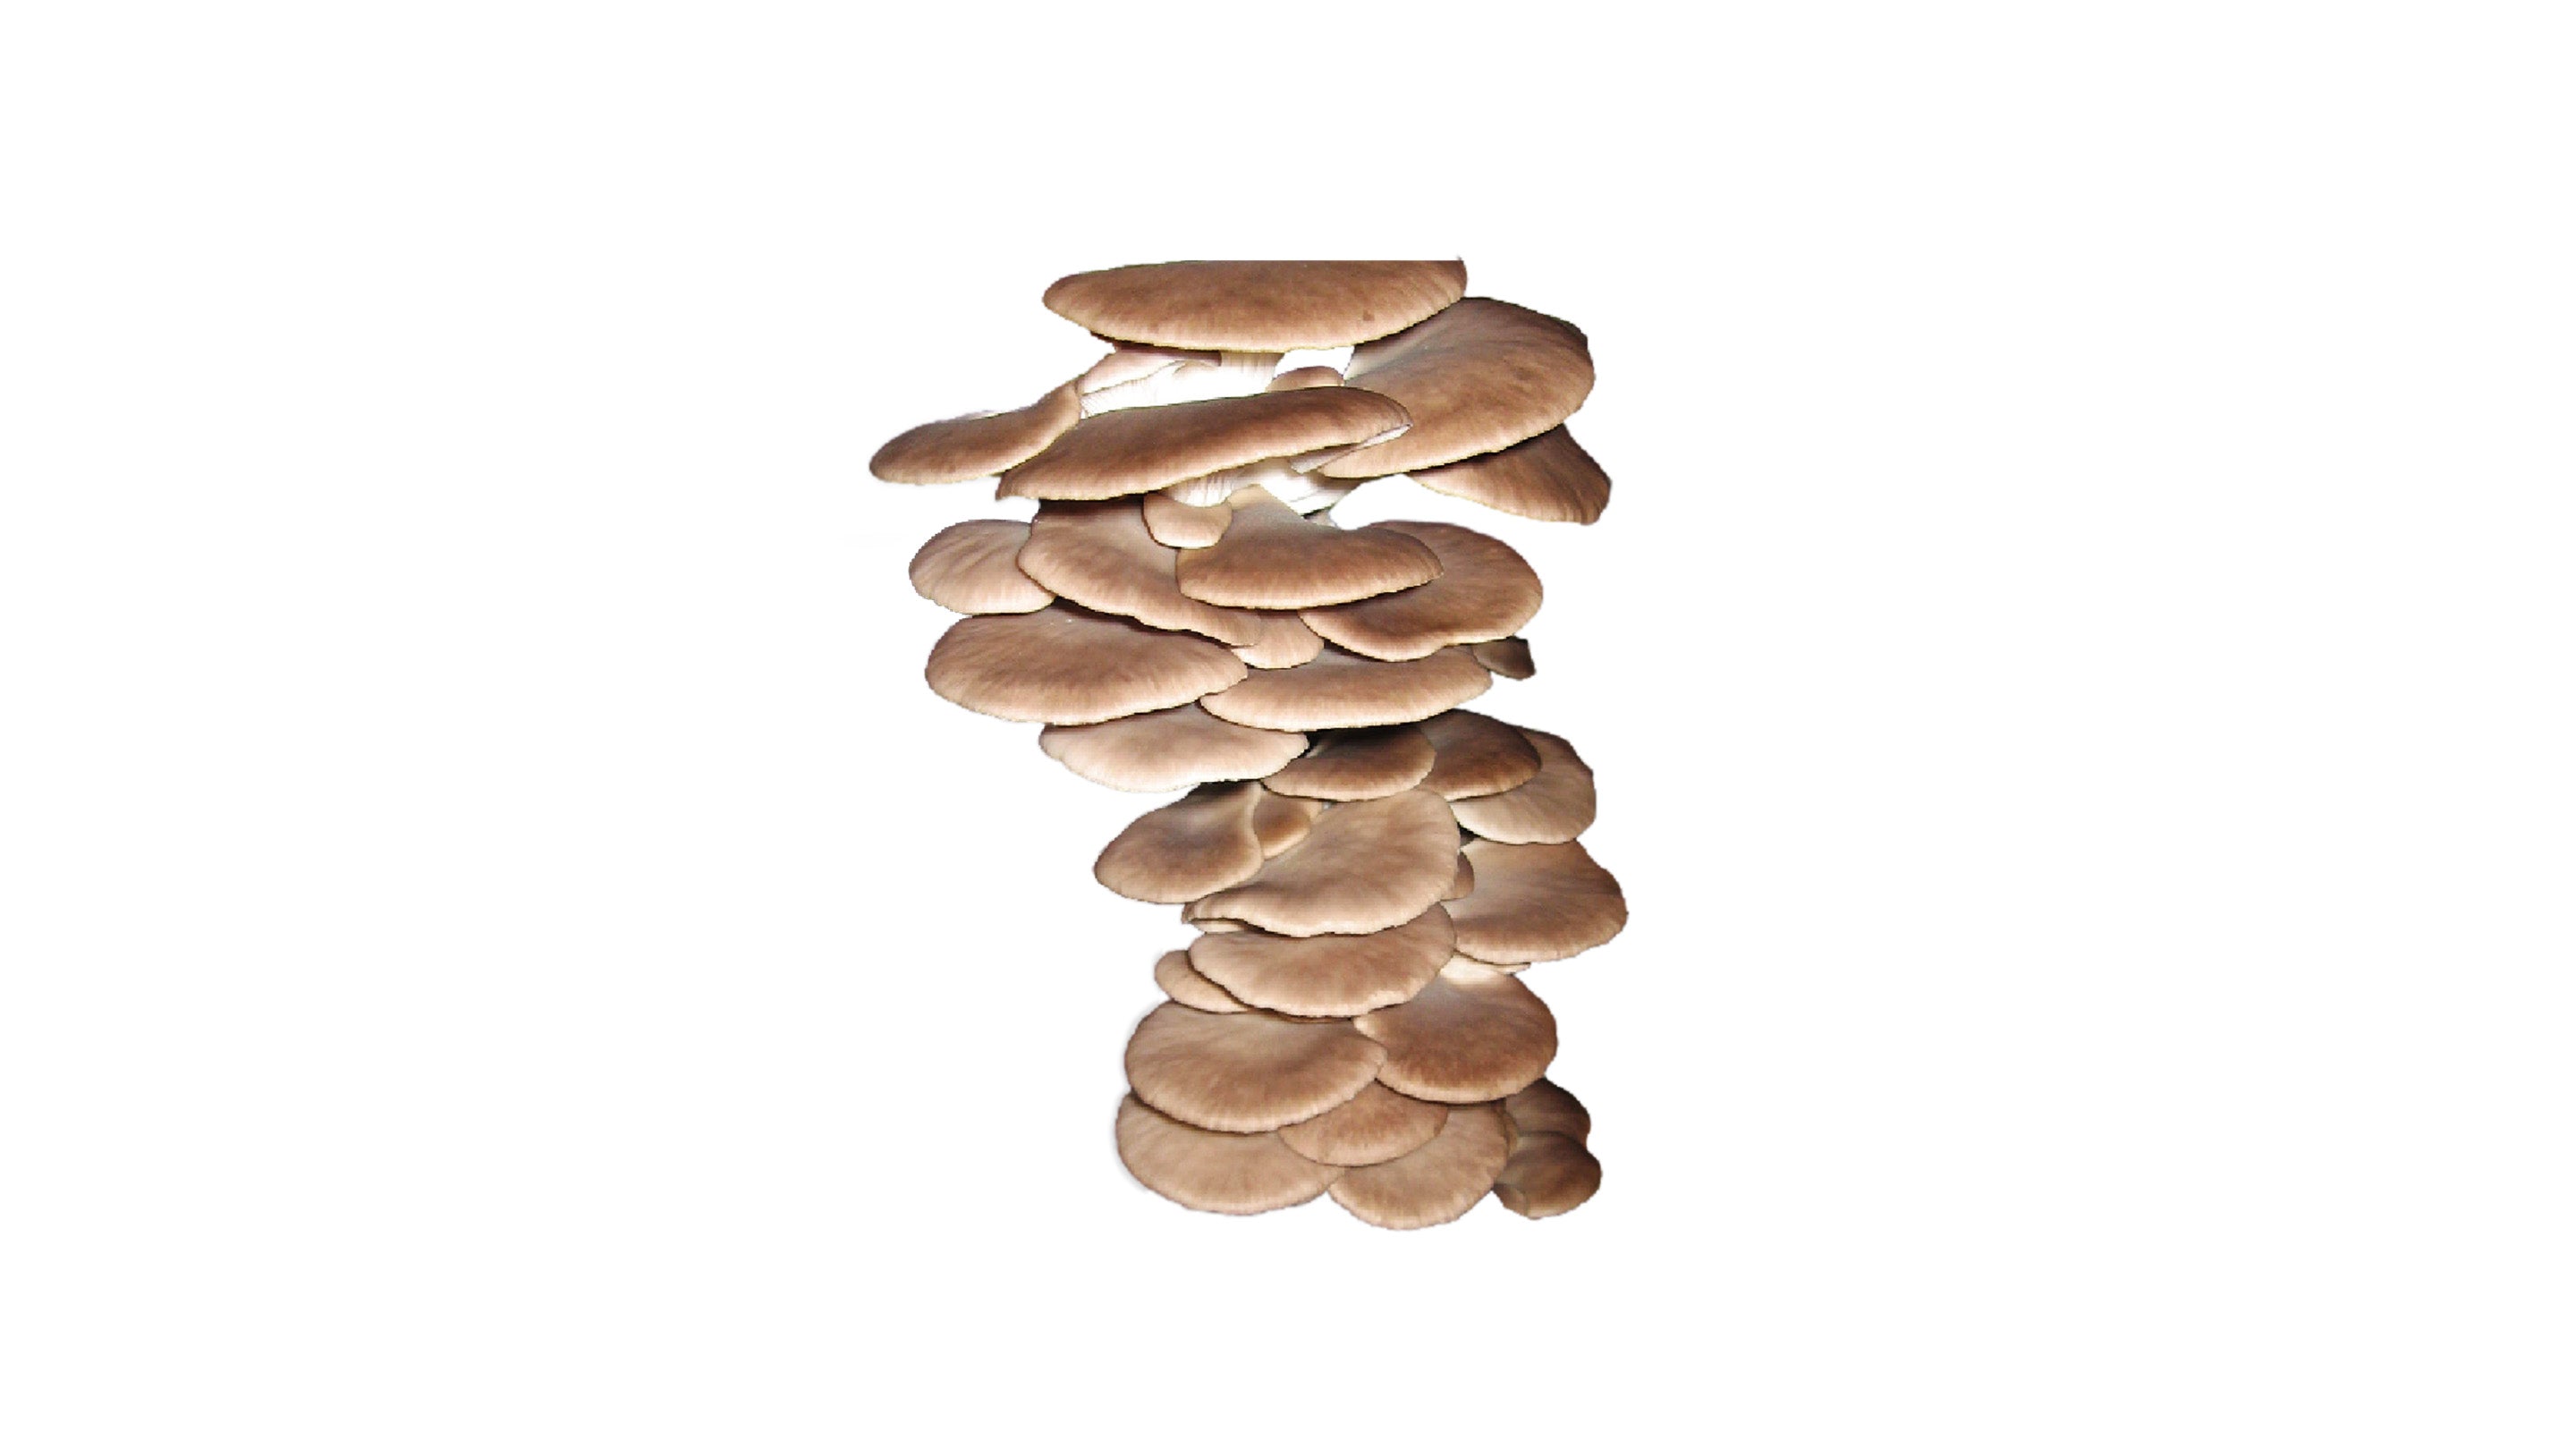
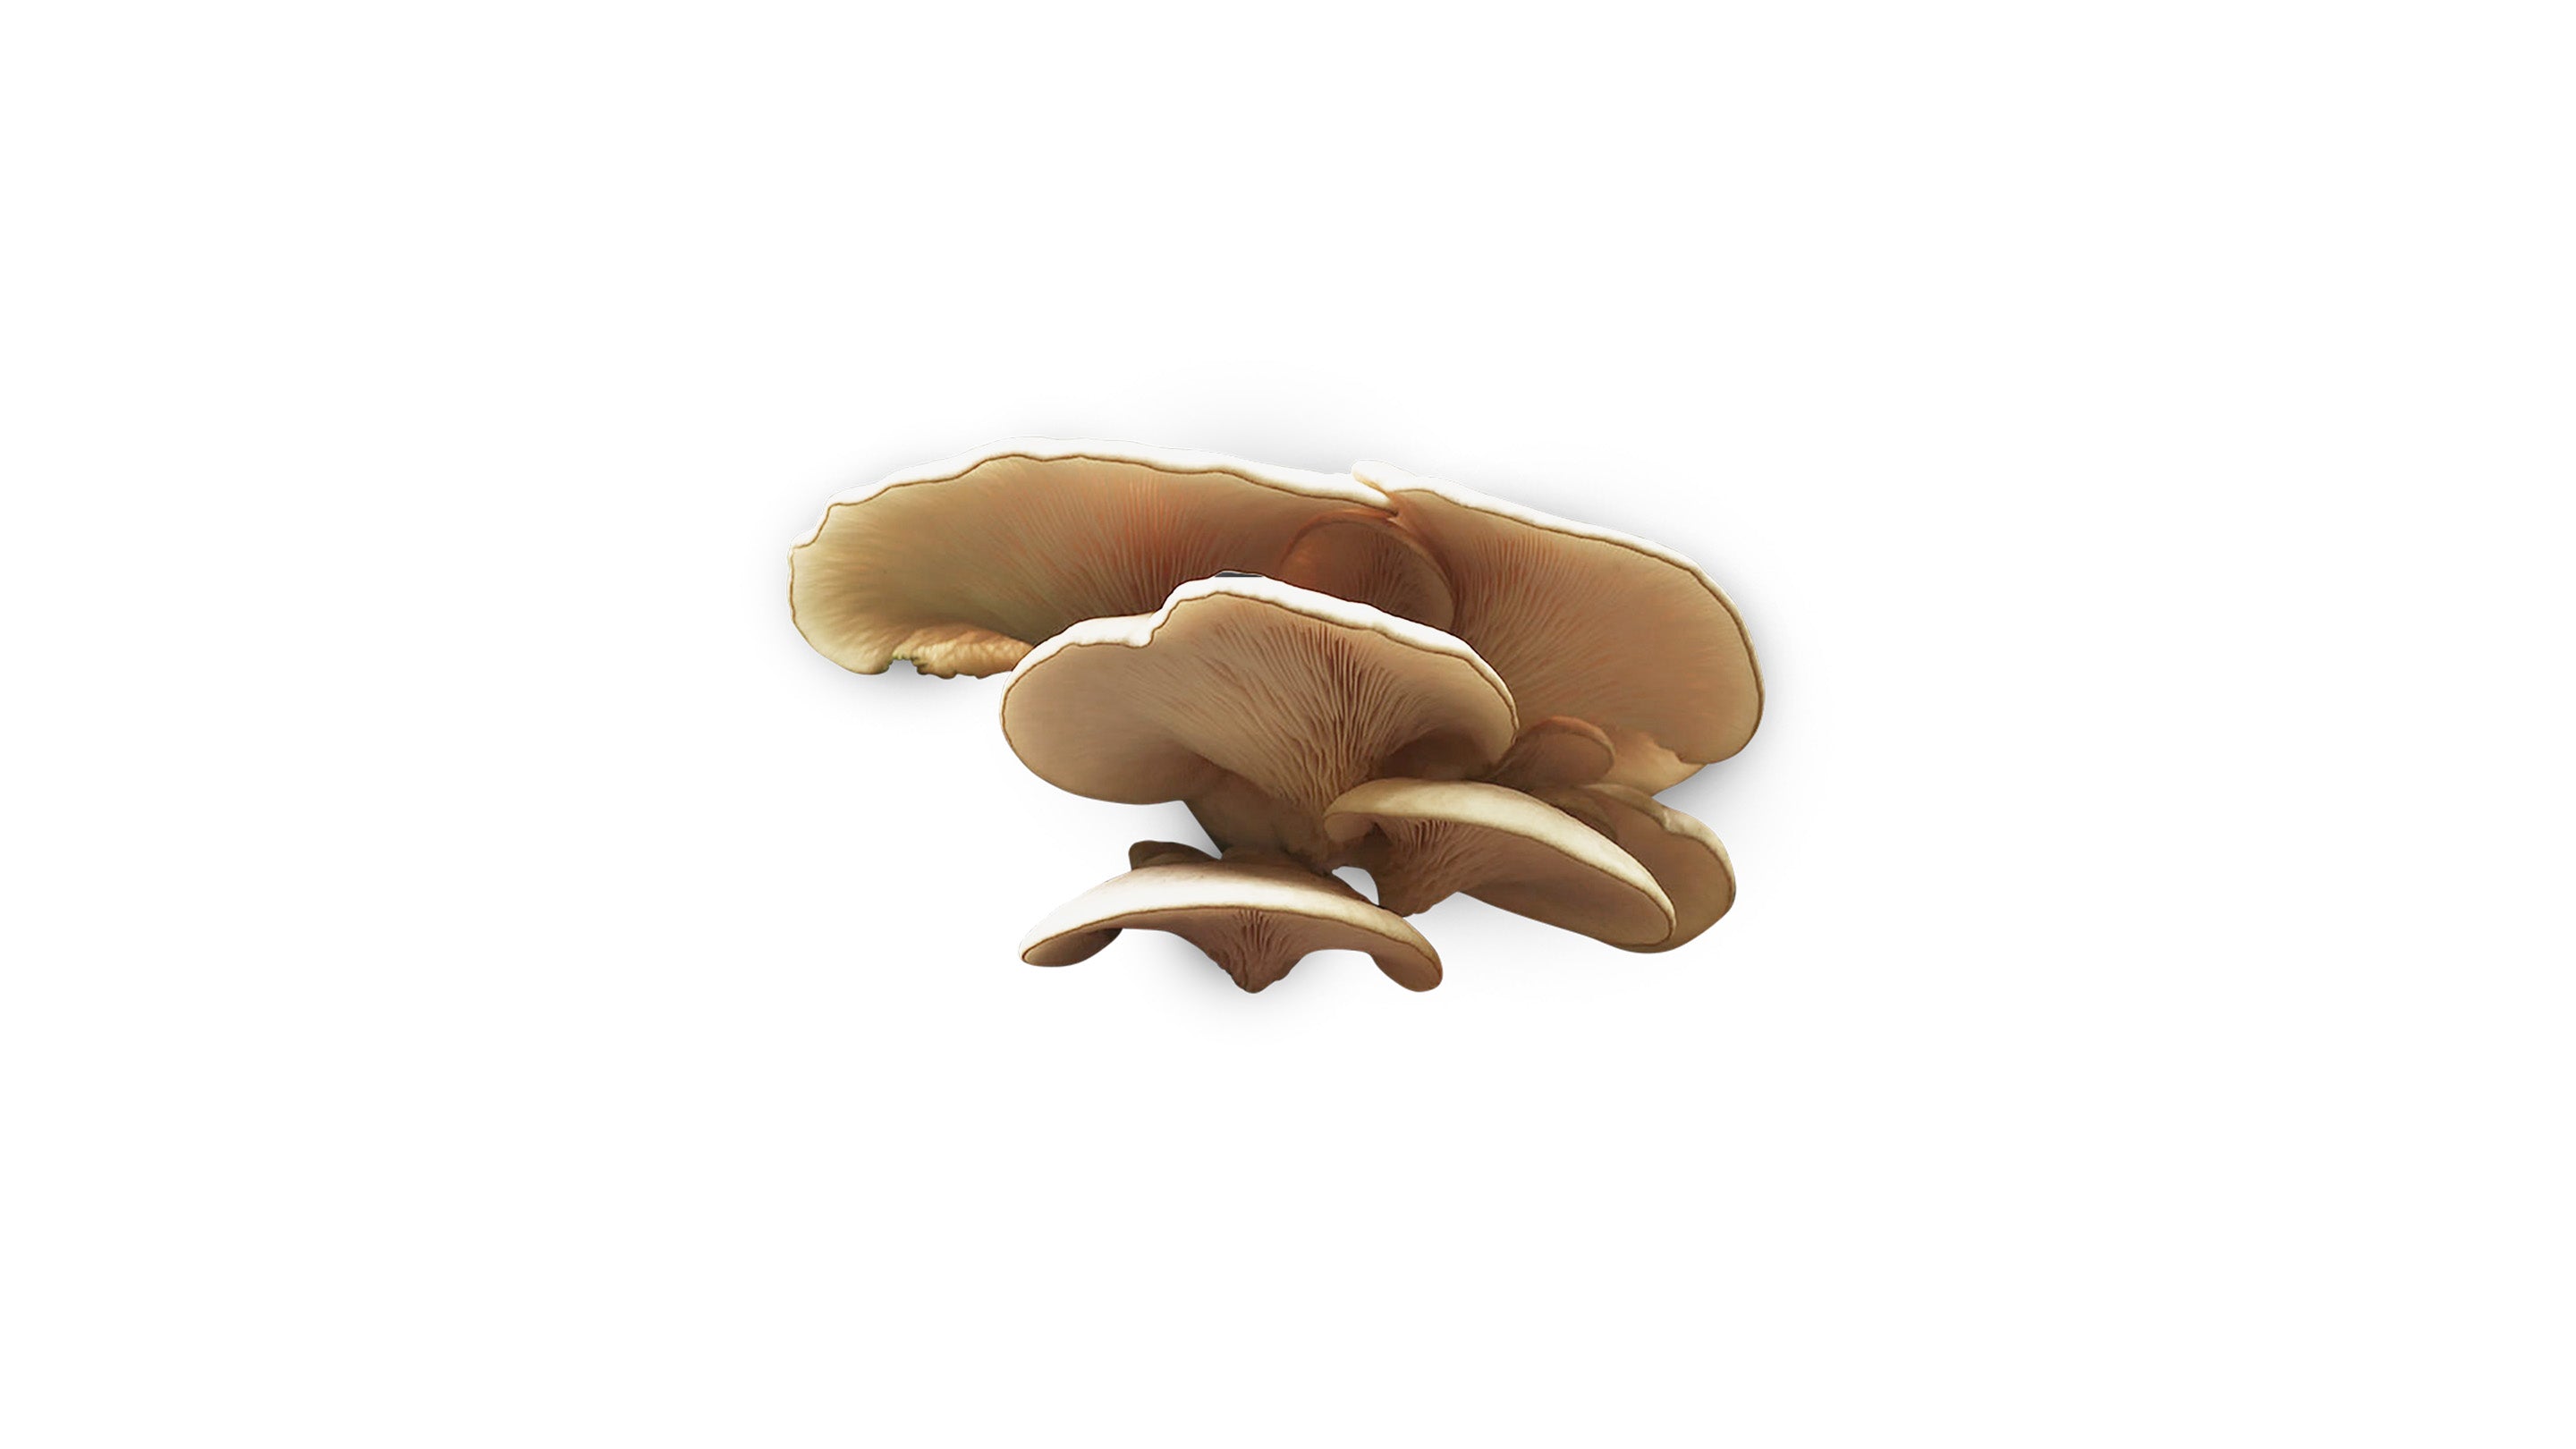
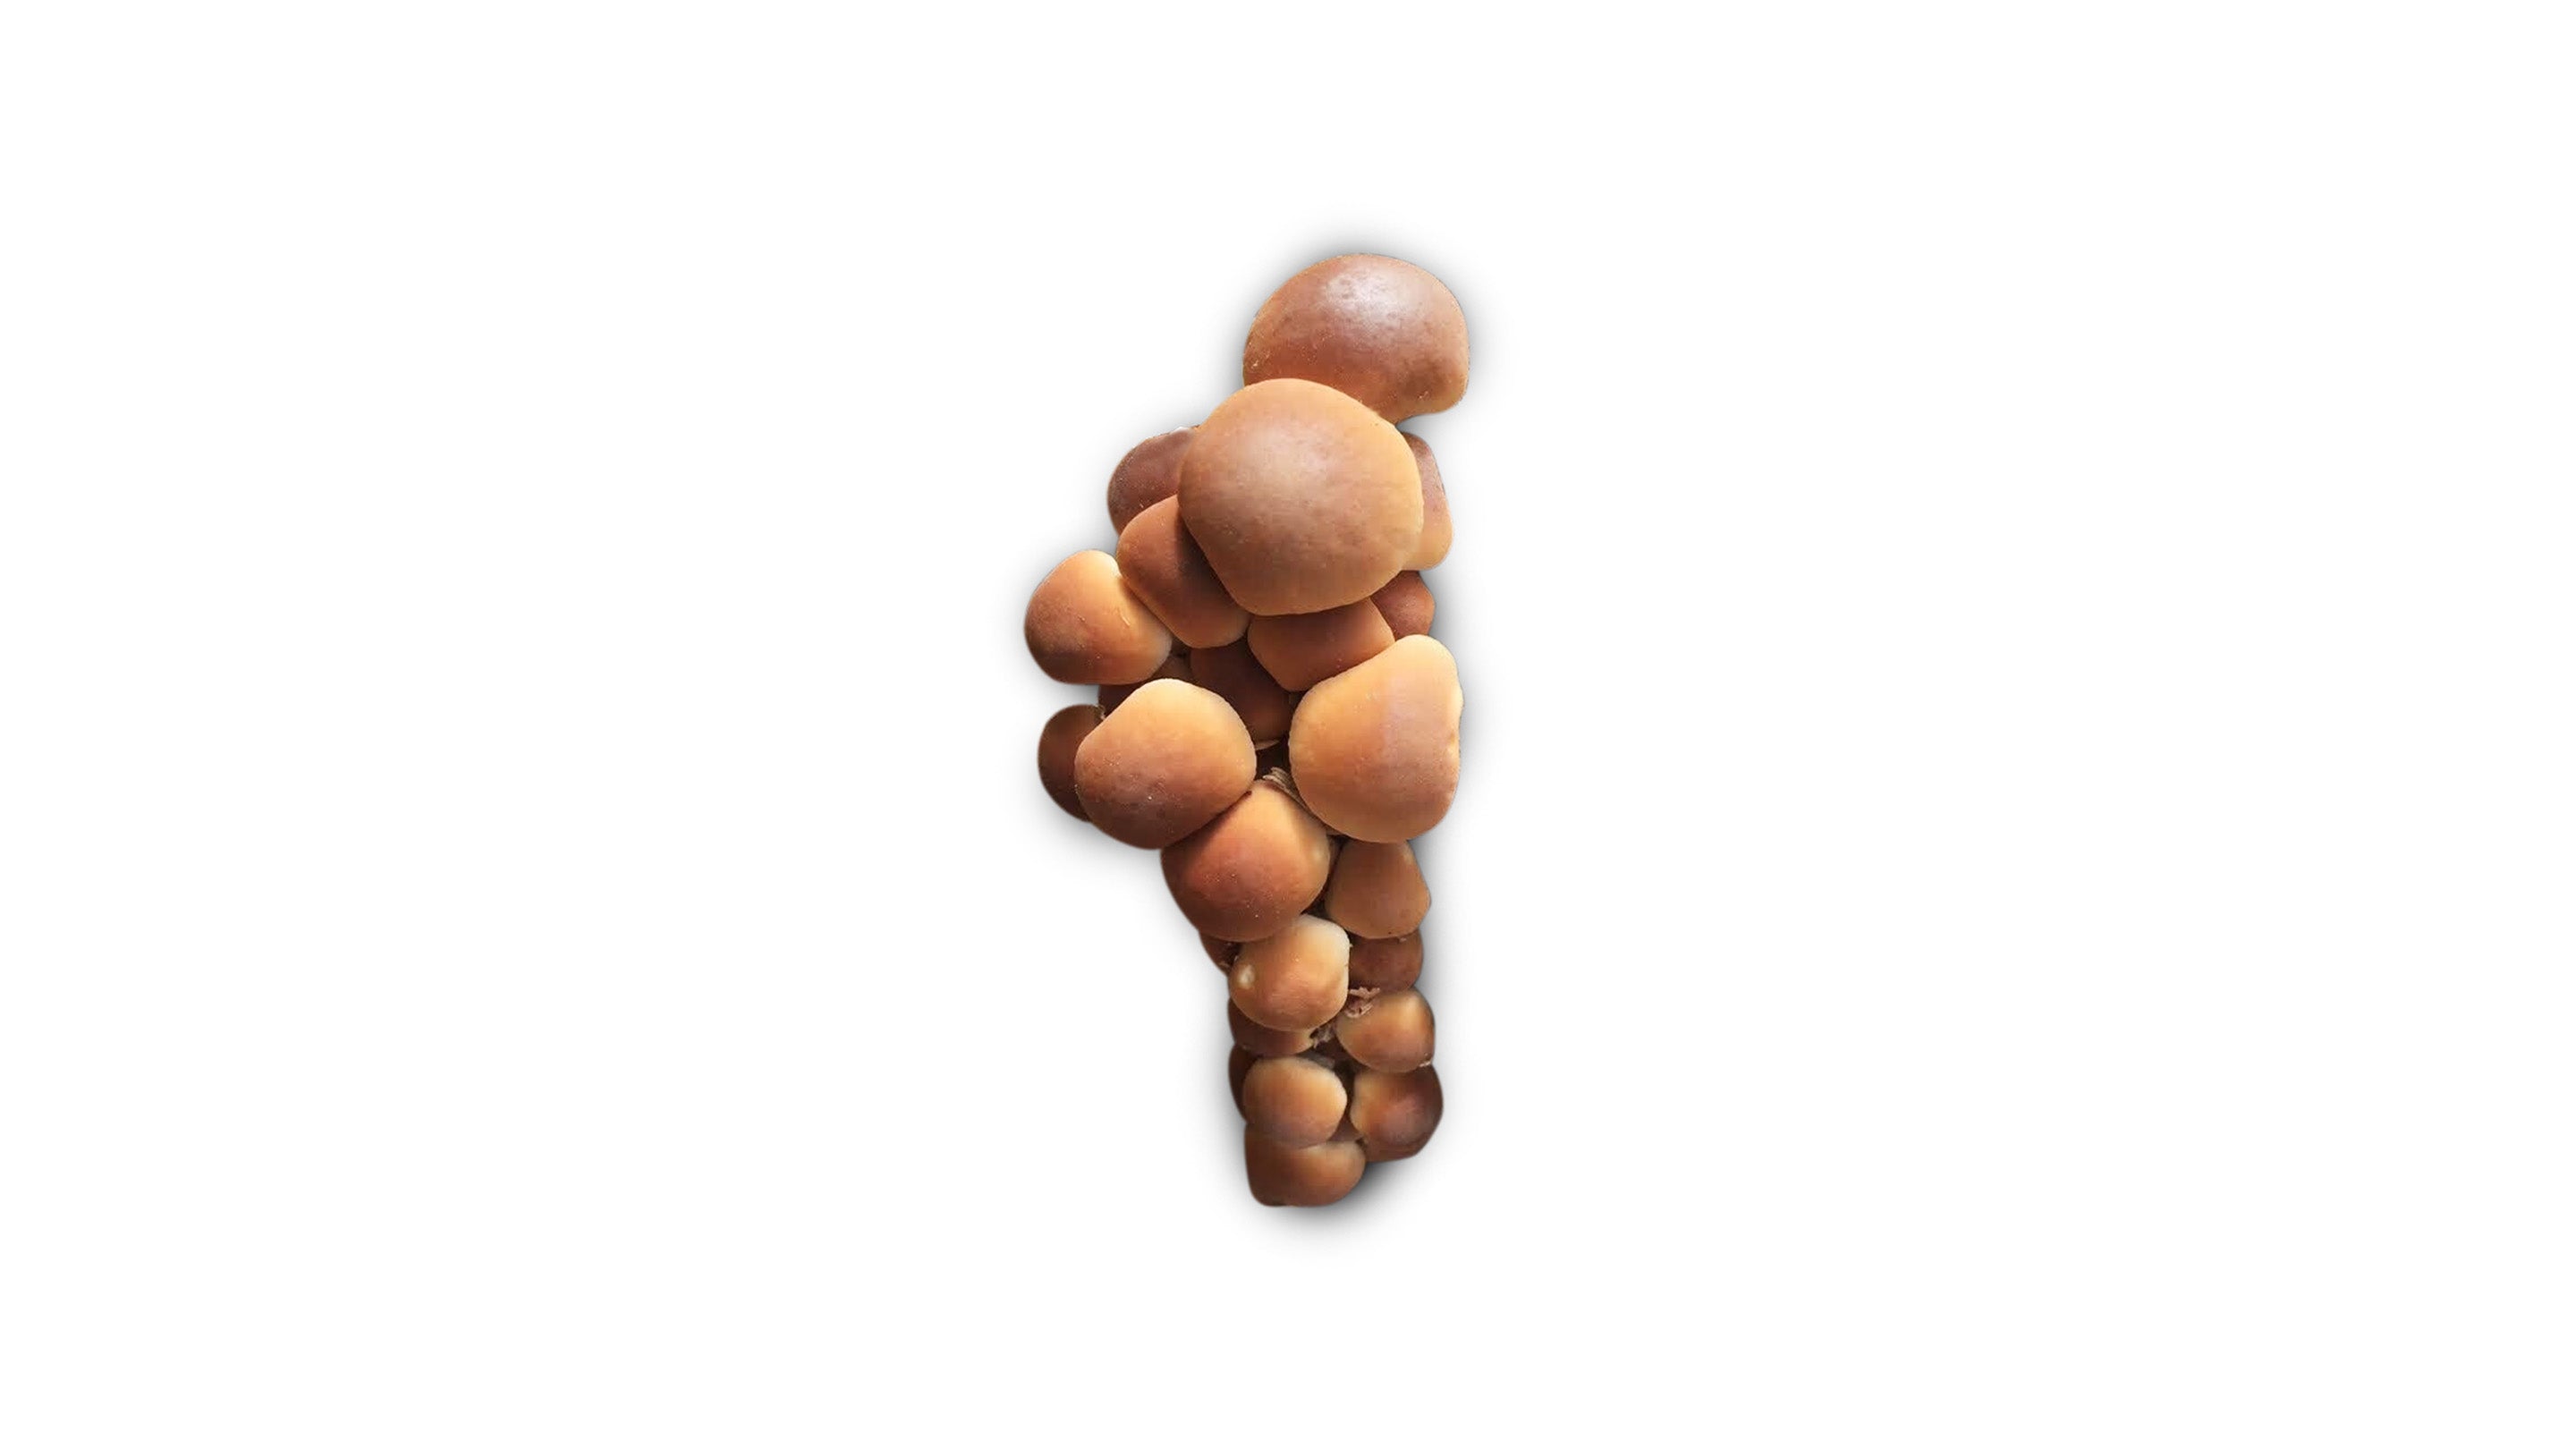
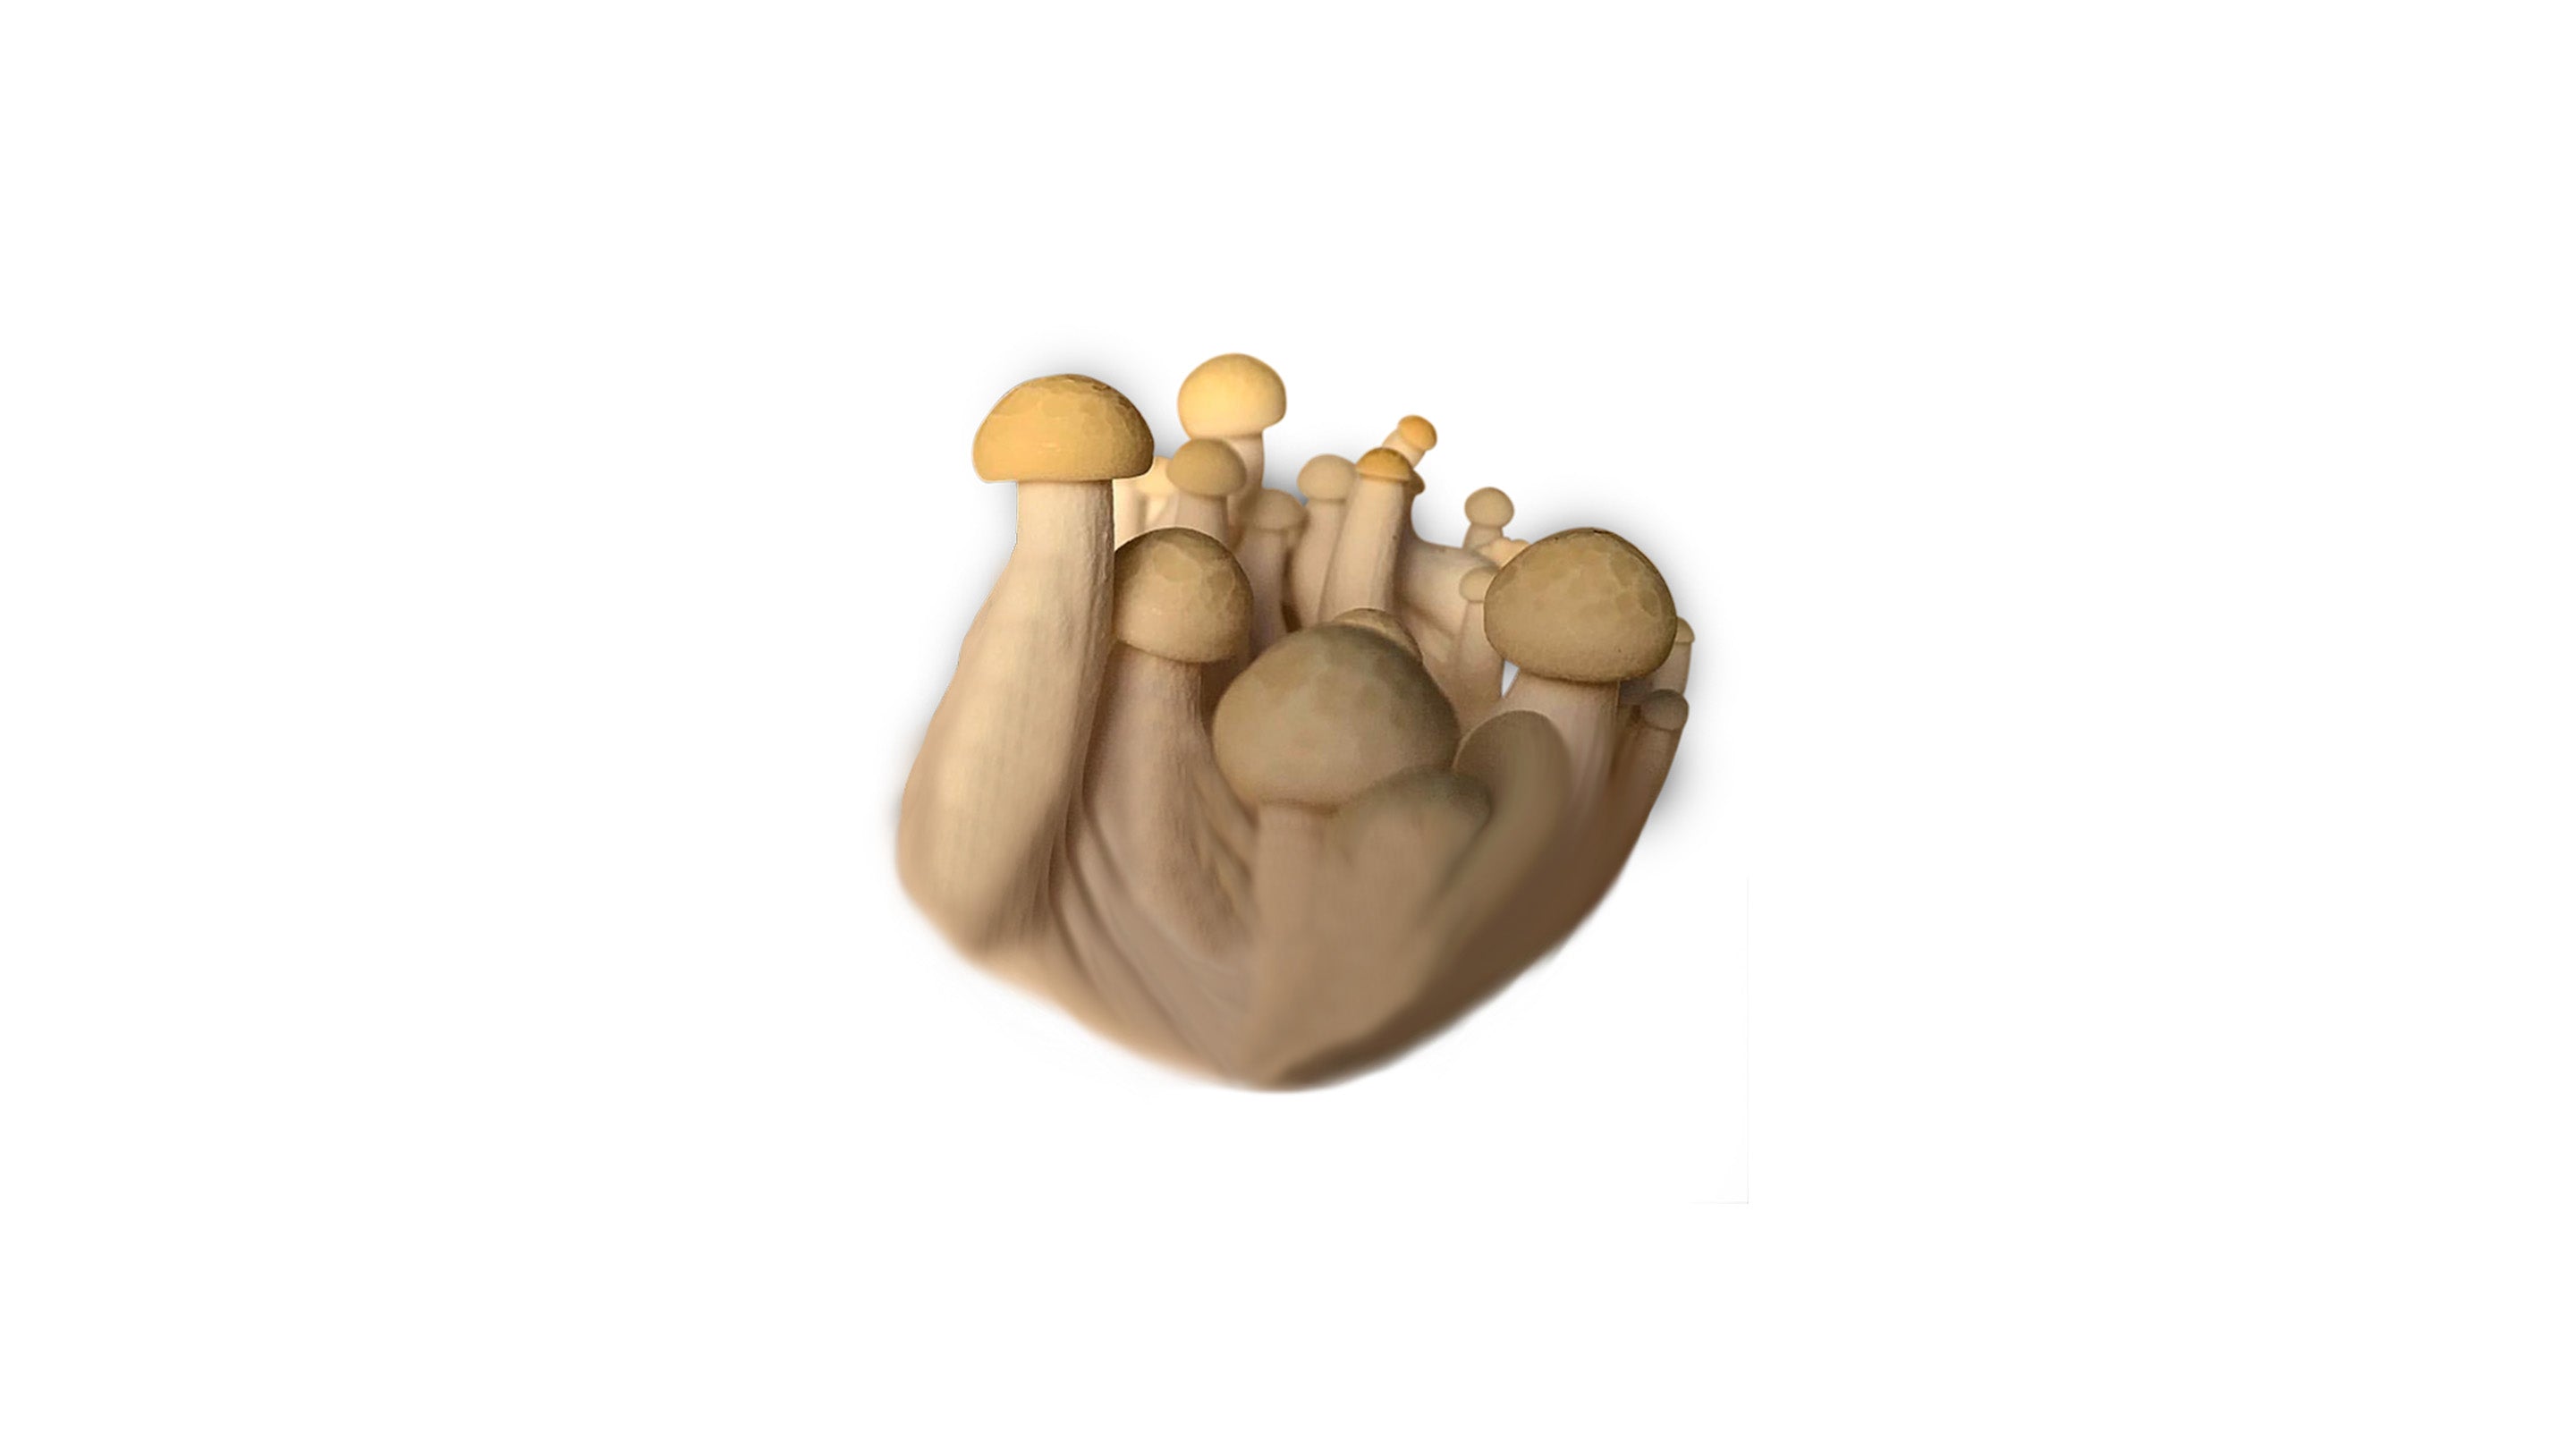
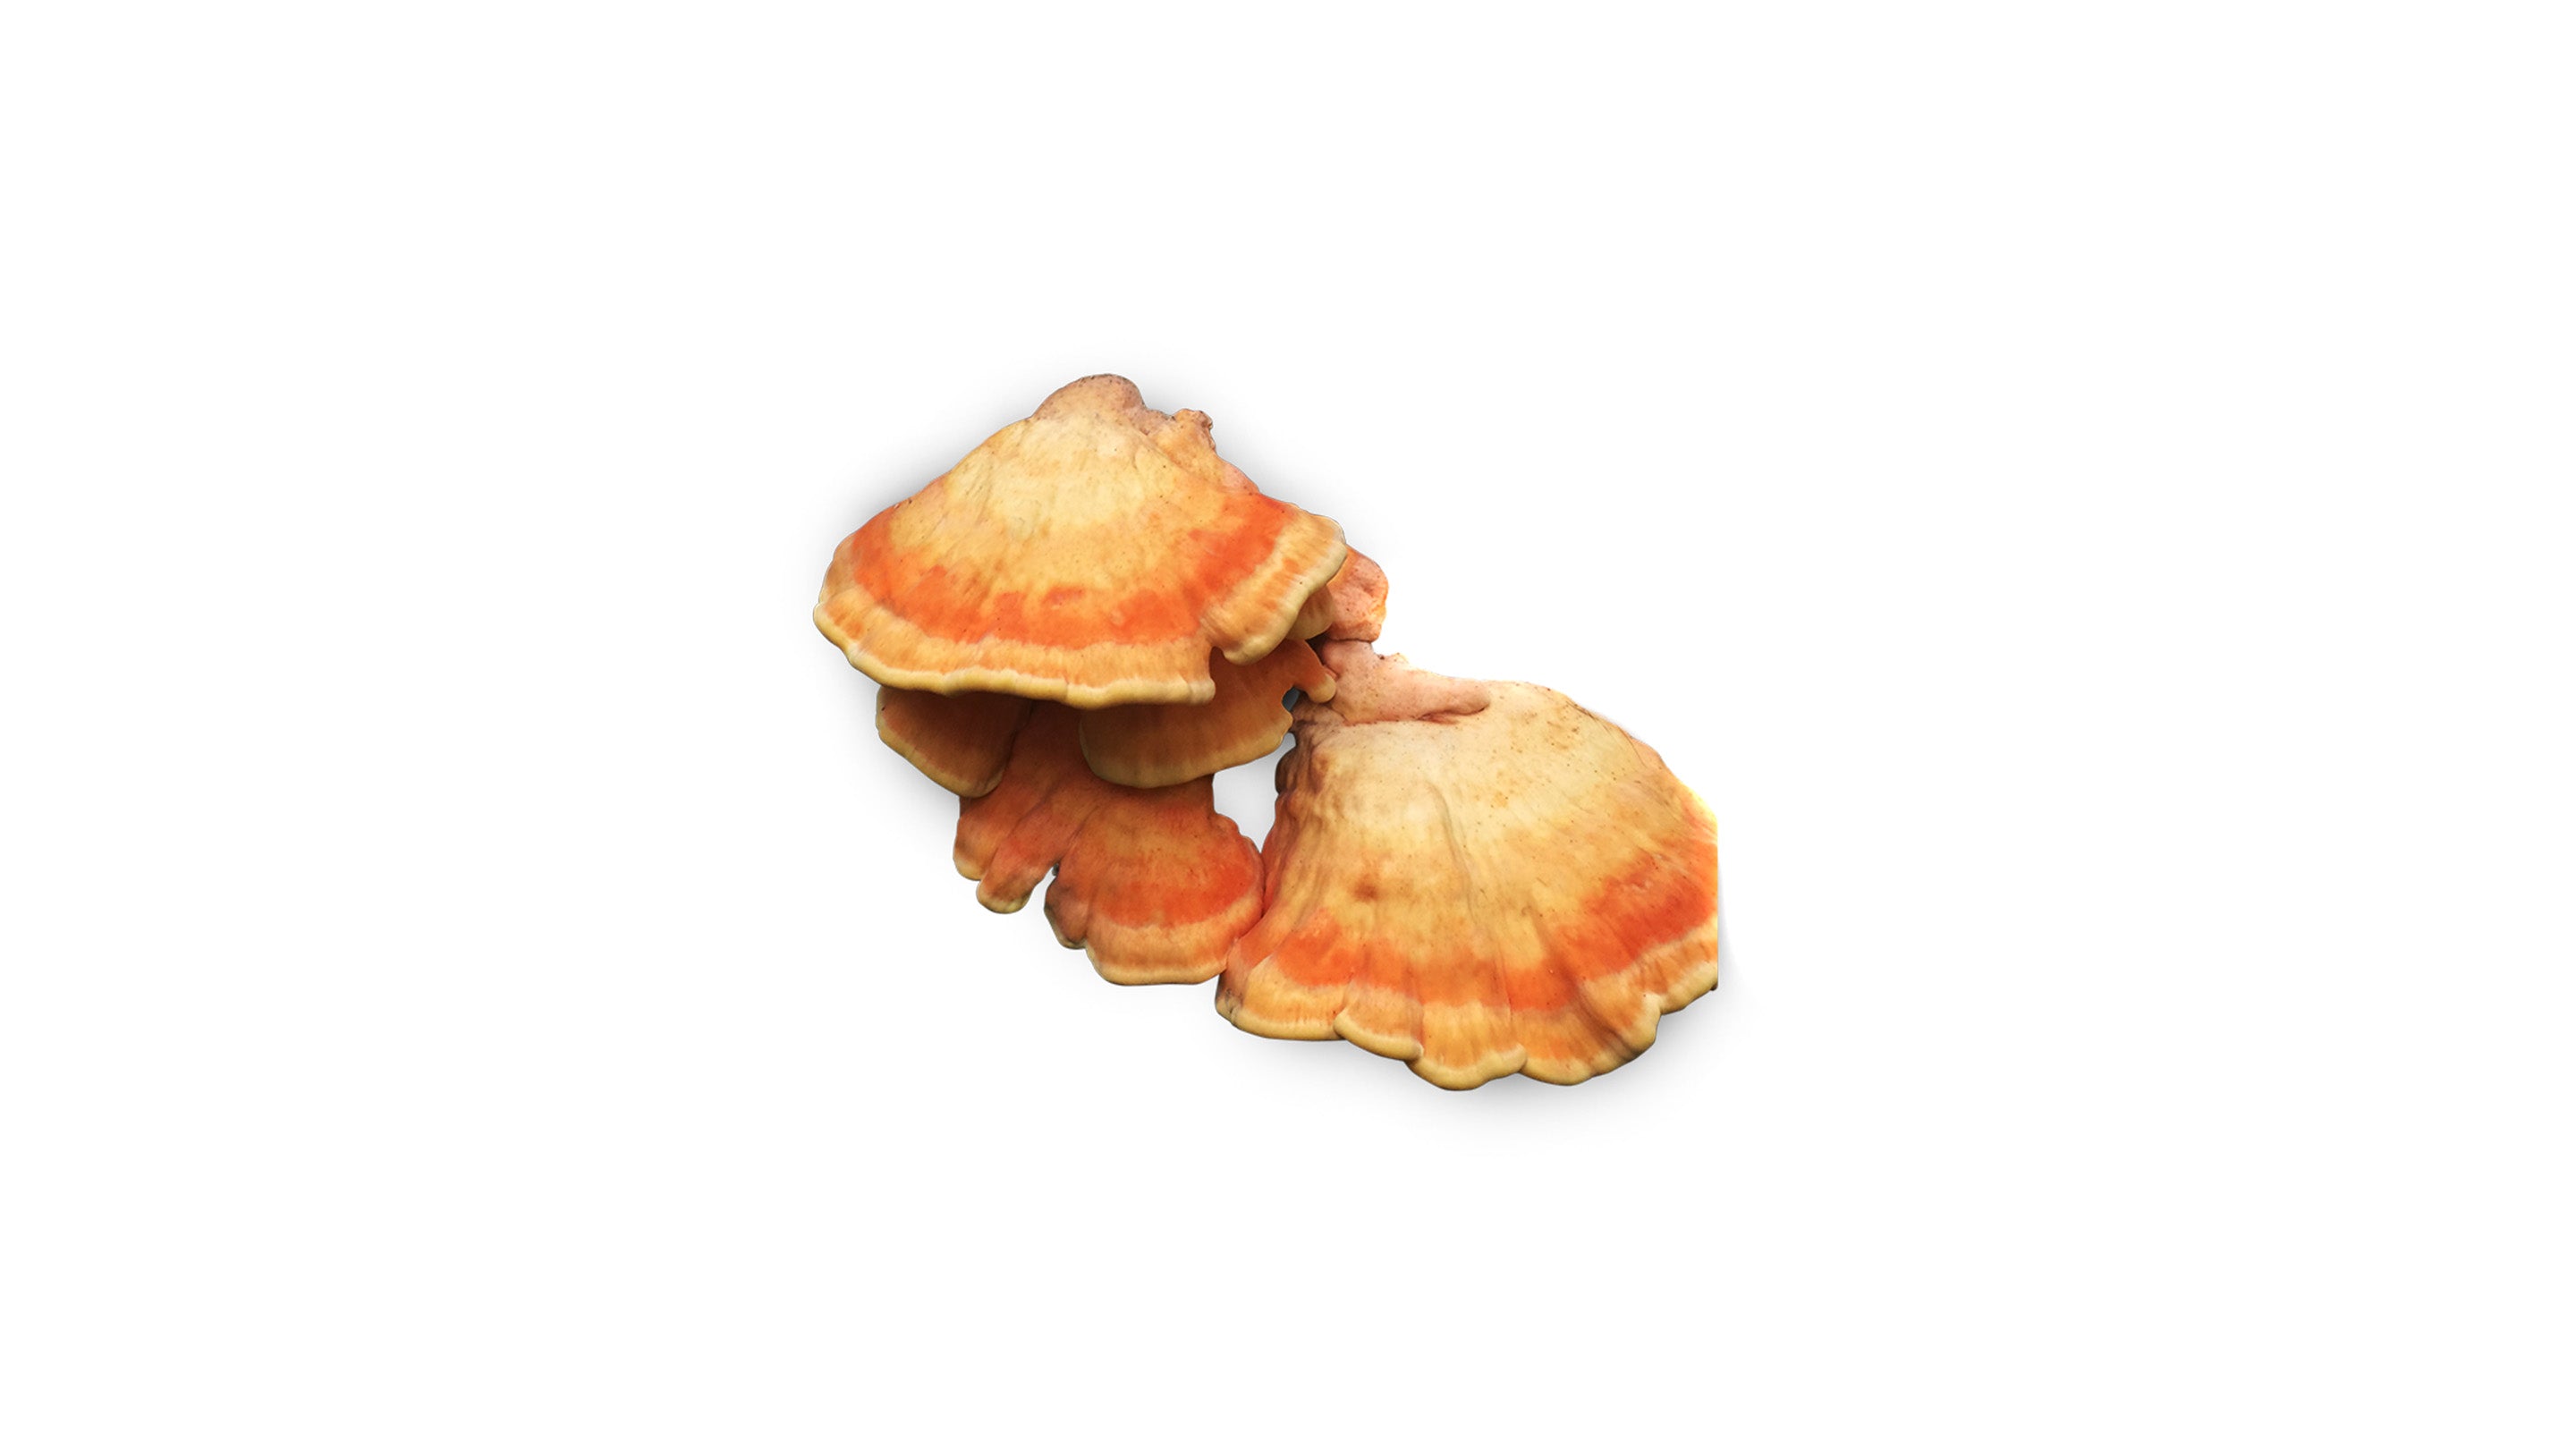
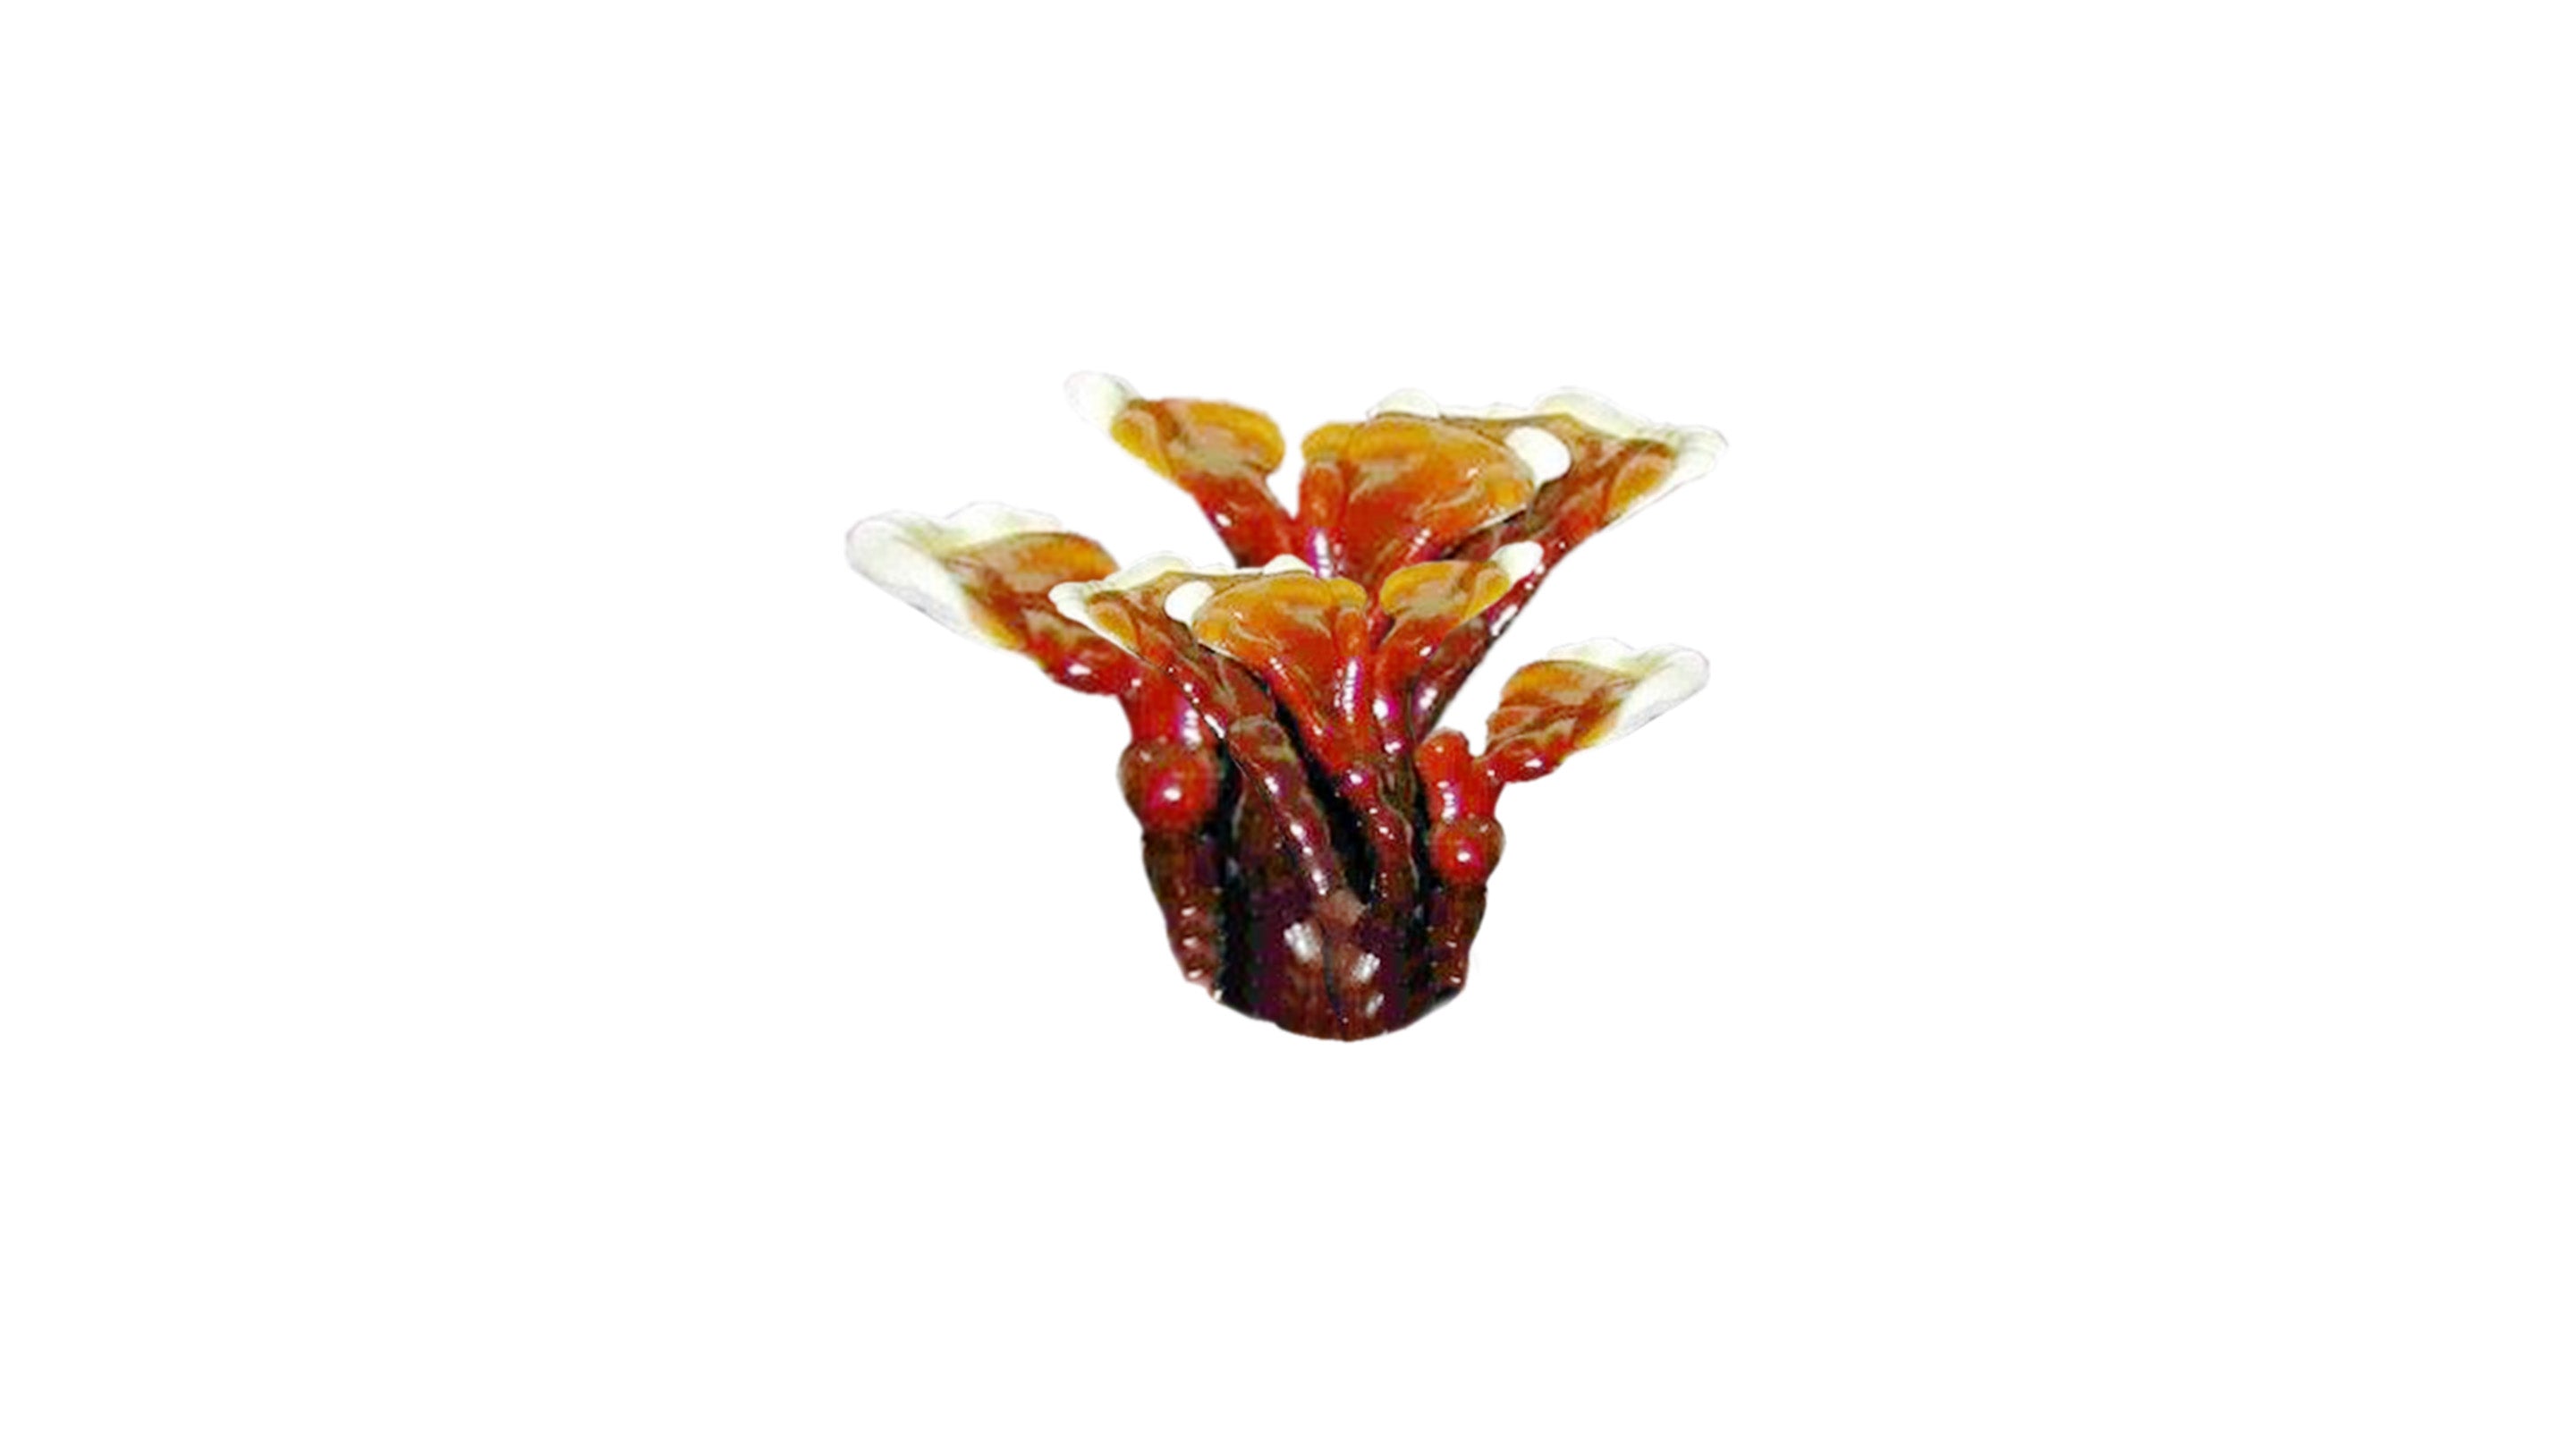
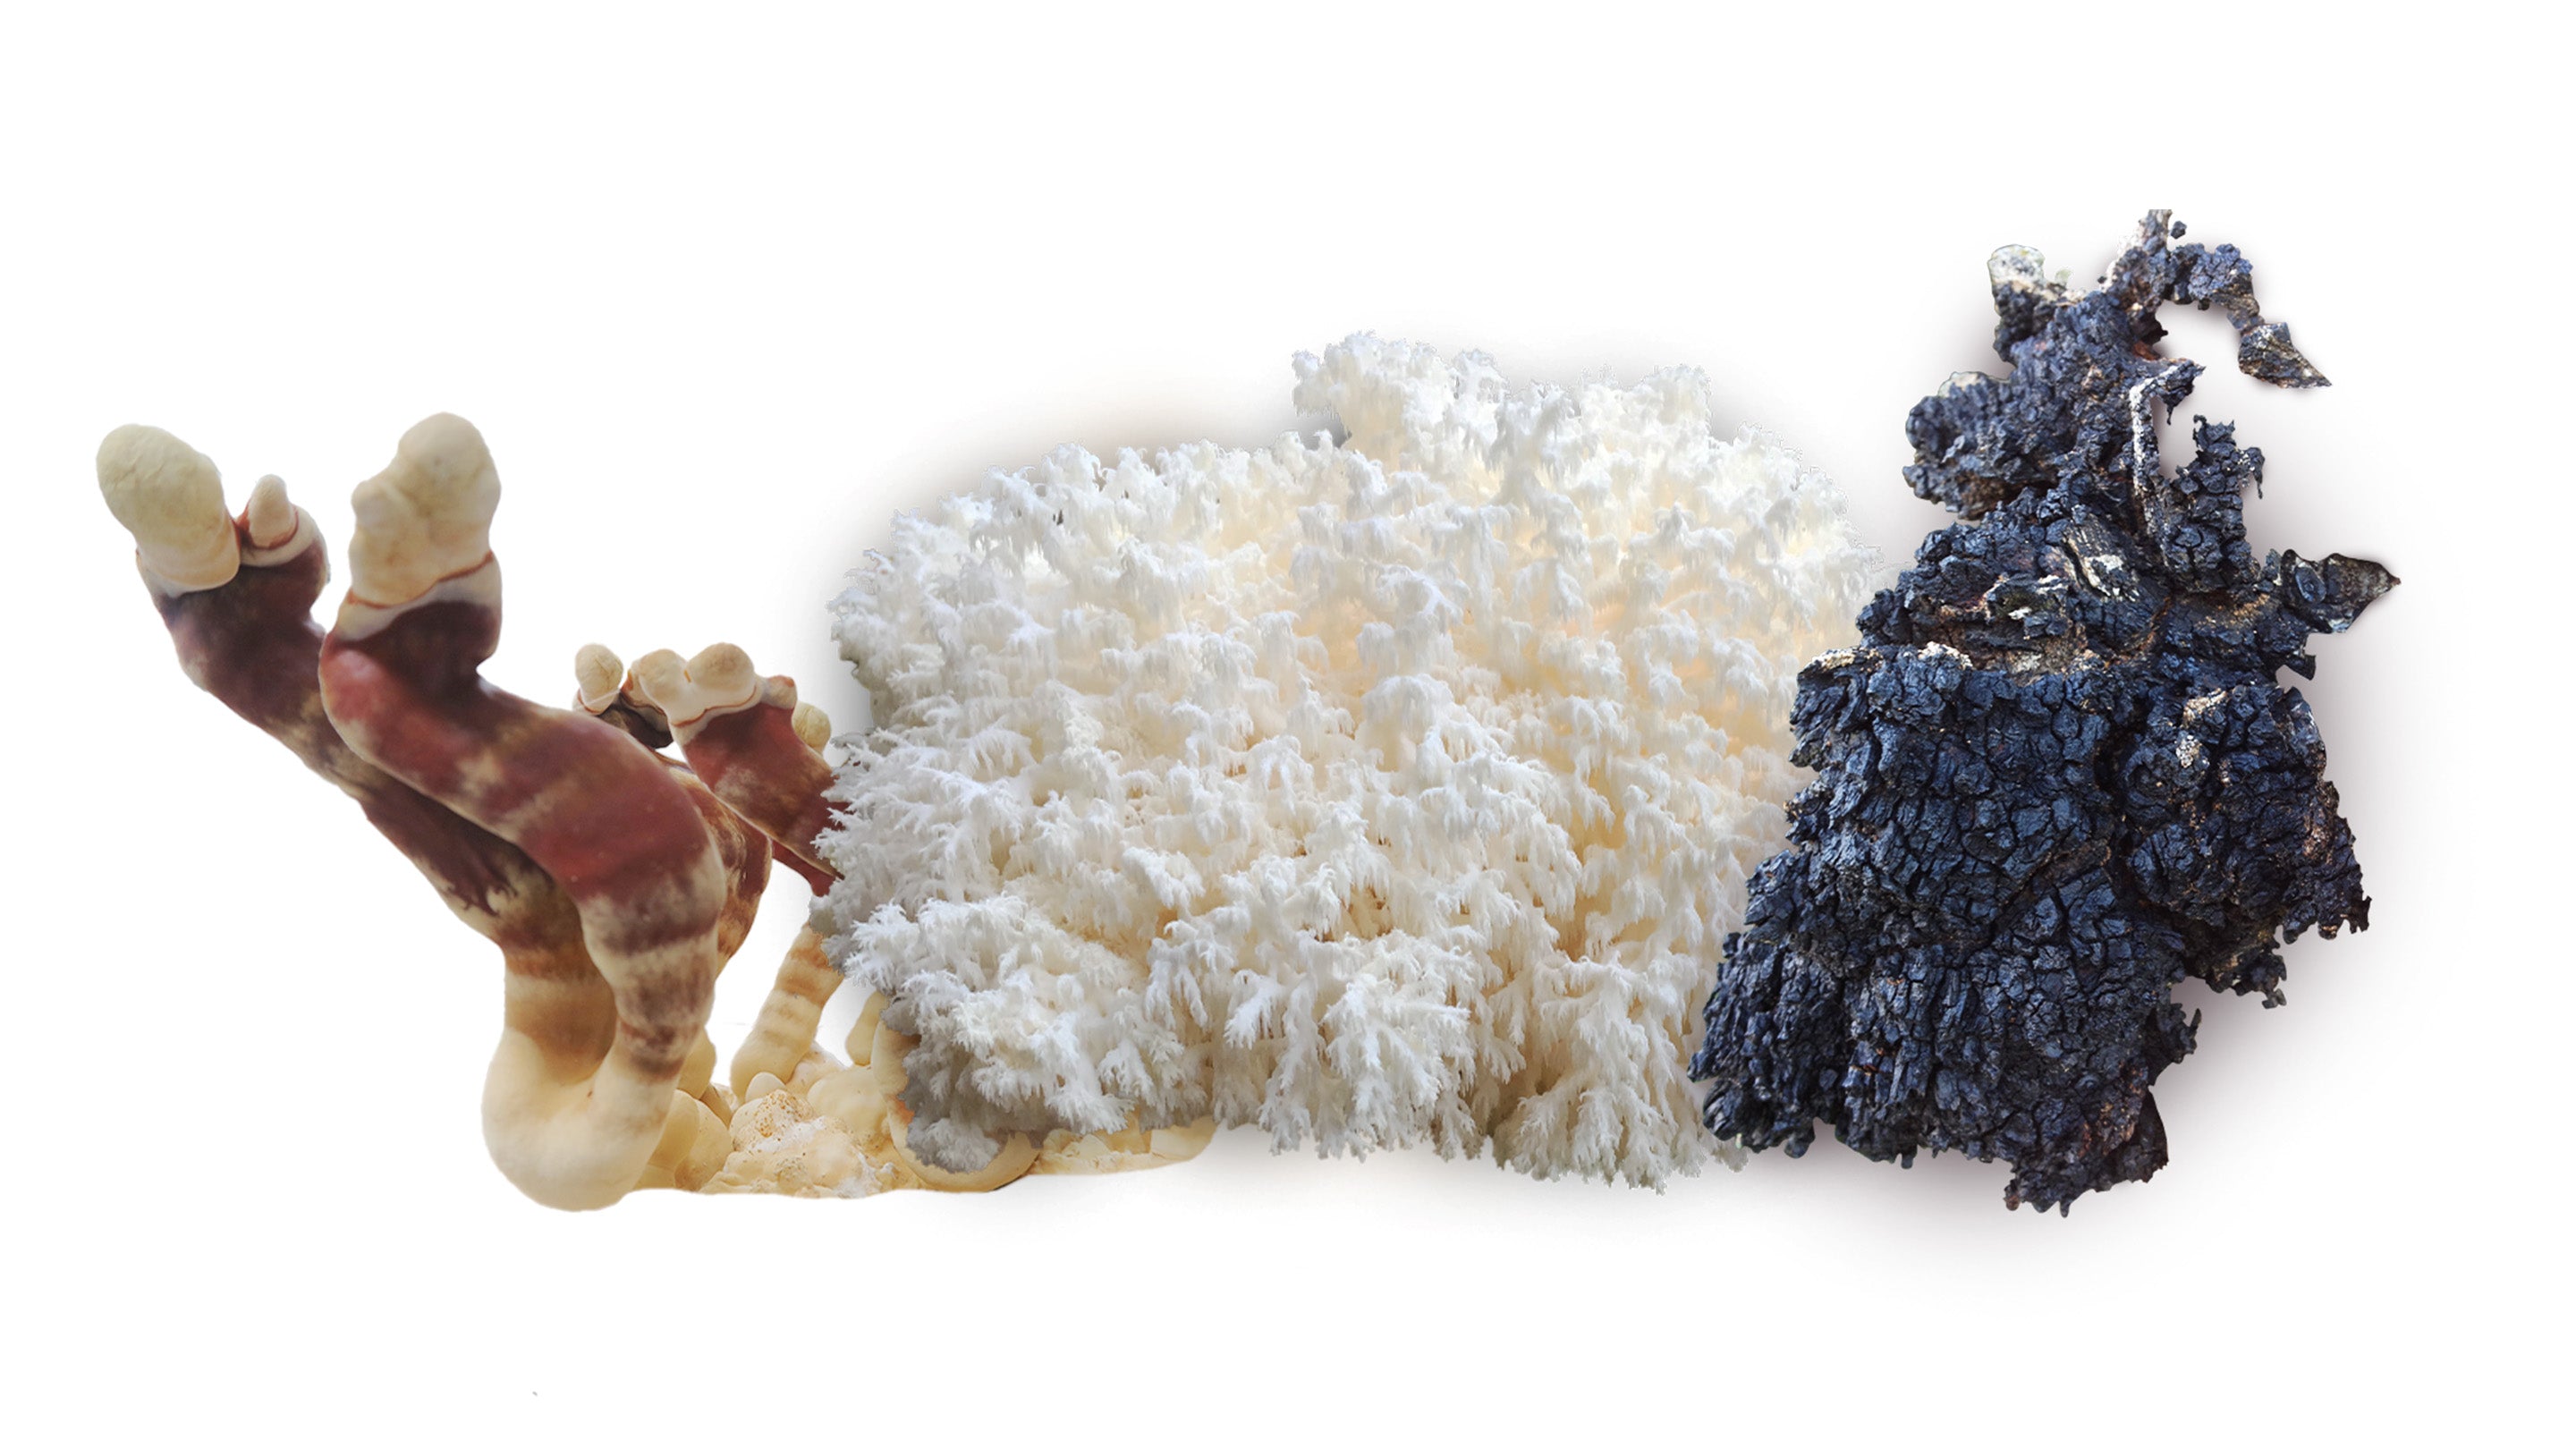
Growing mushrooms such as Lion's mane, Oyster mushroom and Shiitake indoors is a fun, easy and rewarding hobby that everyone should try.
One of the most popular methods of fruiting mushrooms and getting a good harvest is to use an orchard, or as it is also called in mushroom terminology; Monotube. Although you can grow mushrooms indoors without a fruit chamber with, for example, a mushroom house , it can facilitate and give a better harvest for those who do not grow a mushroom house, but instead a growing block. A fruiting chamber is a simple, cheap and effective growing container that creates optimal conditions for mushroom fruiting. In this guide, we will go through step by step how to bug an orchard yourself and give you tips to ensure ongoing successful harvests.
How does a mushroom growing fruit chamber work?
A fruit chamber is a transparent plastic box that is modified to create a controlled environment where you get a good influx of fresh oxygen, which the fungus needs to create fruiting bodies (mushrooms), while getting out carbon dioxide that the mycelium generates as it grows as in the end space inhibits the growth of mycelium and fruit bodies. In addition, an orchard creates a high humidity of over 80%, which is essential for a good harvest. In short, the idea of an incubator is that it does the job without you having to be there and humidify all the time.
Materials and Tools
To build an incubator/monotube you need the following:
- A transparent plastic box including lid (45-80 liters)
- A 7-10mm drill or soldering iron
- Ruler or tape measure
- Marker pen
Here's how to build the brood chamber:
1 . Drill (or use a soldering iron) 3 holes approx. 8 cm up from the bottom edge of the box on the long sides of the box, where each hole has a diameter of 0.7-1 cm.
2. Then make 5 holes higher up near the edge of the short sides of the box according to the following pattern; The holes are placed centered symmetrically from the sides of the box where the first row of holes is made 4 cm down from the top edge of the box in an even row. On the first row, make 3 holes with 2 cm intervals so that you get 3 holes next to each other. Then you make two holes under the first row that are between holes 1, 2 and 3 on an upper row. All these holes should be 0.7-1cm in diameter. After this you should have a pattern with 3 holes on the top row and 2 two on the bottom row. These are done on both card sides. See the mushroom house drawing below for clarification.

The weight of amount of holes in the right structure
Too many holes release too much moisture, making the microclimate too dry. Too few holes creates a build-up of carbon dioxide which creates failed, misshapen or poor fruit set. Holes made a little everywhere easily create an uneven flow of oxygen and carbon dioxide, which can create an imbalance in the box where some parts of the inside have better flow of oxygen, more moisture and less carbon dioxide than other parts. What we want to achieve is the same moisture content everywhere in the box, as well as the same low carbon dioxide content and high oxygen content.
This is exactly the structure and number of holes we at the mushroom house have developed after too many tests. In our opinion, it is the optimal and simplest form of fruit chamber you can build, without having to use filters, polyfill or the like. This structure and amount of holes means that there is a good constant exchange of oxygen and carbon dioxide without too much moisture being released and stays above 80% humidity. The only thing you as a grower need to do is to spray the inside of the box with a flower sprayer with ordinary cold tap water every two to three days. This particular construction is well proven by us and something we use when we go to fairs or have mushroom cultivation courses.
For fruiting of ready-made or self-made growing blocks
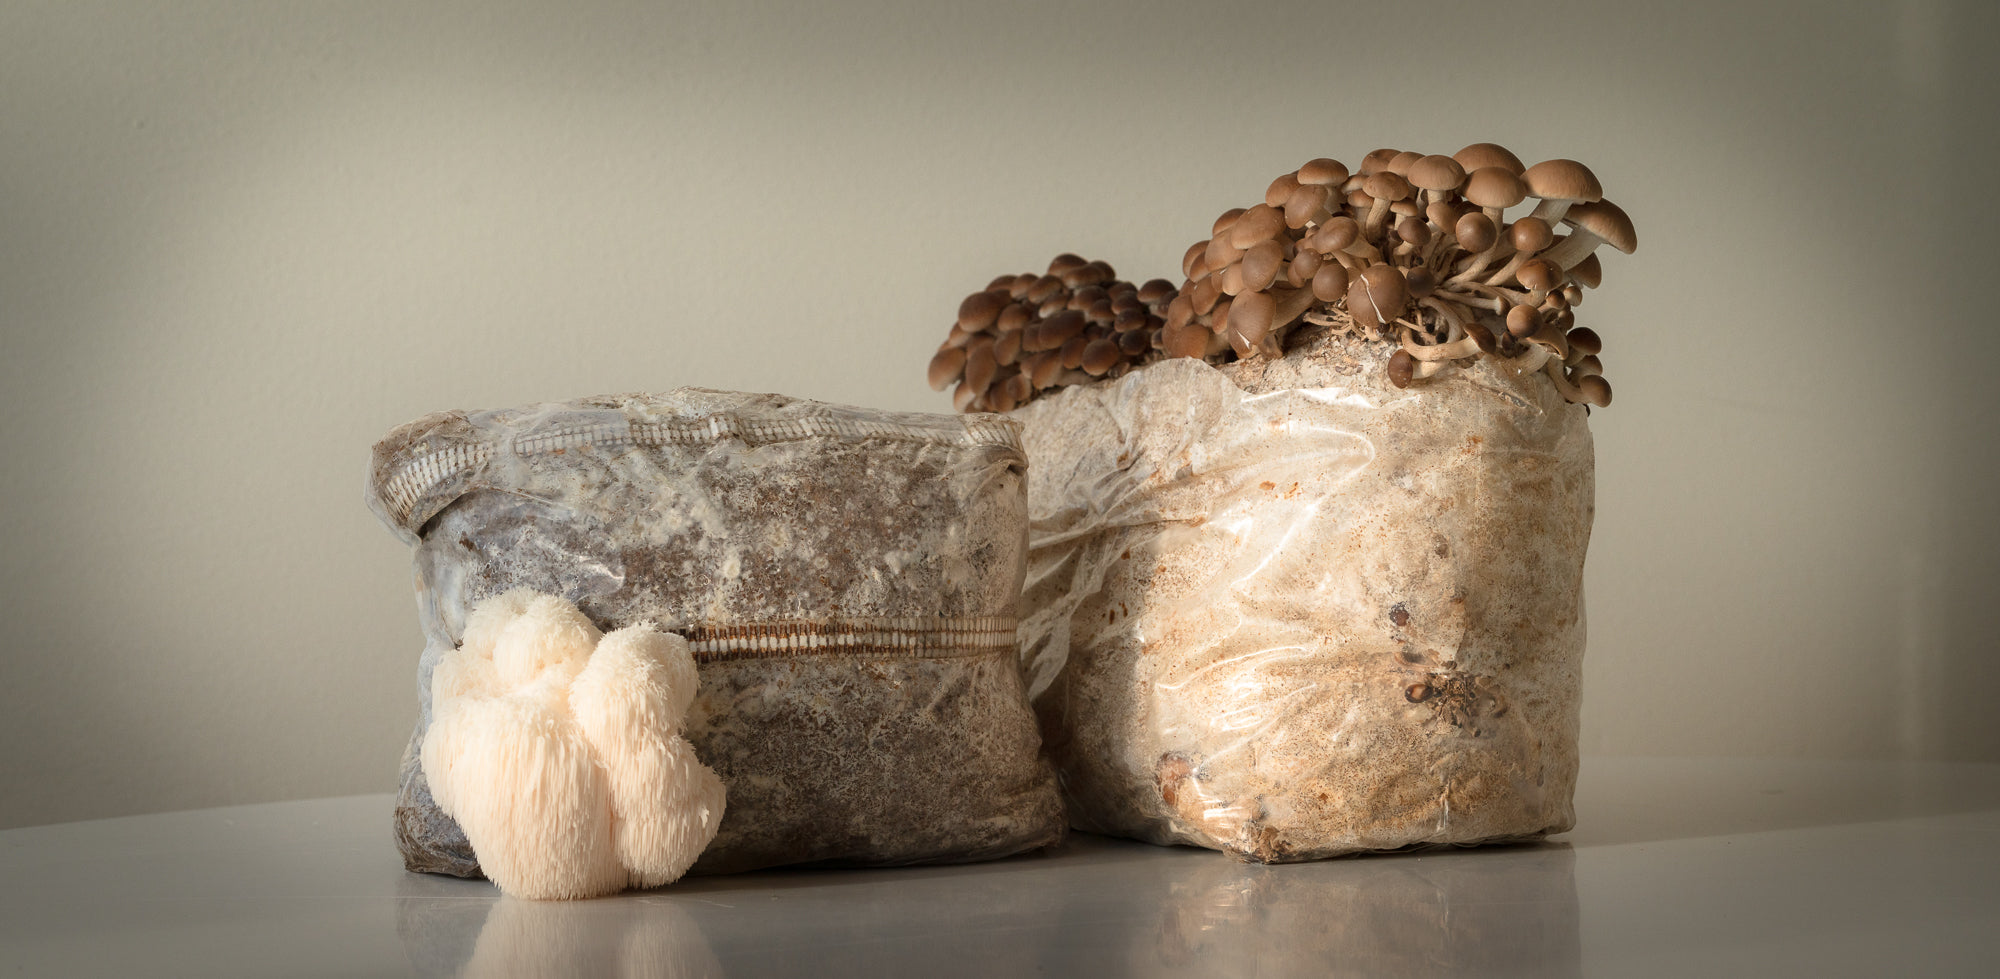
Perhaps you have bought ready-made growing blocks from us with, for example , Lion's mane or Shiitake and want to set them to fruit for an optimal harvest. Or maybe you have made your own growing blocks where you mixed our fast-growing mycelium or grain spawn together with one of our pellets , and put in growing bags that are now ready to set fruit.
After you build the brooder/monotube, all you have to do is set the grow blocks down in your brooder, make one to two cuts on the side of the plastic of the grow block and spray directly on the cuts and on the inside and lid of the box. Put the lid on, which should always be on, and place the box in a light but never in direct sunlight. You can advantageously place it a bit above the ground for easier handling. Every two to three days, open the lid and spray the sides and lid of the box with the flower sprayer. After one to three weeks (depending on the mushroom species), fruiting bodies will begin to form at the cuts, which within a few days of appearing are ready for harvest.
If you want to create even better conditions with more moisture for your growing block, you can fill the bottom of the box with a layer of one to two centimeters of Vermiculite or perlite that you pour water over, but not so that it starts to float around. Then you place the growing blocks directly on the moist perlite or vermiculite. In this way, you get an even higher moisture content and will not have to inspect the inside of the box more than every four to five days. Sometimes you don't even need to spray water at all from the time you start your cultivation.
To clean the box, you just use washing-up liquid and warm water, and if you want to make it very clean, you can spray 75% alcohol afterwards and wipe. We recommend that you do this between each completed fruit set.
For growing and fruiting directly in the monotube/orchard
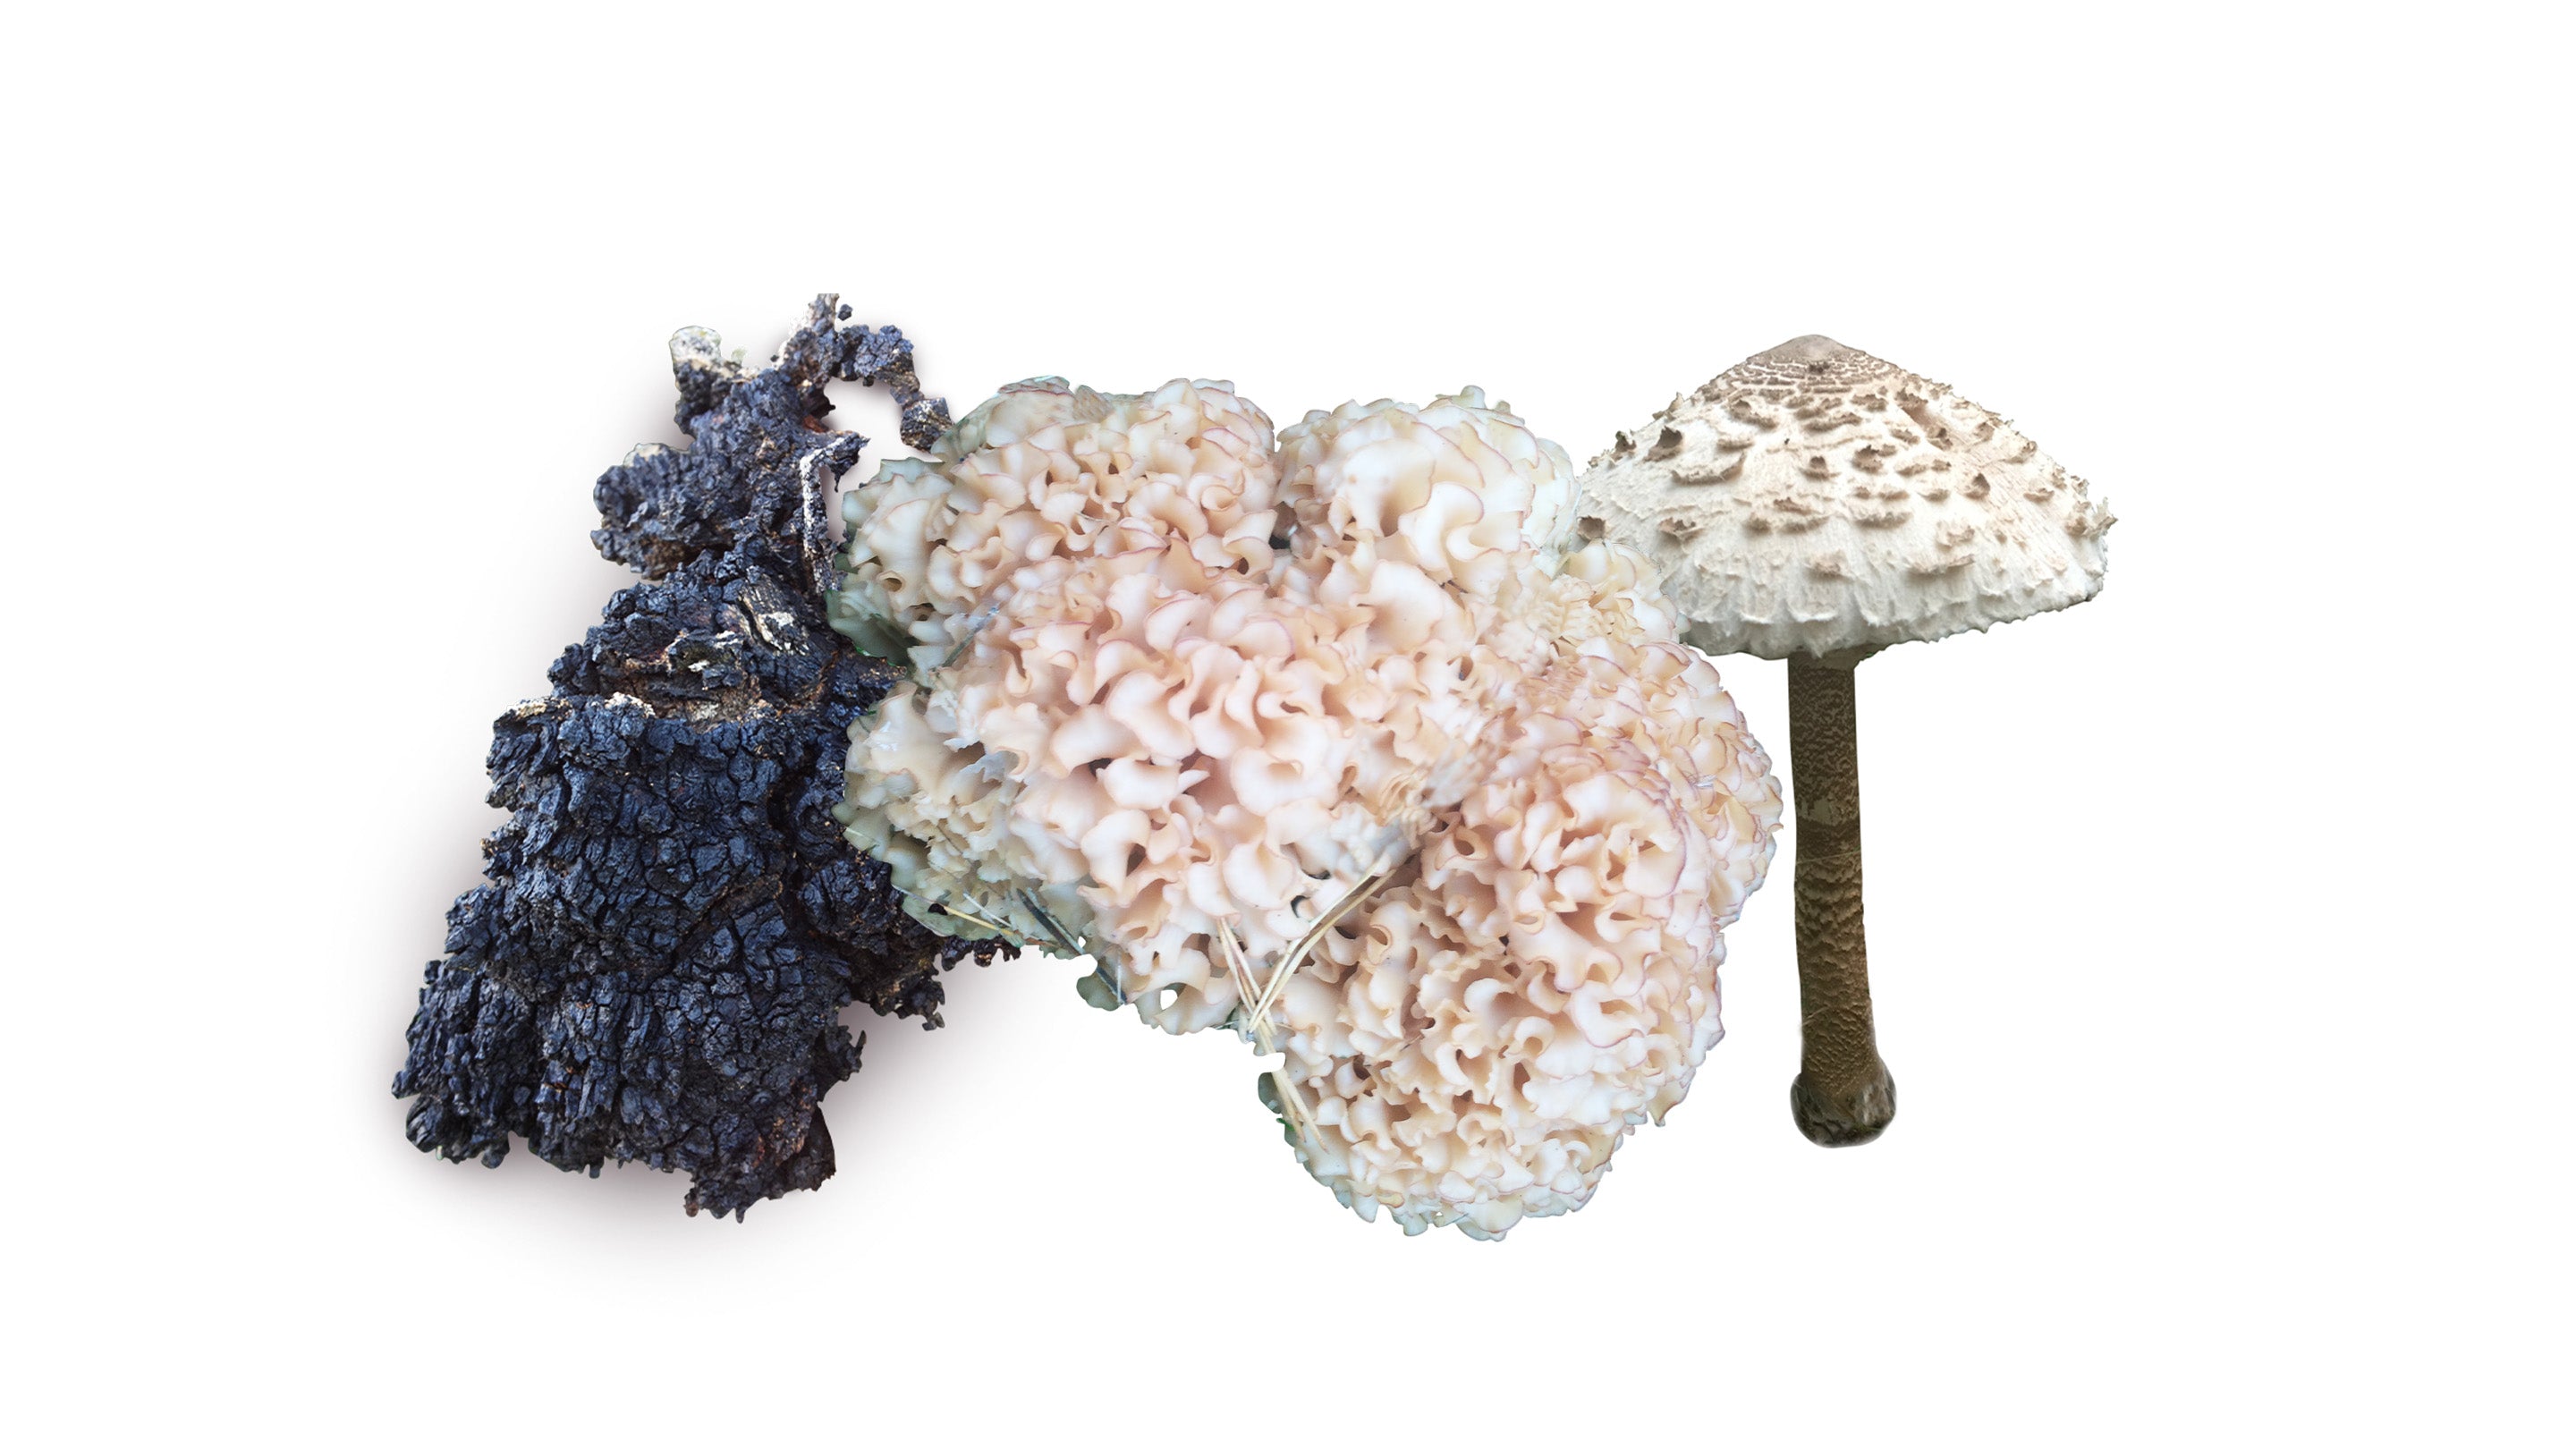
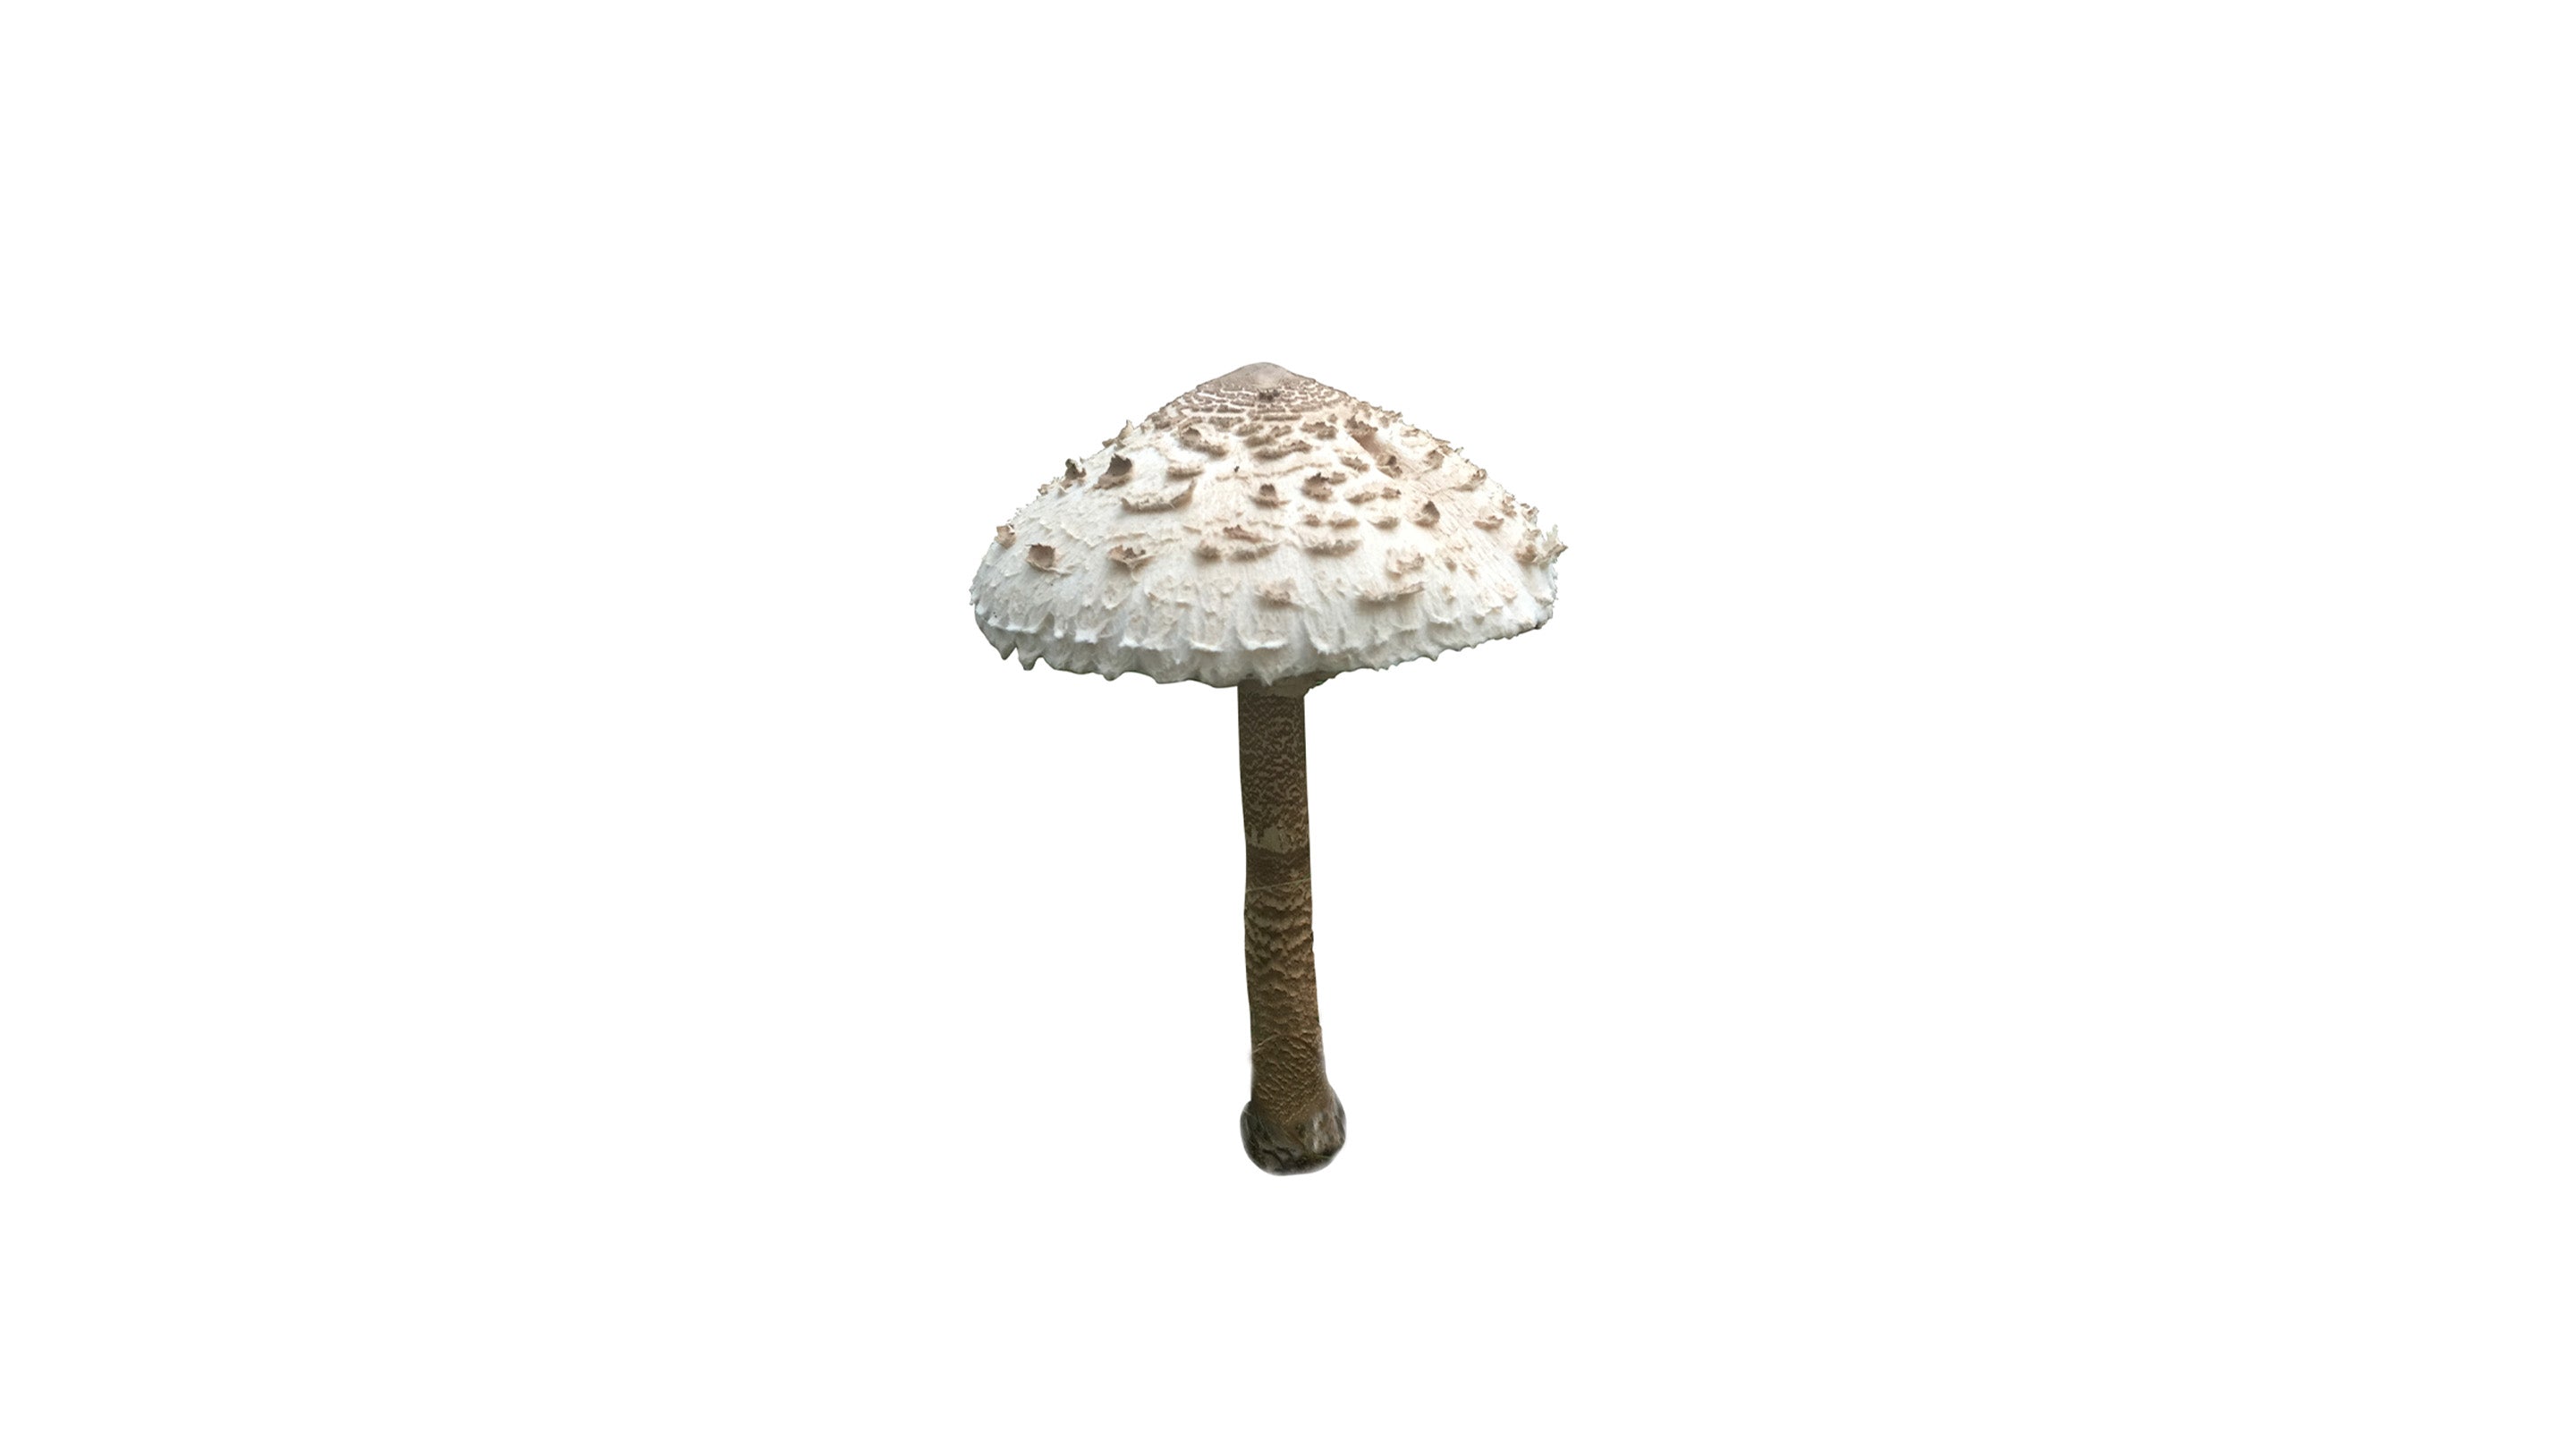
Another way to use your fruit chamber is to grow directly in it. This is usually done with mushrooms that like to fruit and grow upwards, instead of on the side, for example Pioppino or Jättekragskivling . It's a bit more complicated than just setting up a cultivation block, but can give a good harvest because it wants to try.
Materials and Tools
To grow directly in the fruiting chamber/monotube, you need the following:
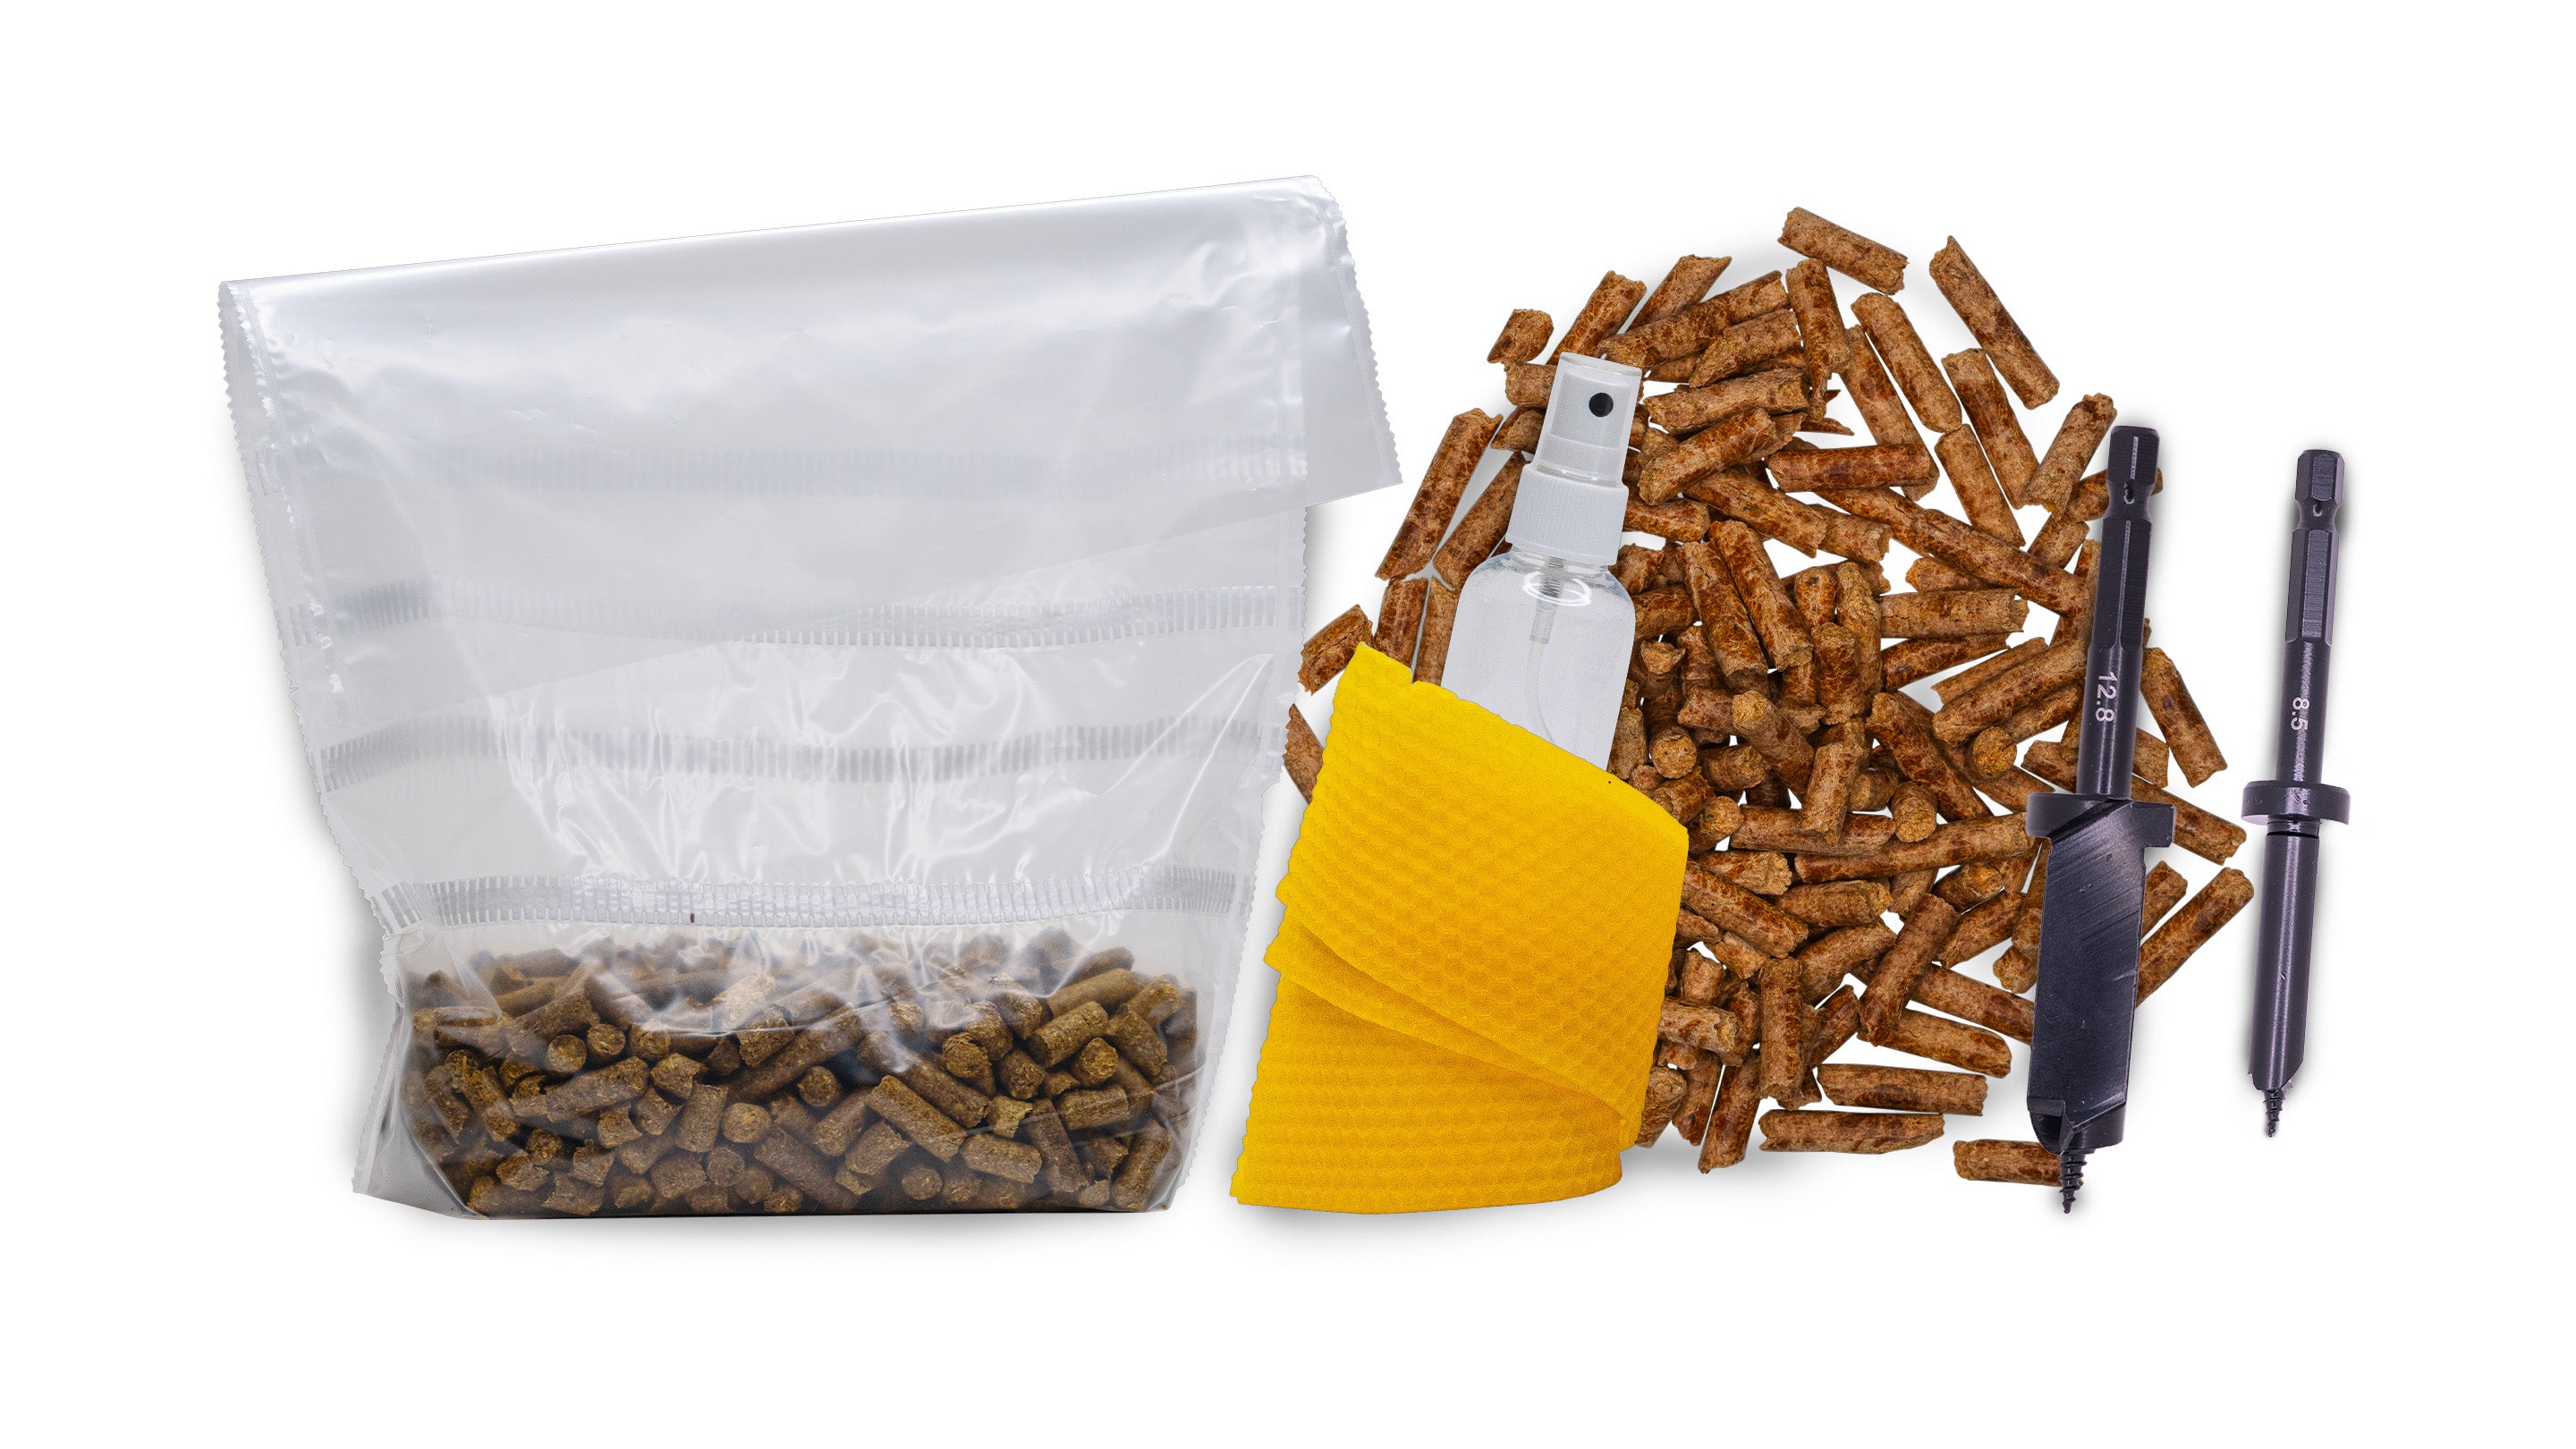
- Mycelium (Fast growing mycelium or grain spawn)
- Substrate (coconut fibers, straw pellets, oak pellets or similar)
- Black garbage bag/plastic
- Spray bottle with water
- Cut the plastic: Cut the black garbage bag to fit the bottom of the fruit chamber and go a bit up the sides just below the holes you made on the long sides of the box.
-
Pasteurize the substrate : Coconut fibers or pellets need water to swell, which the mycelium then uses to be able to grow and then create fruit bodies. To reduce the risk of contamination, we recommend pasteurizing this first to kill unwanted microorganisms. This can be done by pouring pellets or coconut fibers into a bucket with a lid, and pouring on boiling water. Let stand until completely cooled off.
-
Mix mycelium and substrate : When the substrate has cooled, take it with clean hands and place it at the bottom of the fruiting chamber, directly on the black garbage bag you cut. Squeeze out as much water as you can with your hands so that you get a good moisture balance, also called "field capacity". Pour down at least one fifth of the mycelium compared to the substrate and mix carefully with your hands. Spread the mixture evenly in the bottom and press it a little so that you get an even surface.
Incubation and fruiting
-
Place the fruiting chamber warm and bright but not in direct sunlight : Most species we have of mycelium grow best in temperatures between 20-24°C.
-
Wait for colonization and fruiting : Colonization can take 1-3 weeks depending on the mushroom species and temperature. After colonization is complete, about 75% of the top surface of the substrate should be covered with mycelium.
- Trigger fruiting: Spray the top surface lightly with a flower sprayer. Then it's just a matter of waiting. Whoops! within 1-3 weeks they will come up nice fruit bodies that you can harvest and enjoy in the frying pan.
Harvest the mushroom (the fruiting bodies)
When the mushrooms reach maturity (usually within 1-2 weeks after they start fruiting), you can start harvesting. Be careful when picking them so as not to damage the mycelium, so it can produce multiple crops. Do not use a knife for harvesting! Instead, hold the fruit body, twist and pull. In this way, you do not damage the mycelium and can get more harvests from the same cultivation. After you don't get any more crops, throw the substrate in the compost, under a bush, or put it in the pots for some extra nutrition for your plants.
Do you want more cultivation knowledge and tips regarding mushrooms? Take a look at our YouTube channel where we constantly update with guides, tips and tricks in everything from log cultivation, indoor cultivation and sterile techniques in the lab! https://www.youtube.com/@Svamphuset
See you soon!
Fabian and Emil owners of Svamphuset


